Creating & deleting
reference points
To create reference points:
-
Open the projector editor.
-
Locate the Calibration tab.

Projector config editor selecting the configuration tab. -
click the configuration file to open the QuickCal editor. If left-clicking you will instead open the Projector Configuration manager which stores all the configuration files for the existing projectors.
-
Select manage points.
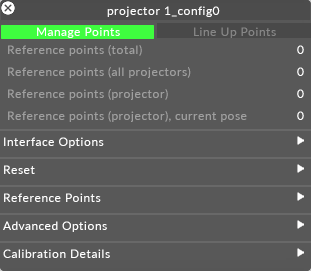
Projector config editor, Selecting manage points. -
The d3 cursor will now turn in a circle. This indicates that you are in manage points mode and when you click on the model a reference point will be created at that location.
-
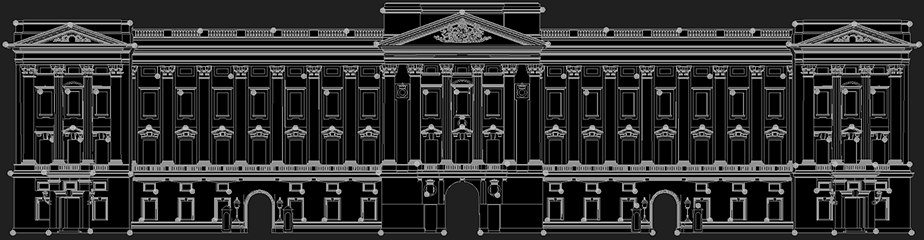
Create a minimum of 6 reference points and place them on clearly identifiable real-world reference points. This is to make it easier to link the virtual reference points to the corresponding real-world points at a later stage in the lineup process. Usually, there is no need to create more than 6-12 reference points per virtual projector but for more complex geometry it may be necessary to create more. Some complex building mapping projects have required up to 30 reference points per projector.
-
Notice that multiple projectors can use the same reference points.
Please note: The reference points will automatically snap to a vertex near to where you clicked. If you have a really complicated model they may not snap to the correct position select the point you wish to move and hold down the left mouse button to drag it to the desired location.
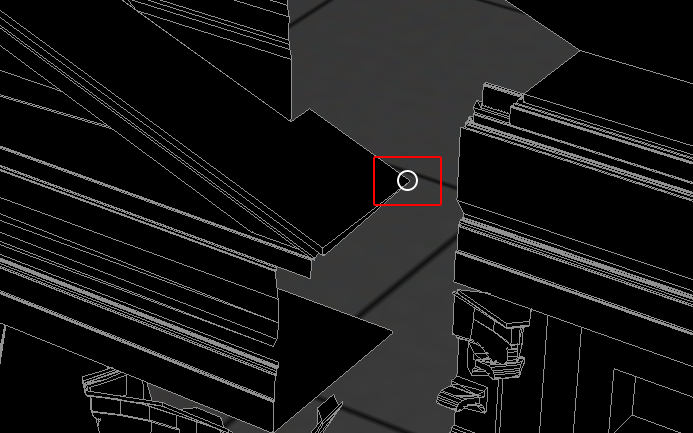
Point creation cursor, Adding a point.
To delete a reference point
-
Right-click on the point that you wish to delete.
The options menu will open.
Delete a reference point from the virtual model. -
Left-click on the delete button.
Warning: reference points that are lined up in another projector cannot be deleted (since this would affect the other projector's calibration).