Quick Calibrating - Projectors
Quick calibrating projectors
-
Right-click the projector you wish to line up.
-
Right-click the configuration file to open the QuickCal editor.

Projector configuration menu. -
At the top of the QuickCal editor select line up points.
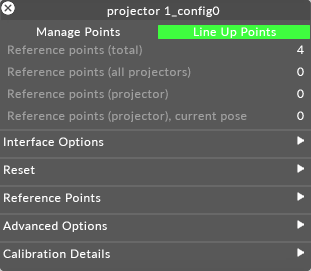
Line up point selection.Please note: You must have the projector you're configuring assigned to an output otherwise the button is greyed-out
-
Left-click a point (representing a reference point on the video screen), hold the left-click and drag the cursor in the output and match it to its physical corresponding point.
Note: The output of the projector you working with will tinted the colour that you have set in the appearance tab in the projectors configuration.
-
Once the point is in the right position release the point and now its set.
-
To adjust cursor location using finer increments use the arrow keys to adjust in 1px movements.
When you have adjusted a point it will be displayed in the colour that matches the projectors colour.
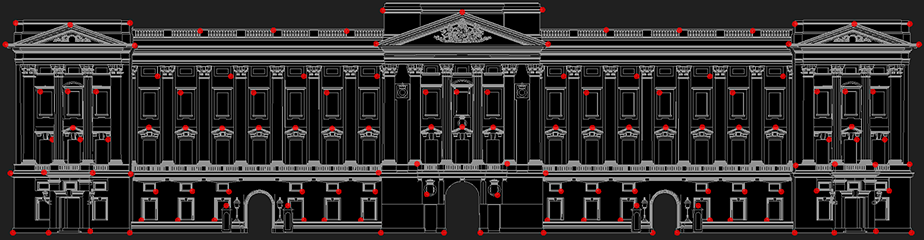
Buckingham Palace with points calibrated.
Remove a reference point from the projector
This will remove the 2D lineup between the selected reference point and the current projector. The reference point itself will not be deleted.
To remove a reference point:
-
Right-click on the reference point that you wish to remove from the projector lineup.
The options menu will open.
To remove a reference point from a projector.
-
Left-click on the remove from projector button.
Rotate Controls
This option allows you to rotate your controls whilst lining up, This is especially useful when your projectors are rotated for example if they are portrait in orientation rather than landscape.
There are four options:
-
None: Mouse and keyboard operate normally.
-
90 degrees clockwise: mouse and keyboard are rotated 90 degrees clockwise
-
180 degrees: mouse and keyboard are rotated 180 degrees.
-
180 degrees anti-clockwise: mouse and keyboard are rotated 180 degrees anti-clockwise.
Lineup output mode
Lineup output mode allows you to change what is applied to the output whilst lining up.
Please note: During QuickCal lineup all lined up reference points will be drawn on top of the selected output.
You can choose between the following output modes:
-
Content: Outputs the content that's on the timeline.

-
Wireframe: Outputs the wire frame of the model.
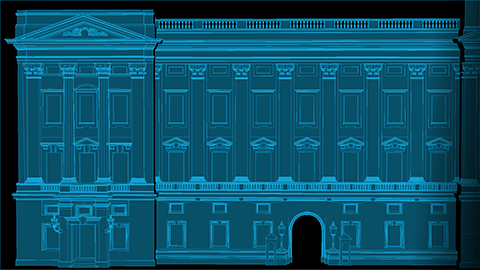
Image of wireframe applied to Buckingham Palace.
-
Identify: Outputs a full colour grid that has the projectors name on it.
-
Grid: Outputs a grid that is applied to the model
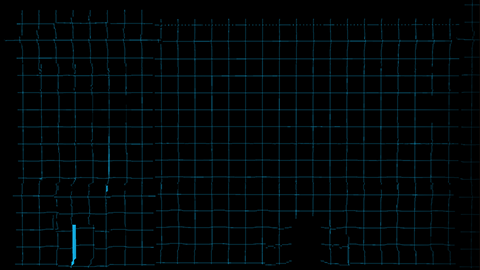
Image of grid pattern applied to Buckingham Palace.
-
None: Outputs nothing but the line up points.
Cursor Types
There are four cursor types to choose from:
-
Horizontal

Image of horizontal lineup cursor.
-
Diagonal

Image of horizontal diagonal cursor.
-
Horizontal Lines

Image of horizontal lines cursor.
-
Diagonal Lines

Image of diagonal lines cursor.
Marker Size
This setting allows you to adjust the size of the marker that's left behind once you have calibrated a point. The default marker size is 16.
Reset options
To reset the projector so no points have been selected or calibrated either:
-
select reset reference point lineup (current pose) to reset the points for that pose in a multi-pose line up (see the Multi-pose calibration sub-chapter for more info on this topic)
-
select reset reference point lineup
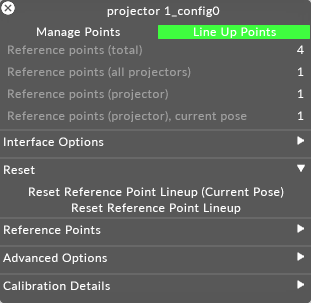
Reset reference point lineup. -
A warning message will pop up when you select reset projector config,Click yes to reset projector config.
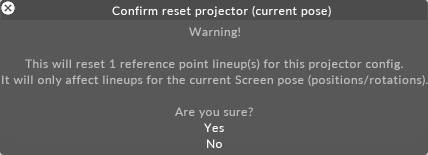
Confirm reset projection config.
Removing reference points
There are 3 options for removing reference points under the Reference points tab: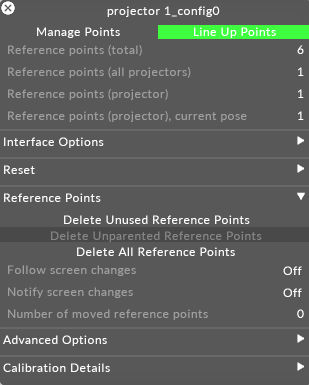
Deleting reference points.
Delete unused reference points
This option deletes reference points which have not been associated with a projector lineup.
Delete unparented reference points
This option deletes reference points which are not parented to a screen
Delete all reference points
This option deletes all reference points from the virtual stage.
A warning message will pop up when you select delete all reference points , Click yes to delete all reference points.
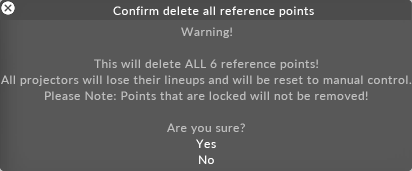
Confirm delete of all reference points.
Warning: Delete all reference points is a global action, It will affect all the reference points on the model not just the ones associated with the current projector.
Advanced options
Follow screen changes
This option allows you to choose if the reference points follow screen changes. For example if you change your screen position the reference points will move with the screen.
Warning: This will automatically update any projector's QuickCal calibration using the new 3D positions of the reference points
Notify screen changes
This options allows you to choose if you want to be notified of screen changes. For example if the screen position changes and the points move with the screen you will be notified. The notification will ask you whether you want to update the QuickCal calibration with the new 3D positions. It will also show by how much each reference point has moved.
No. of moved reference points
This informs you how many points have moved with a screen position change for example.
Auto z-clipping
If auto z-clipping doesn't work, this means some parts of a Screen, which are either very close or very distant, may only be partially visible. then manually adjusting these near/far values can make sure that the projector renders the whole screen.
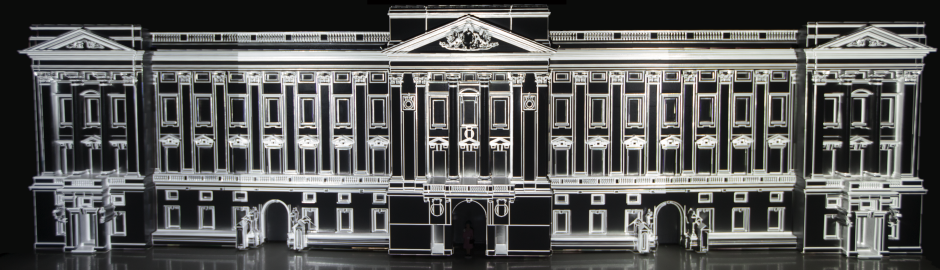
Lineup Result
Here is a real world photo of a lineup of Buckingham Palace without the edge blending.