Warping outputs
In cases where the projection surface does not match the virtual 3D model (i.e. where the lineup from the manual or automatic calibration needs a slight fine-tune), Disguise software provides a number of powerful warping layers that can be applied directly to the output. By using these tools there is no requirement for projector keystoning or any other warping inside the physical projector.
Warning: reset all digitial and optical warps inside the projector, including lens-shift, otherwise the lineup features within Disguise software will be interrupted.
-
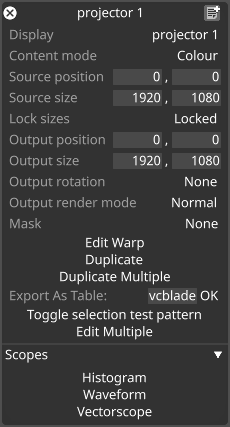
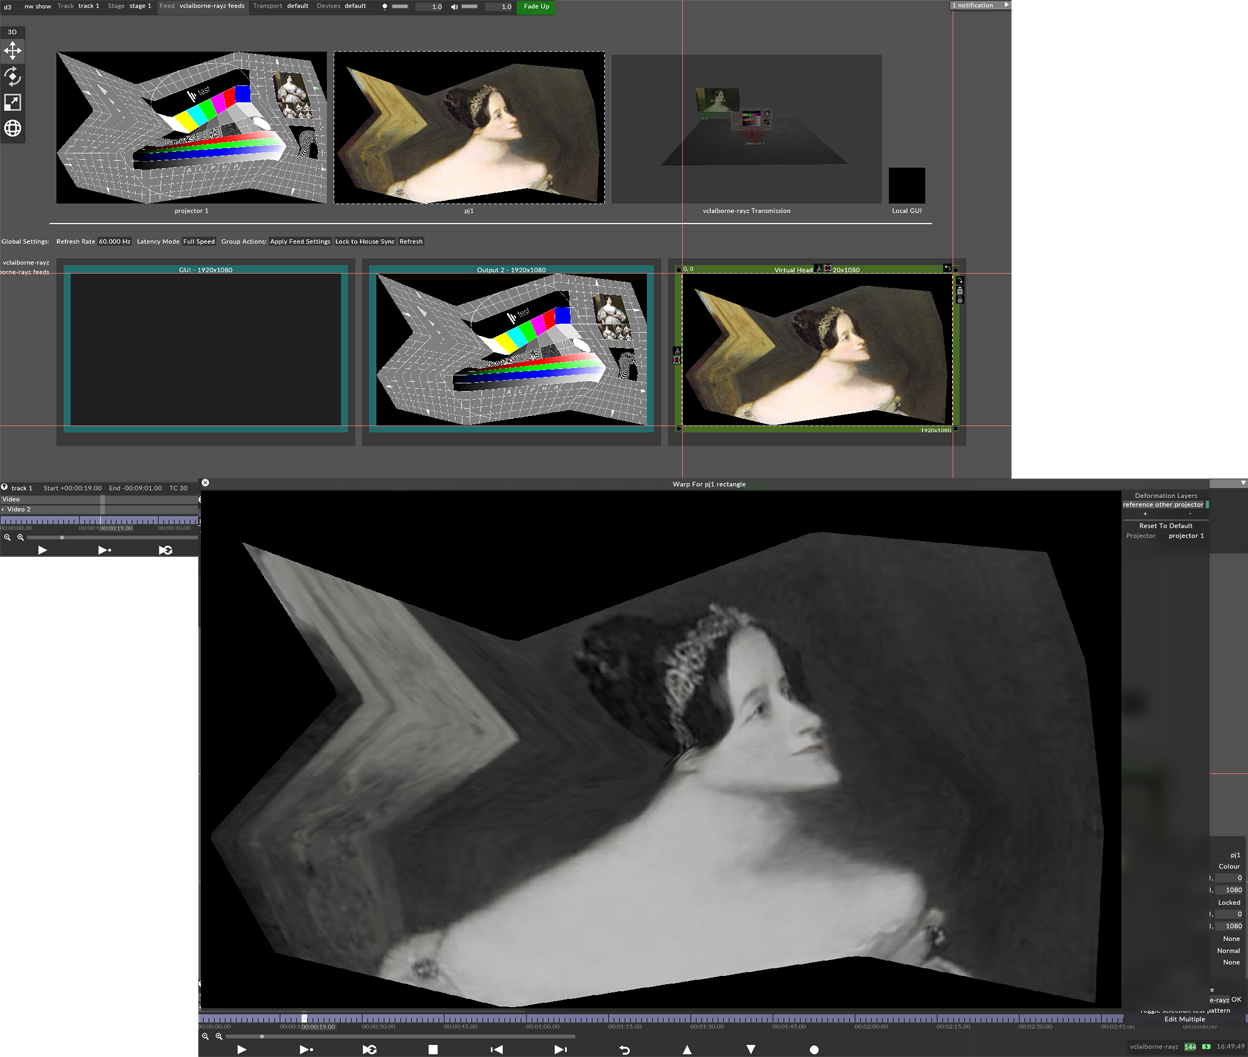
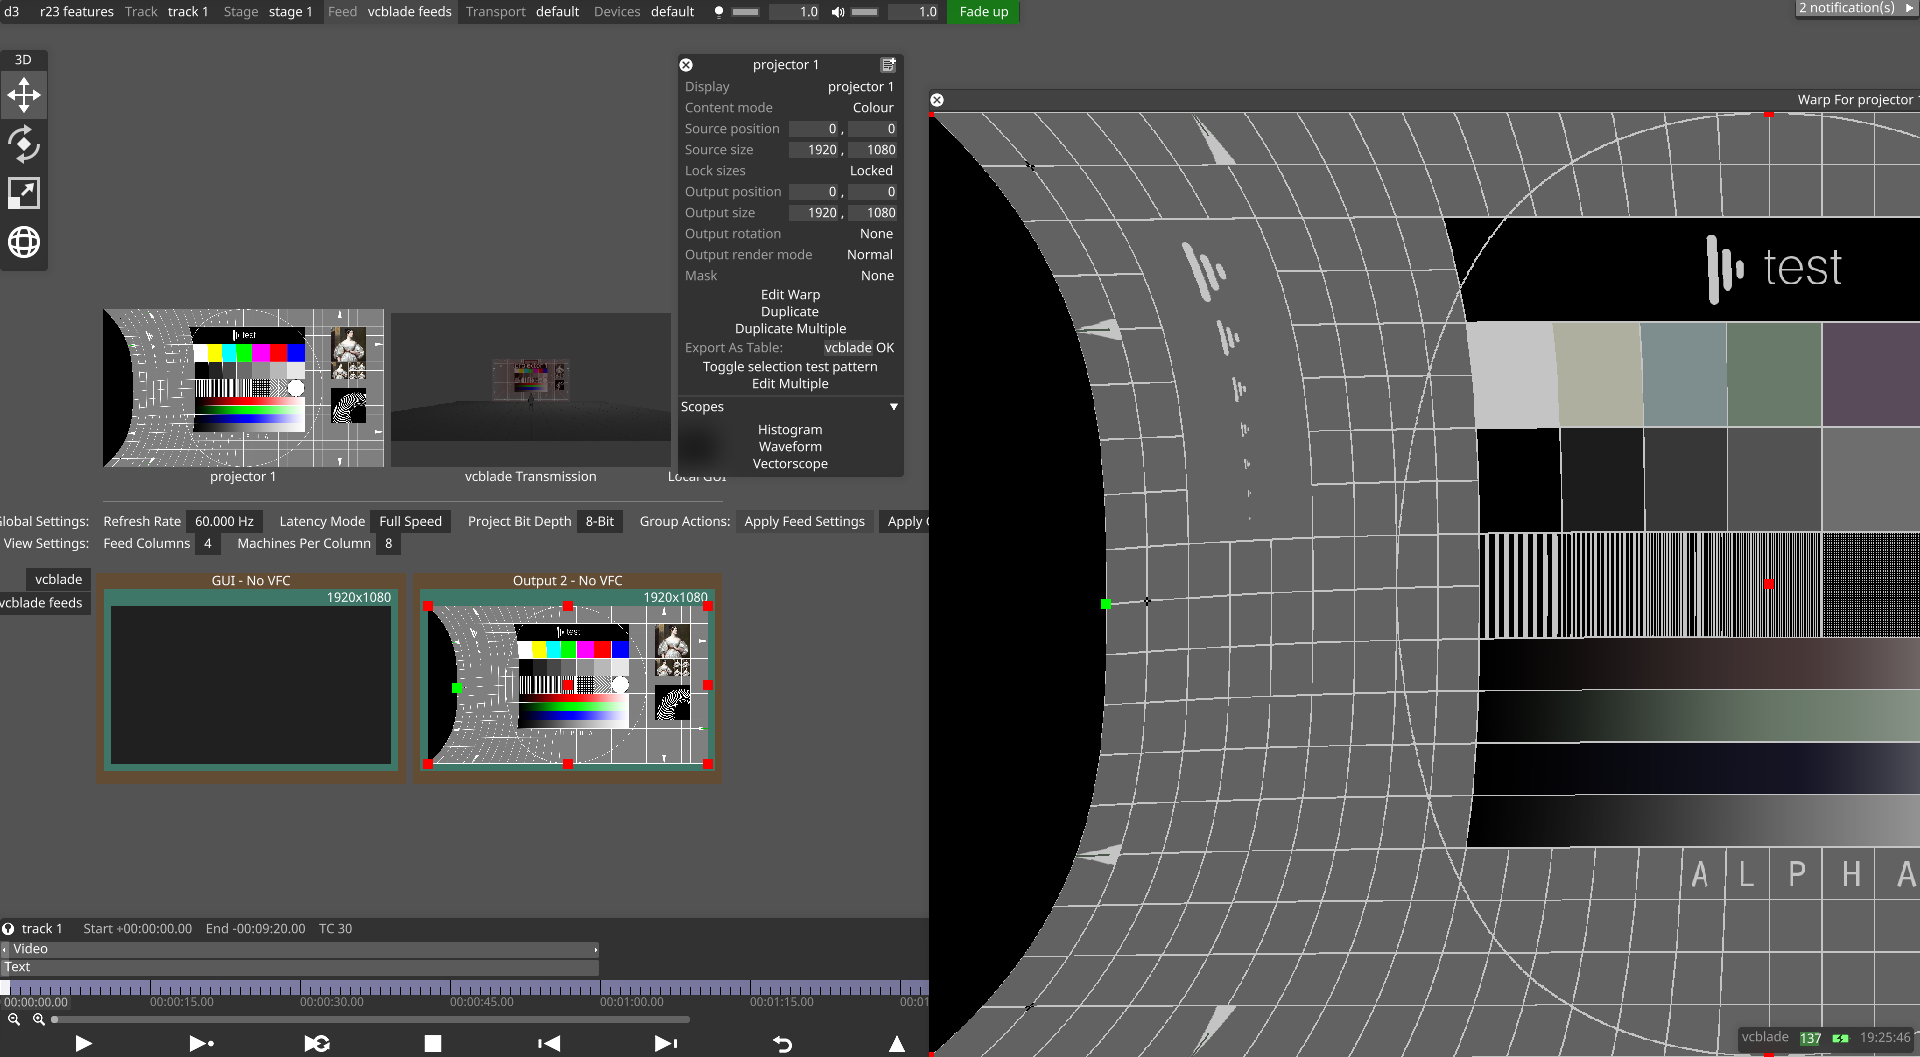
To add a warping layer to an output left-click feed in the dashboard (bar at the top of the screen), right-click the appropriate output and select Edit Warp from the options list.
-
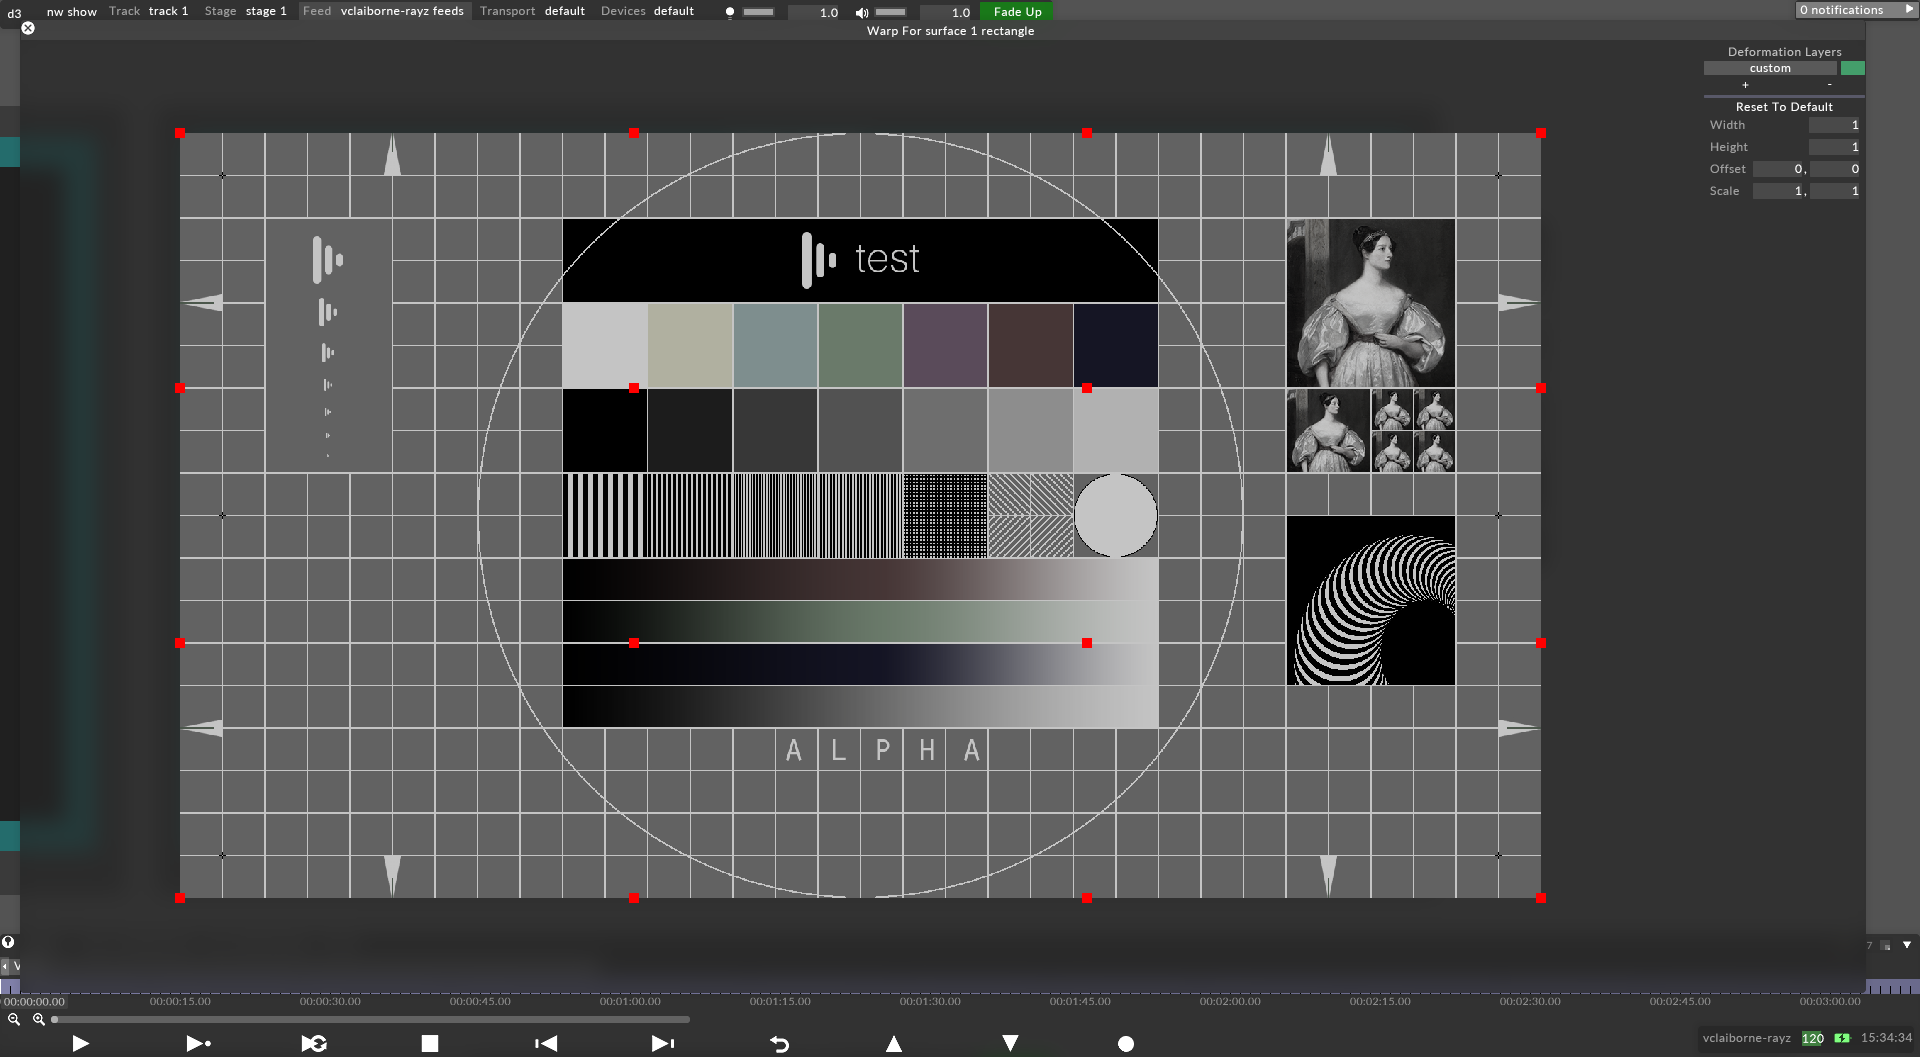
In the editing window, left-click the + button under the Deformation layers title. This will display a list of deformation layers.
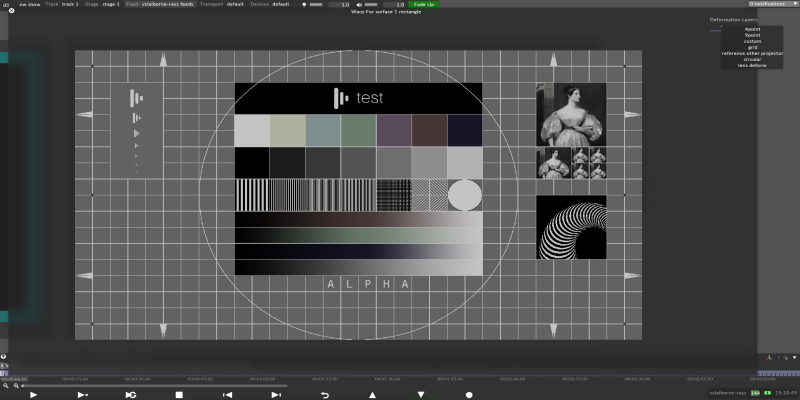
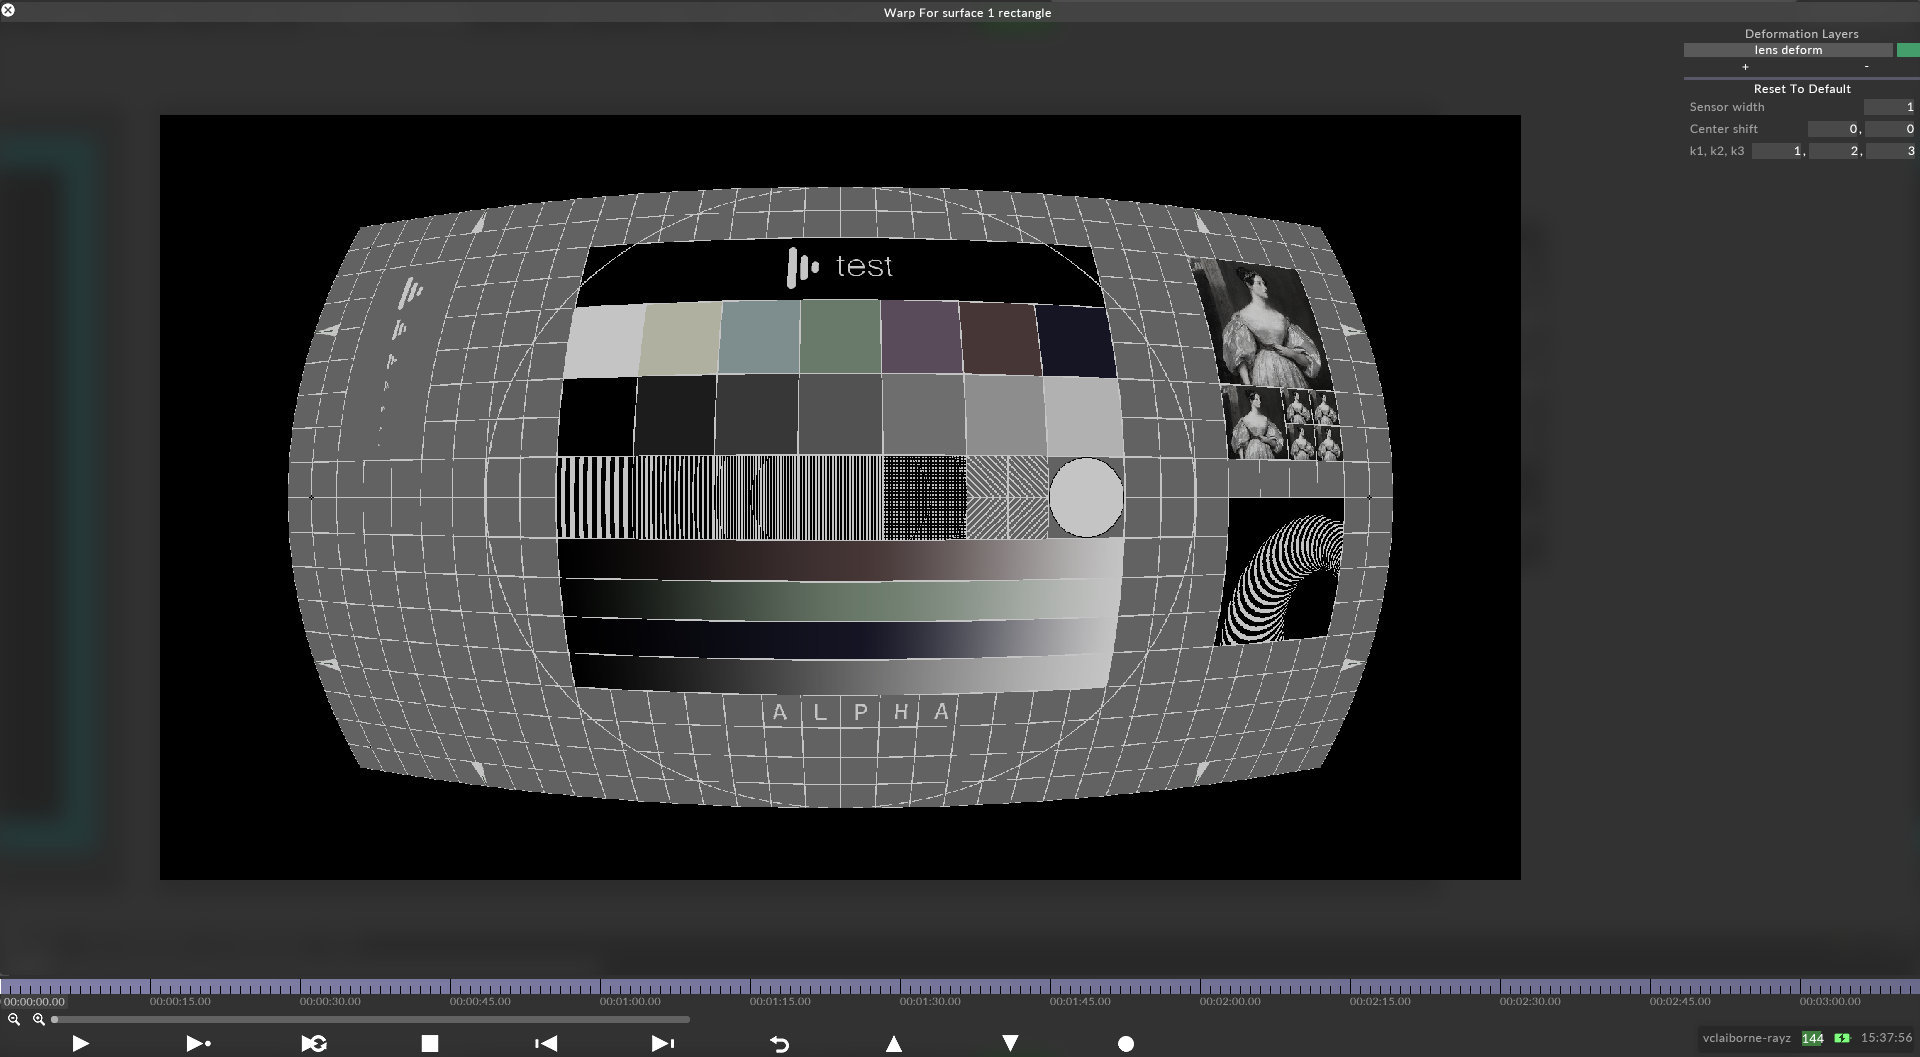
Deformation layers for warping an output feed, opened by left-clicking + under the Deformation Layers title
Please note: Warp points can be added to the output so you can see exactly which part of the output is being manipulated
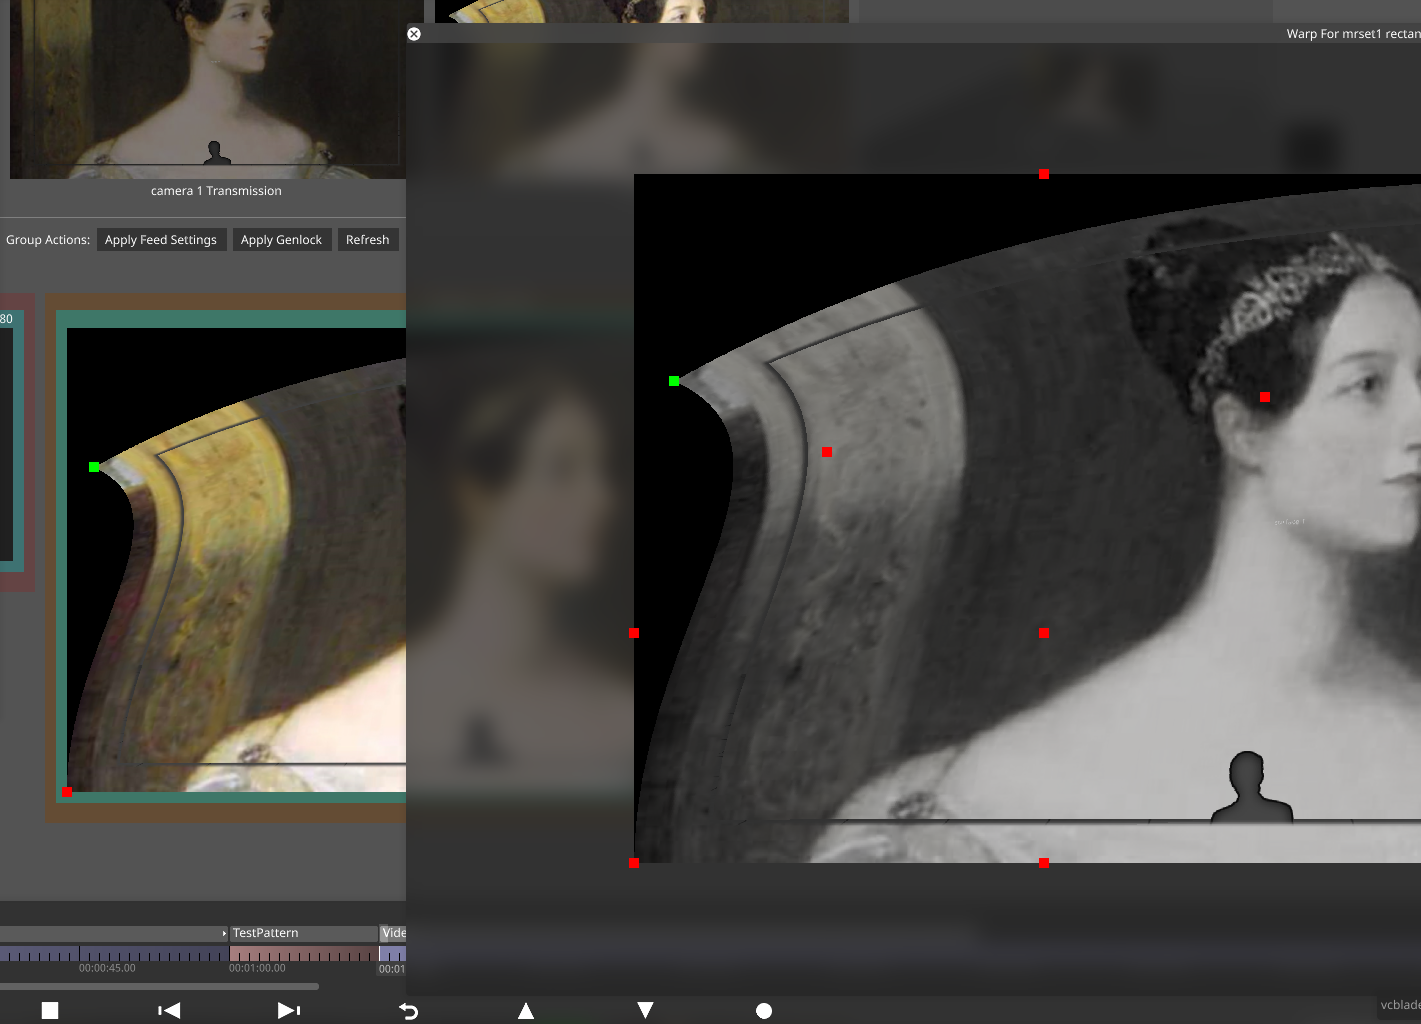
Warp points being added to an output

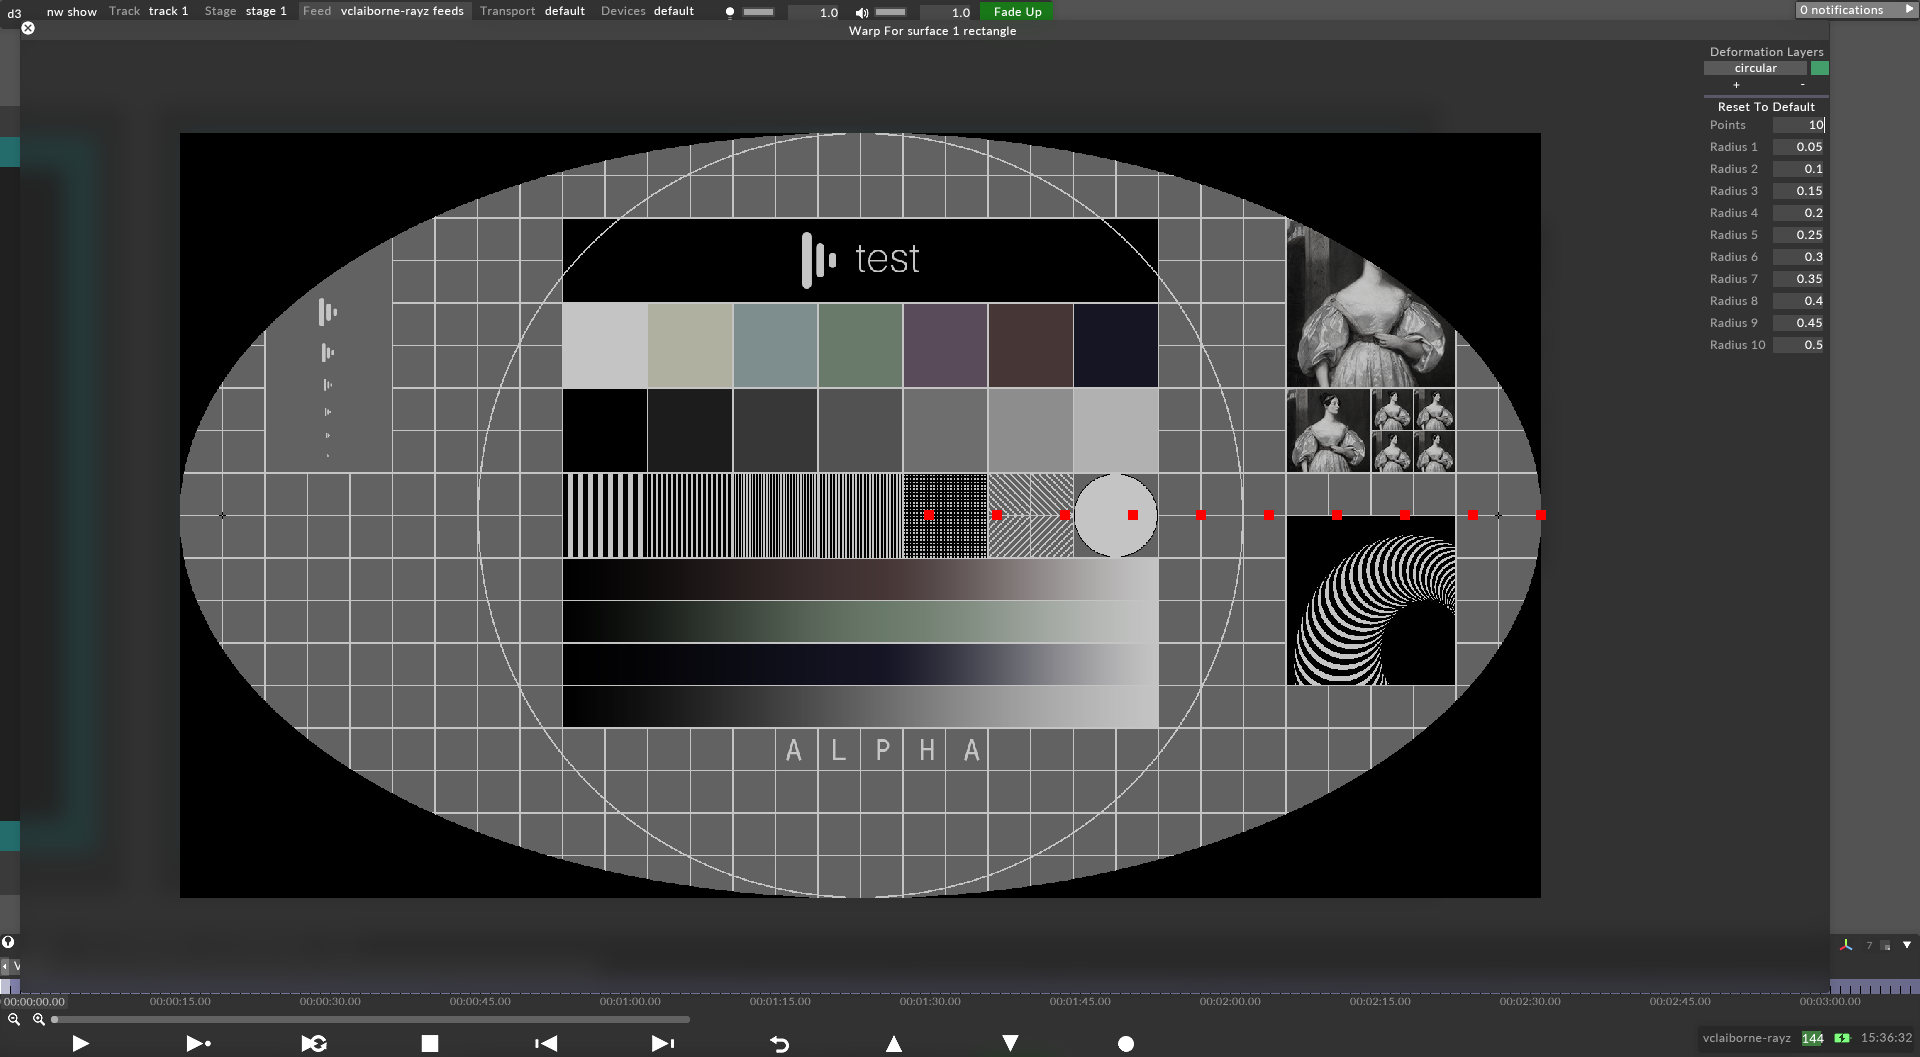
Drag any of the 4 points inwards to globally adjust the warping of the output. Adjust the horizontal and vertical bias to shift-scale the content.
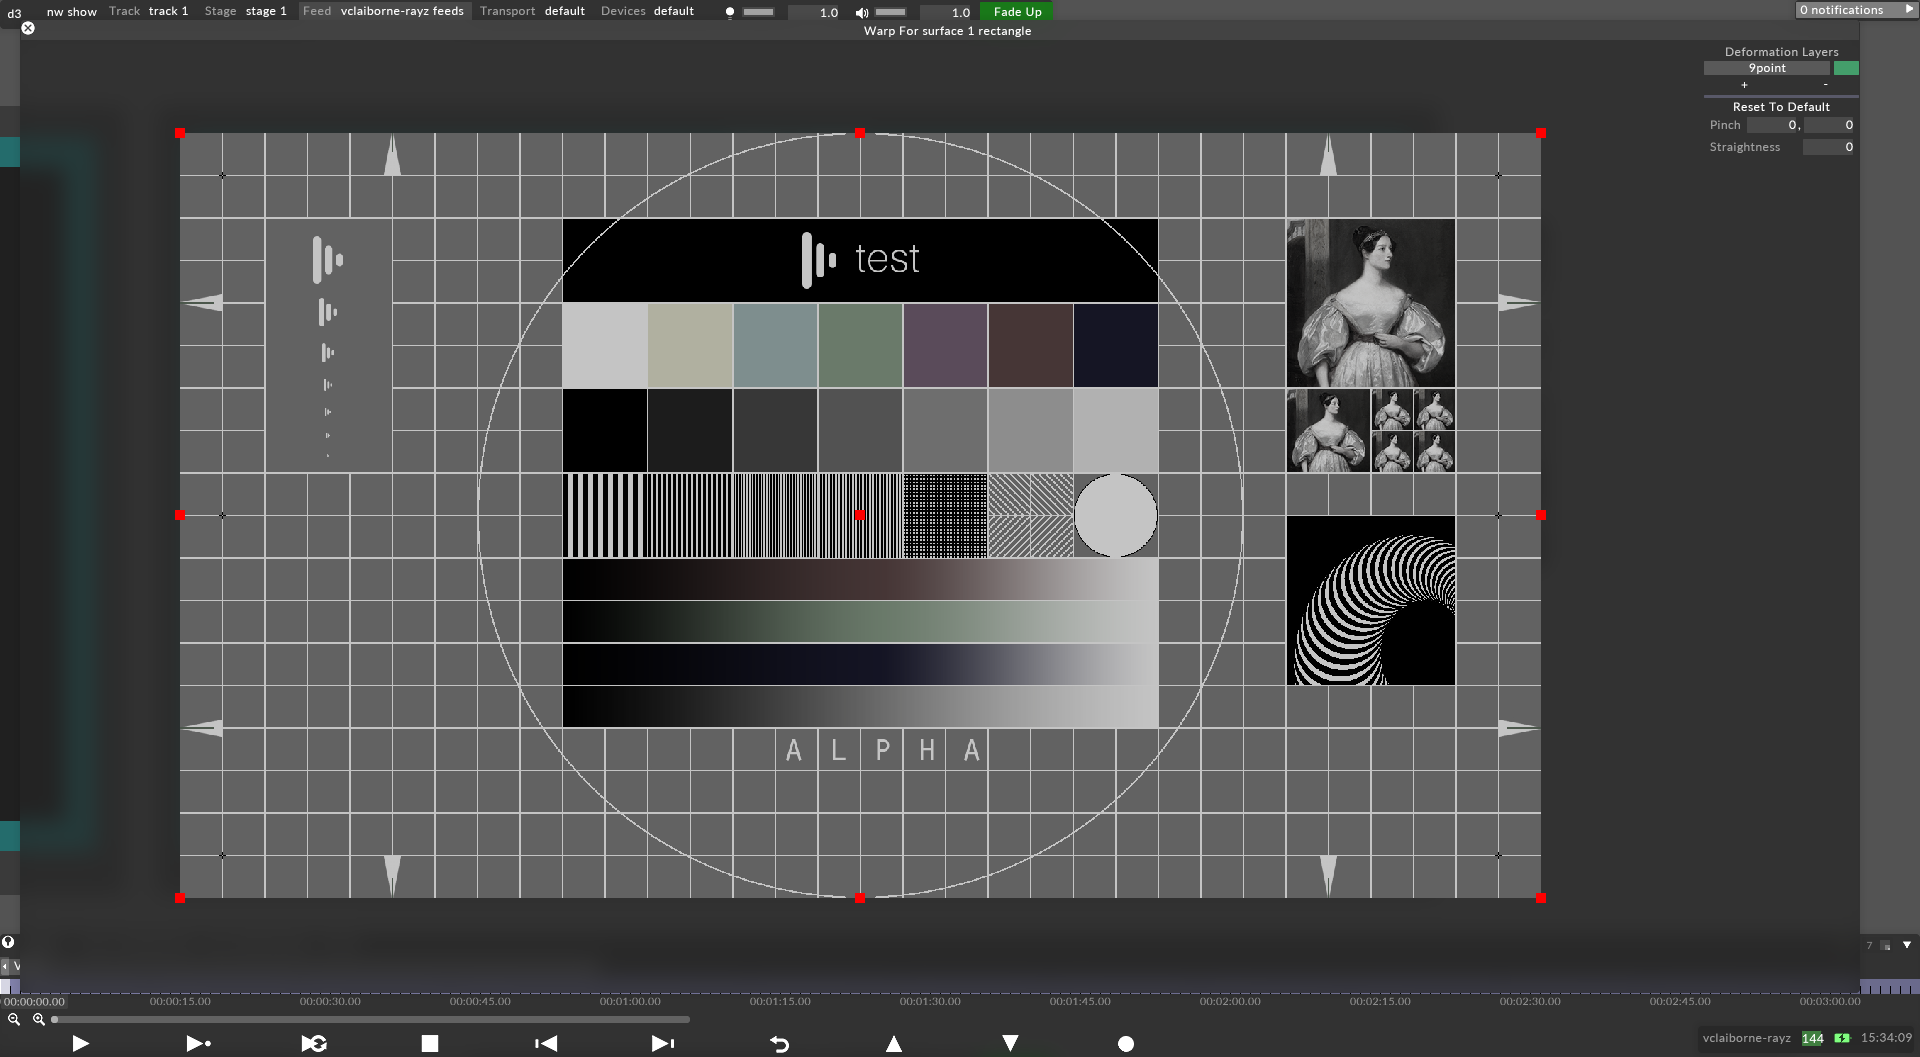
9point warp allows you to drag 9 points inwards and adjust the pinch and straightness between them. This feed warp is useful when projecting onto a cylindrical screen when not using Projector Simulation. It easily conforms a rectangular output to fit to a cylindrical screen.
Creates an arbitrary number of grid points on the output which can be group-selected. You can use this when local warping on an object is required.
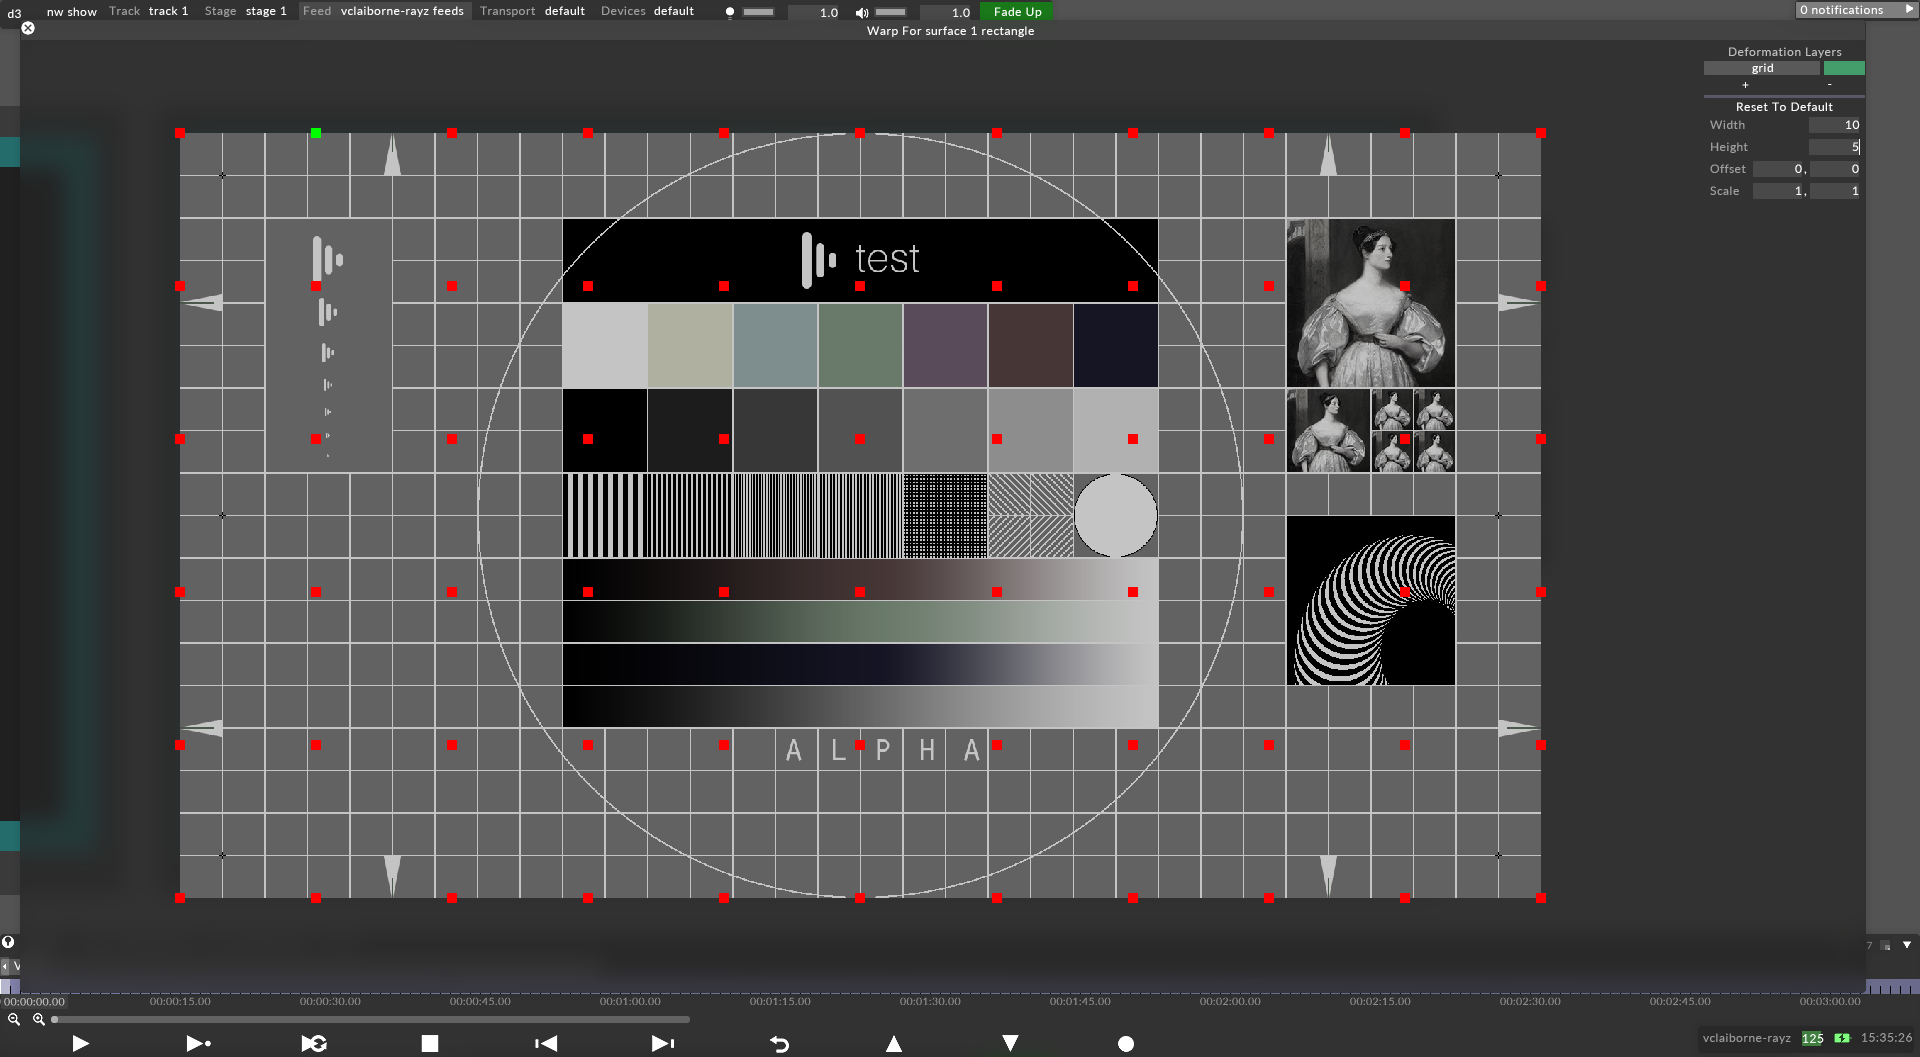
Warp points can be added to the output so you can see exactly which part of the output is being manipulated