Rendering Stage movies
Stage movies render the content in the Stage levels Stage Visualiser, allowing the client or entire production team to know exactly what the latest update is on the project.
Please note: before rendering a Stage movie the AnimateCamera2 layer can be used to create camera fly-throughs of the show. Please see the AnimateCamera2 layer sub-chapter for more information.
How to render Stage movies
-
Specify the settings of the Stage movie as described in the previous sub-chapter video output settings.
-
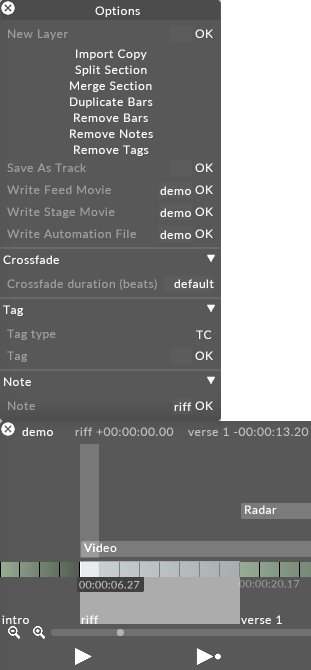
Hold down the left Shift key and click-drag a rectangle across the Track bars to be rendered.
-
Open the Track bars menu by right-clicking the selection rectangle.
-
Type in the name of the Stage movie into the write movie (stage) text field.

-
Hit Enter to render the Stage movie. The Stage movie will be saved in a new folder called output inside the specific Project folder. For information on where the specific Project folder is located please see the sub-chapter Projects location/structure.
If there is not enough time to render a Stage movie screenshots of the stage may suffice. For more information on this useful feature please see the rendering screenshots sub-chapter.