Rendering screenshots
Screenshots can be made of the Stage or Feed levels.
These can be used for:
-
allowing the client or entire production team to know exactly what the latest update is on the project, particularly if there is not enough time for rendering Stage movies.
-
matching the position of the Feed rectangles in their Display heads to an LED processor when configuring outputs.
How to make a screenshot:
-
Specify the file format used for saving screenshots as described in the section below.
-
If the Track Player is obscuring part of the shot close it by left-clicking the x icon in the top left corner of the Track Player. To re-open the Track Player, left-click track in the d3 State editor (bar at the top of the screen).
-
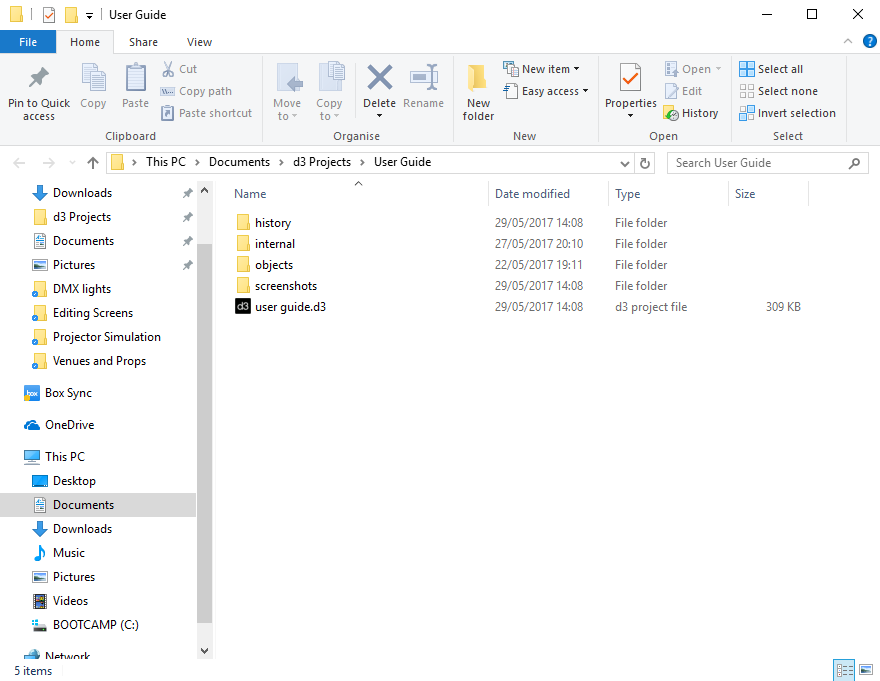
Hit Alt-X . The screenshots are saved in a new folder called screenshots inside the specific Project folder. For information on where the specific Project folder is located please see the sub-chapter Projects location/structure. To learn the other d3 shortcuts please see the sub-chapter Shortcuts.
Warning: it is recommended not to delete or rename screenshots in the screenshots folder. If screenshots are renamed or deleted, ensure the screenshots ascend numerically in name with no gaps, for example 'screenshot_00000, 'screenshot_00001, 'screenshot_00002, otherwise the most recent screenshot will be overwritten and lost when a new screenshot is made.
Specifying the screenshot file format
-
Open the Projects Settings menu by right-clicking d3 from the dashboard (bar at the top of the screen) and selecting project settings.
-
In the Screenshots tab, Select an option from the menu of file formats by left-clicking output format. There are five file formats to choose from: .png .jpeg .bmp .tif .dds.
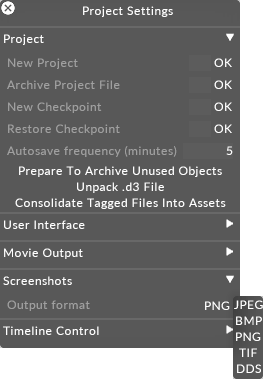
Output Screenshot Format property within the Program Settings menu points to the five screenshot file saving formats