This feature allows you to control the full range of 3D object transforms (translation, rotation and scale) of an object in Unreal Engine from Disguise softwareusing a null object.
If you wish to expose the Transform (i.e. position, rotation and scale) of an Actor, you must ensure that the Actor’s Mobility is set to ‘Movable' from within the Details panel. If this is not done, Disguise softwarewill only be able to control the Actor’s scale. Follow these steps to configure the 3D object transforms of an object within an Unreal Engine scene:
Unreal Engine Level Blueprint setup
-
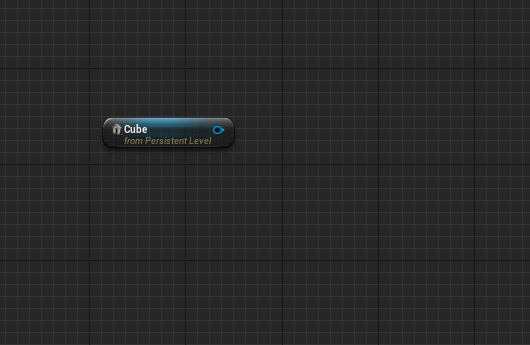
To control the transforms of an Actor (eg. Cine Camera Actor, Static Mesh Actor) from within Disguise software, start by dragging the Actor into the Level Blueprint.
-
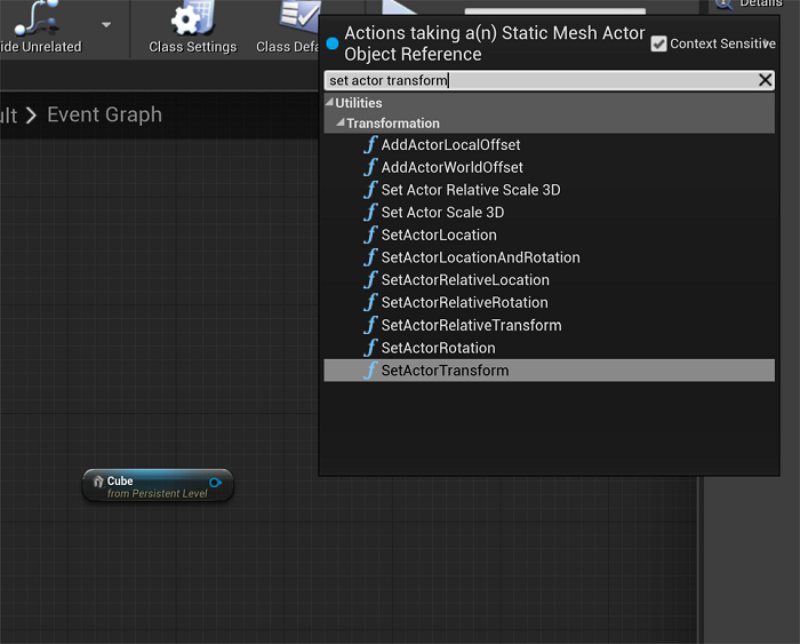
Drag the blue pin from the a new node in the Event Graph. When prompted to search for a new action, search for “SetActor Transform”.
-
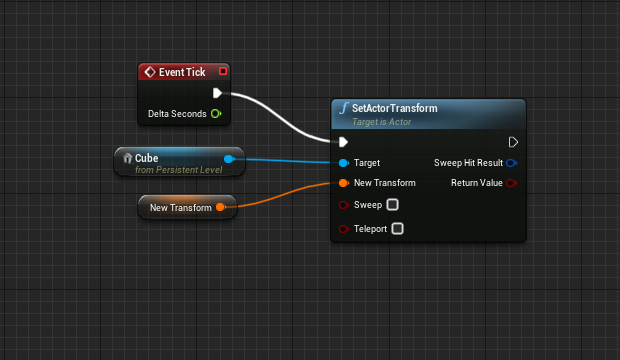
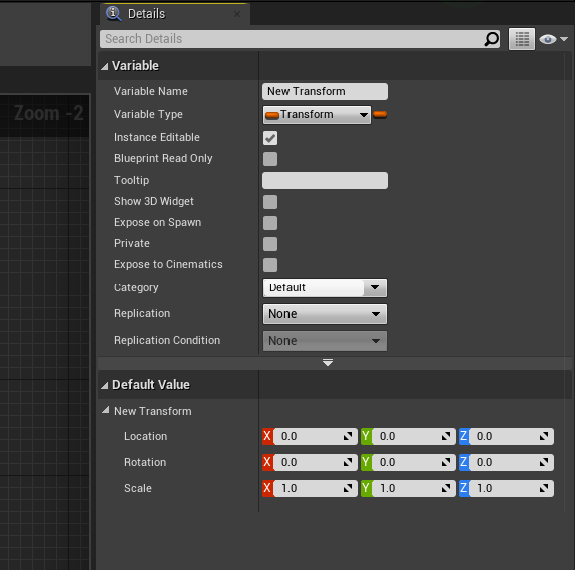
Right click on the “New Transform” and select the option to “Promote to Variable”.

-
The next step is to link this to the “Event Tick”.
-
Now Compile the Blueprint. This will give you the ability to set the default transforms of that object. Be sure to set “New Transform” to Instance Editable
-
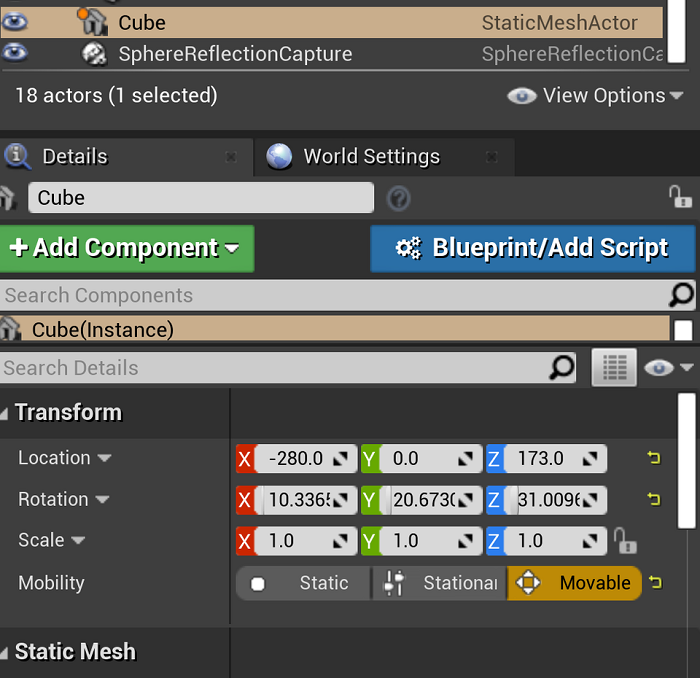
The last step is to make the object “Movable”. In the default scene all the objects will be set to static; this can be changed in the Object details panel.
-
Save and close the Unreal Engine project
-
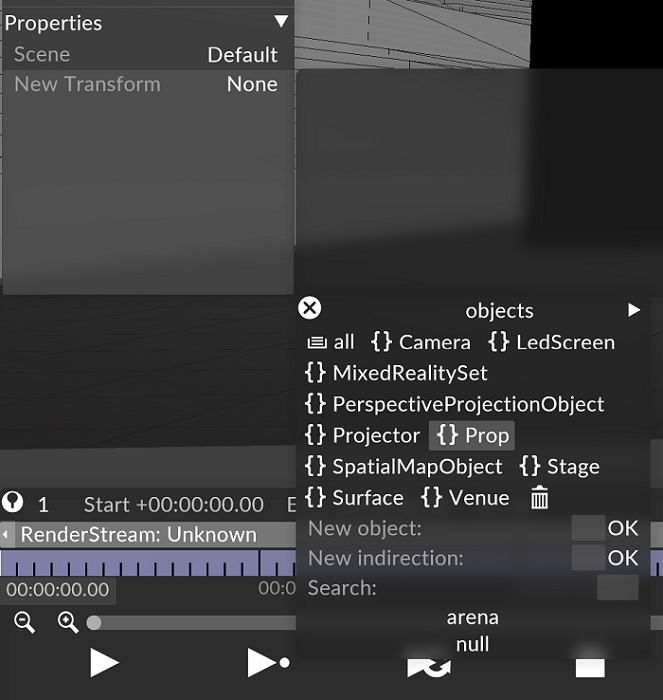
You can now control the Actor from within Disguise software by selecting a prop to link its transforms to from within the RenderStream Layer Properties tab.
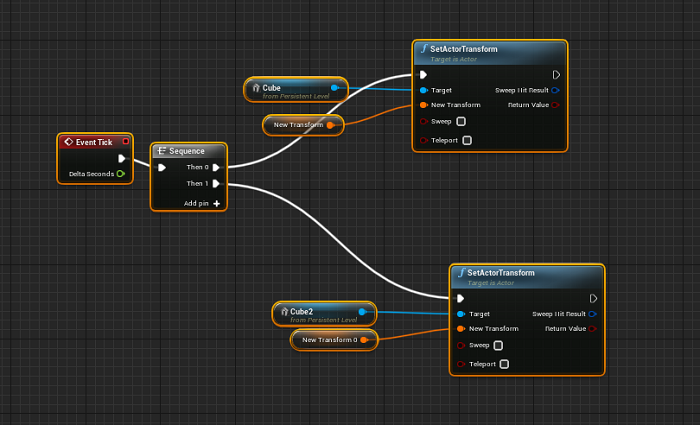
Please note: “Event Tick” allows only one output, if controlling more than one parameter from disguise, you will use a “Sequence” node to split the “Event Tick”. Add a Sequence Node by right clicking and searching for “Sequence”.