Update System - 4x4pro
Internal system restore is the process of doing a factory restore on the system.
REDISGUISE is the process of doing an update or restore on the system using a bootable USB drive.
Neither of these restore processes affects the media drive of the server.
Internal Restore
This procedure will only work with OS version 10 and greater.
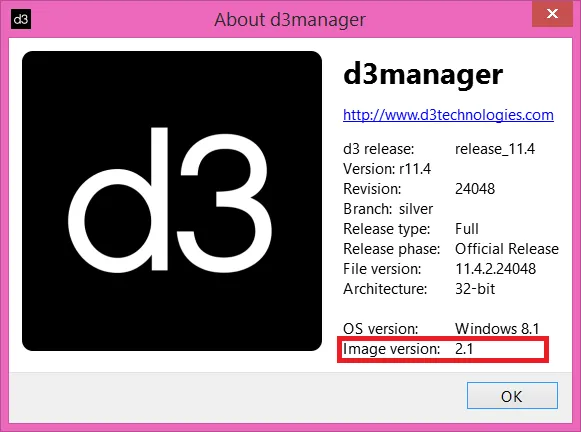
To locate your OS version please go to d3manager- Help - About d3manager.
Re-imaging the system
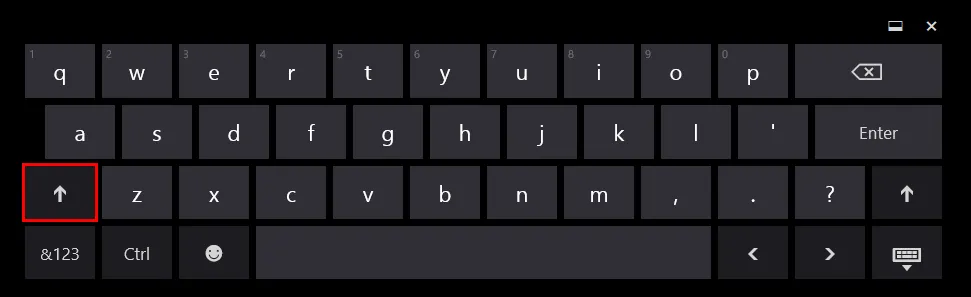
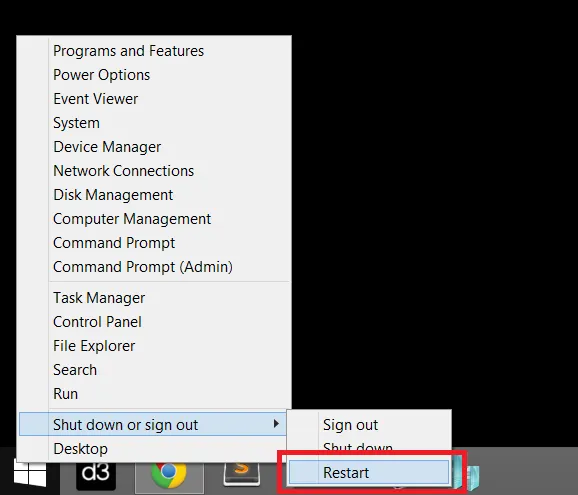
- Hold down shift whilst restarting the system.
- Select Use another operating system
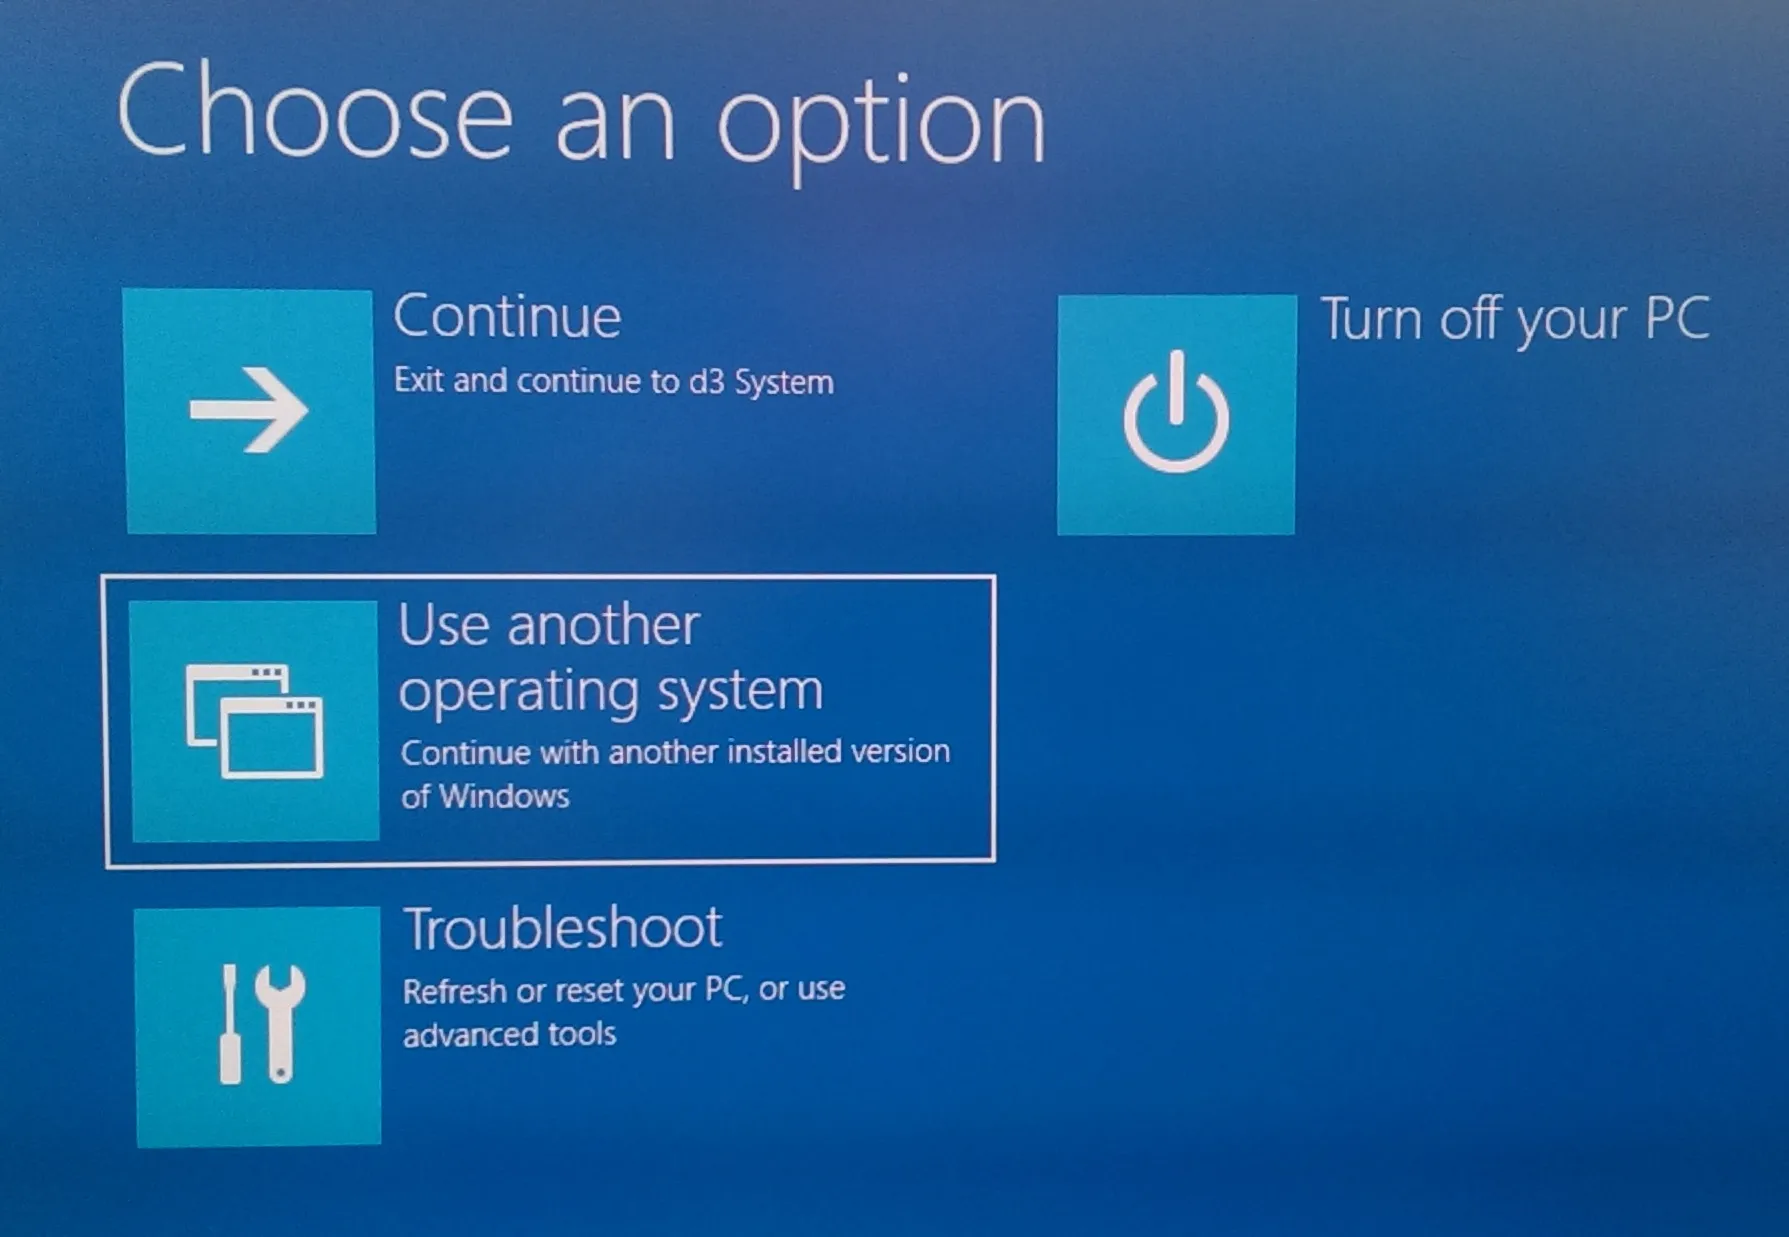 3.Select Reset OS.
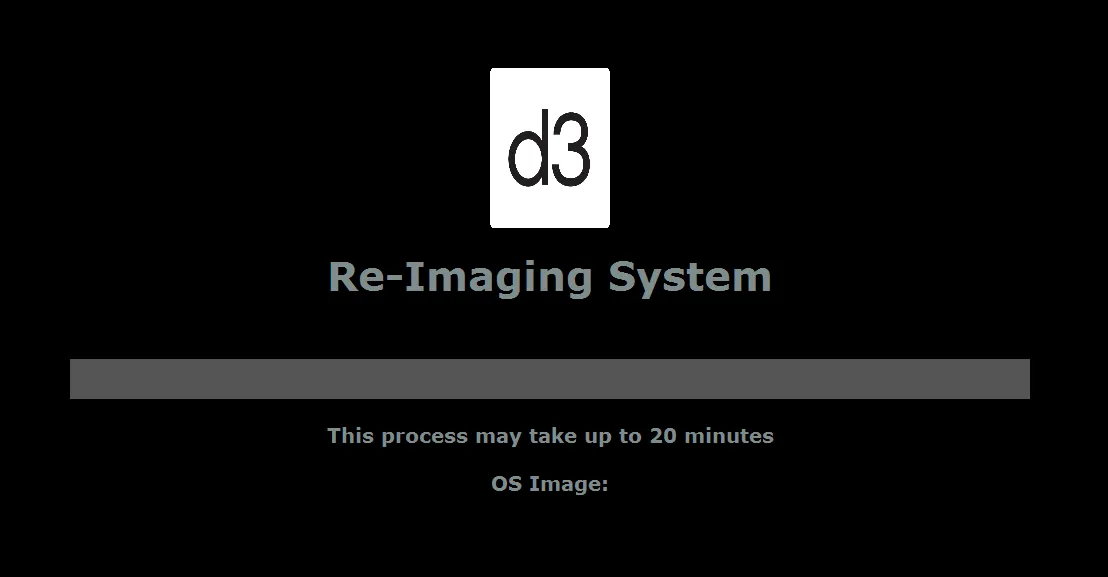
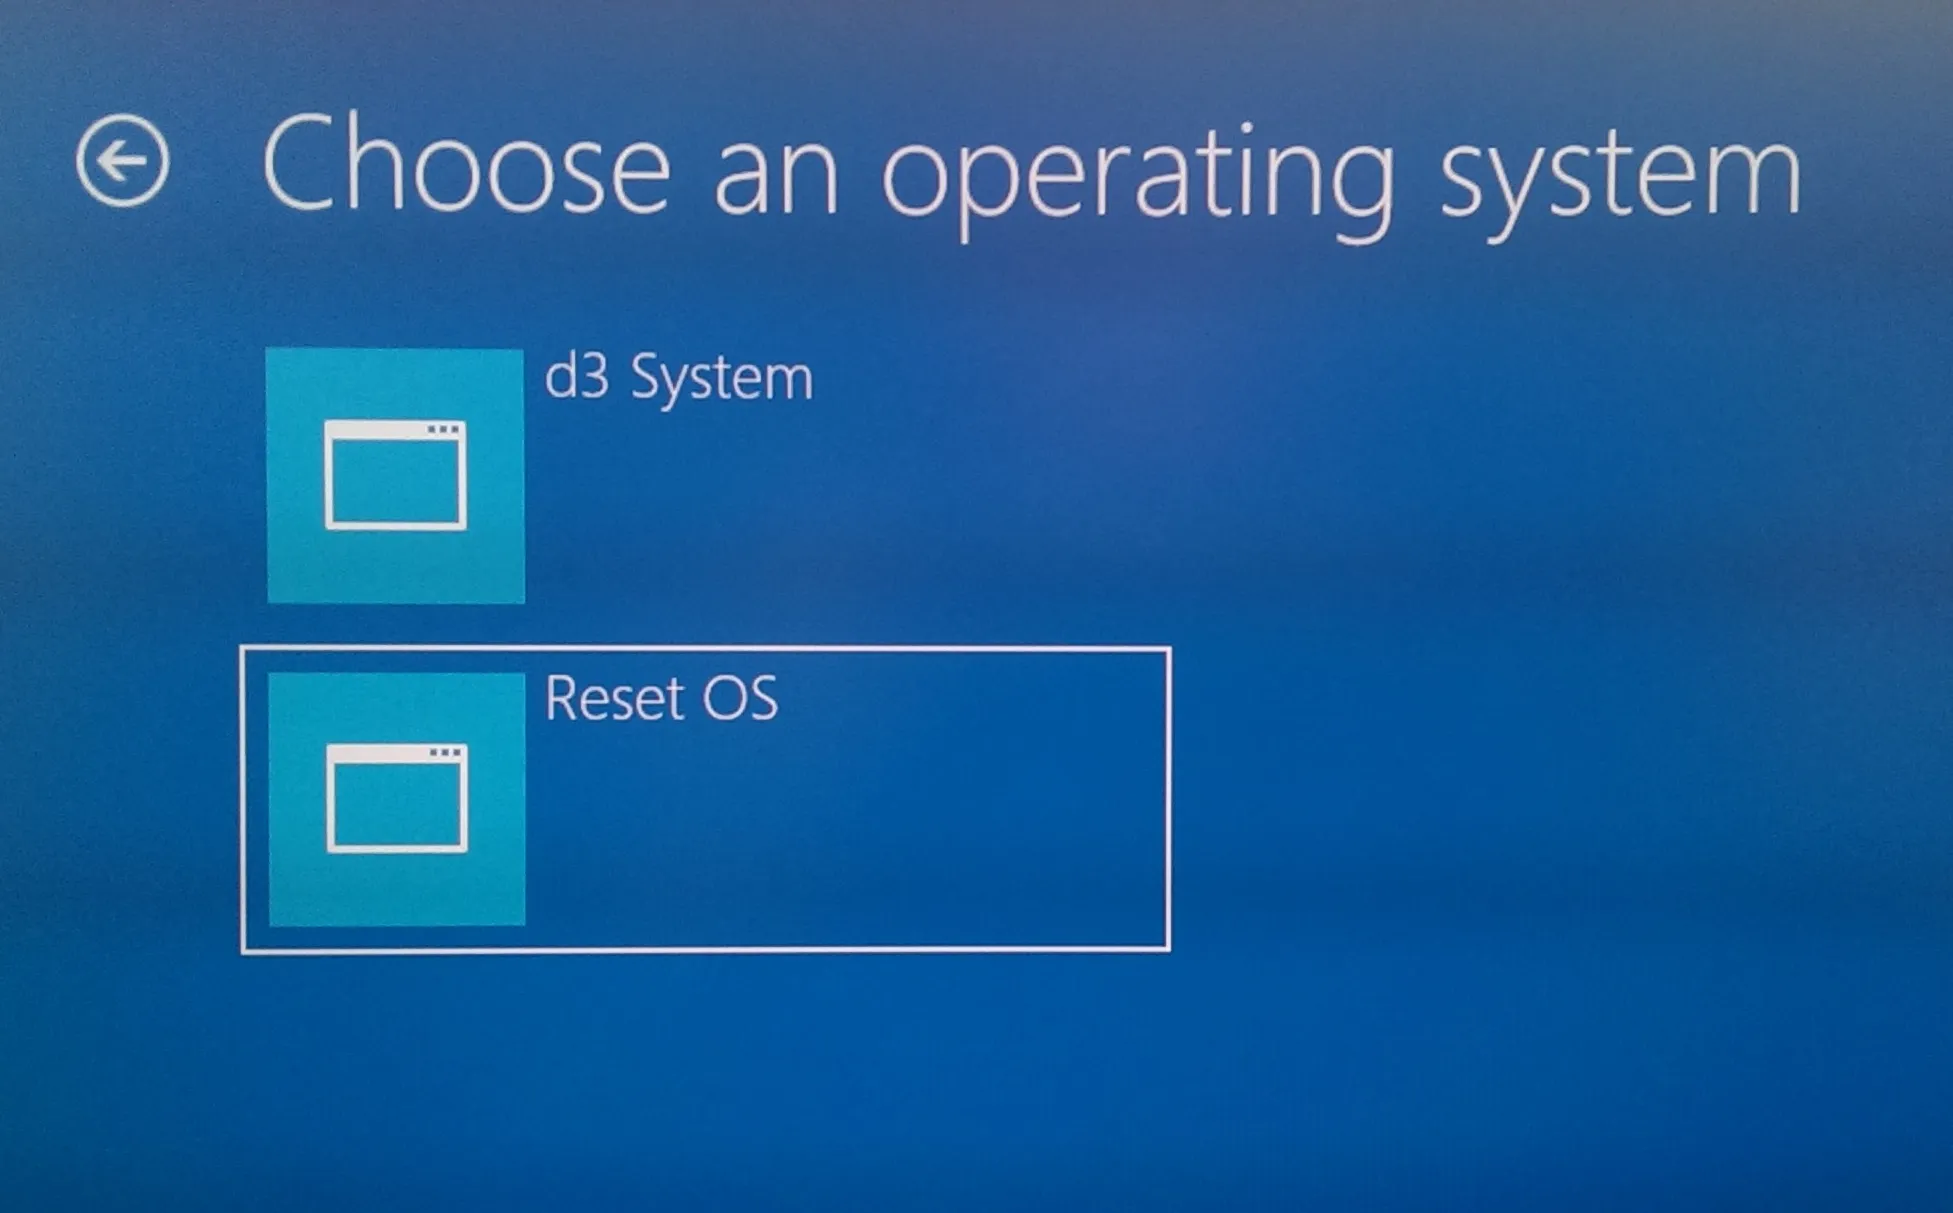 4.The system will reboot into the internal re-imaging system which will reinstall the Operating System and revert to factory settings.
Activating windows
Windows should activate automatically, as long as the machine was connected to the internet for the duration of the re-imaging process.
If windows does not activate during the re-imaging process, follow these steps.
- Wait for a few minutes after the re-imaging process has completed to allow the server time to activate Windows.
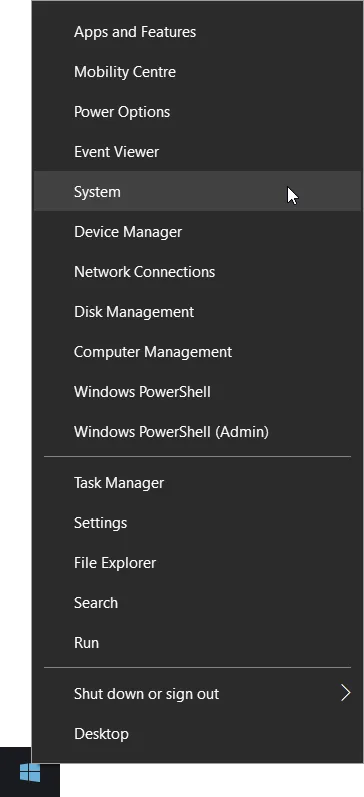
- Navigate to the System tab by right clicking on the Windows start menu and selecting System.
- In the System window, check to see if you have valid Windows license information visible. If you do not, contact the Disguise support team.
REDISGUISE
The system needs to be connected to the internet during this procedure.
This process can be used to update to a newer OS image, or revert to a previous OS image.
To tell what OS image your system is on please go to the help menu in and select About Manager.
You will need
- A version of Rufus to turn it into a bootable disk. Make sure the volume name of the usb is: “REDISGUISE” as per image
- An internet connection to the machine you are re-imaging
- Download and install a version of 7Zip
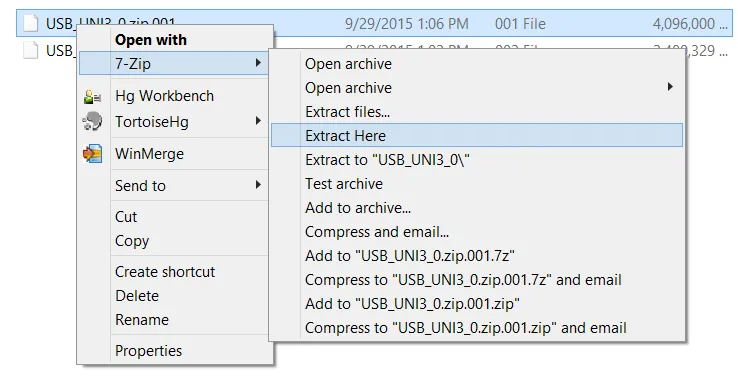
- Download and unzip the multifile archive using 7Zip
- OS images can be found here.
Create Bootable USB device
- Download and unzip the multi-file archive using 7Zip (NOTE: you will only need to unzip file 001):
- Create Bootable USB stick with the unzipped ISO.
The settings should be:
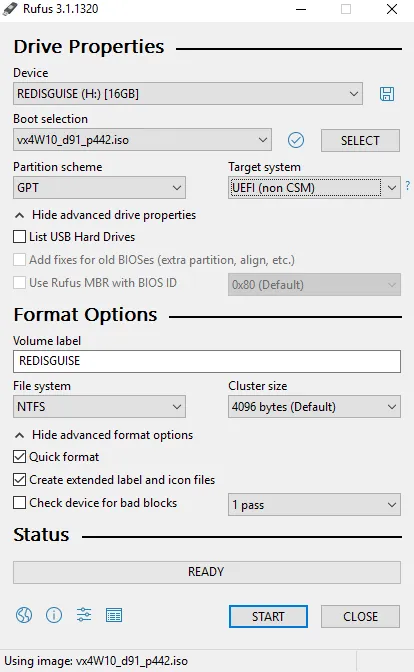
- Partition scheme - MBR
- Target system - BIOS (or UEFI-CSM)
- Volume label - automatically pulled from ISO file
- File system - NTFS
Booting into the USB
- Insert the USB Device into the USB2.0 (white) port on the back of the system.
- Plug a keyboard into the other USB2.0 (white) port.
- Invoke boot options whilst your Pro Range system is booting by pressing the F11 key on the BIOS splash screen.
- Select your USB key from the menu. Normally it is listed as the name of the Vendor of the USB key. Please be aware of the Press any key to boot from USB message as this will disappear quickly if you are running a version of Rufus prior to v3.
- After this you will need to press Enter once to boot into the usb and the re-imaging process will commence. This should take around 20 minutes to complete and will include three system restarts which will be part of the automated process.
- The system will boot up in a Windows in-activated state. Wait 20-30 seconds for Microsoft’s servers to successfully authorise the system. With a mouse connected to any of the USB ports right-click on the start icon on the task bar and select system. This will prompt the system to update its activation state.
- You can download the latest version of Designer from here and you will be good to go!