Editing Scenes
Global Settings
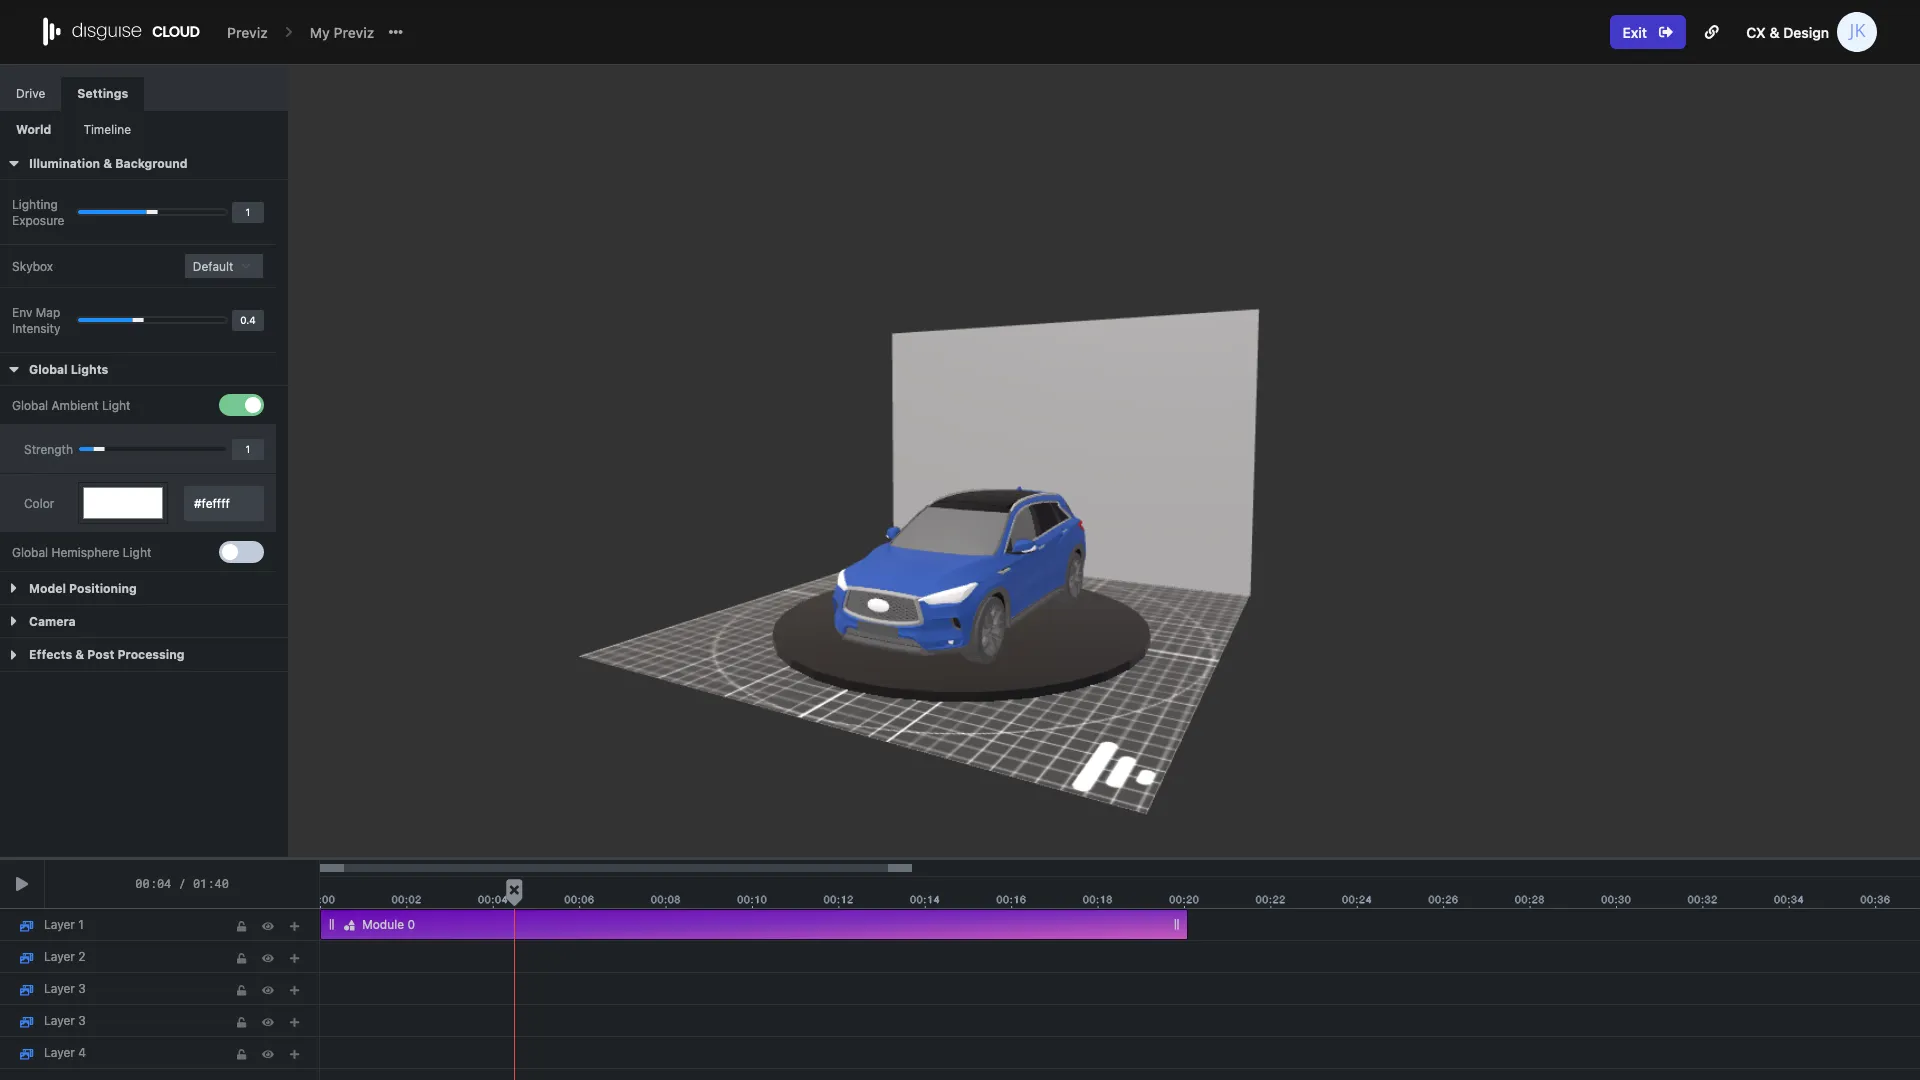
Section titled “Global Settings”Previz offers you a convenient way to tweak your basic model settings including lighting and positioning to make sure your model is rendered exactly the way you want it. These options can all be controlled in the Viewer tab in the scene editor. Changes are rendered in real time and saved automatically.
Illumination
Section titled “Illumination”The illumination field allows you to edit the lighting exposure for the scene.
Note: This is independent of any lights you may have within your scene.
To edit the lighting exposure:
- In the content view pick the scene you wish to edit.
- Whilst in edit mode in the sidebar navigate to the Viewer tab and then the World sub-tab.
- In the Illumination field adjust the lighting exposure by either clicking and adjusting the slider or by editing the number input field.
Note: The slider adjusts a range from 0 to 2. The number input will allow any value.

Illumination & background
Global Lighting
Section titled “Global Lighting”There are two lights added to every scene by default.
- Global Ambient Light
- Global Hemisphere Light
It is up to you whether to use these or not. If you have setup lighting in your imported 3D scene it is likely that you will want to turn both of these off.
Global Ambient Light
Section titled “Global Ambient Light”This light globally illuminates all objects in the scene equally. This light cannot be used to cast shadows as it does not have a direction.
- In the content view pick the scene you wish to edit.
- Whilst in edit mode in the sidebar navigate to the Viewer tab and then the World sub-tab.
- In the Illumination field adjust the lighting exposure by either clicking and adjusting the slider or by editing the number input field.
Global Hemisphere Light
Section titled “Global Hemisphere Light”- In the content view pick the scene you wish to edit.
- Whilst in edit mode in the sidebar navigate to Settings.
- In the Illumination field adjust the lighting exposure by either clicking and adjusting the slider or by editing the number input field.
Global lights and illuminations
Model Positioning
Section titled “Model Positioning”There are three ways in which you can edit your model position.
- World Scale
- World Position
- World Rotation
World Scale
Section titled “World Scale”Editing World Scale allows you to set the relative scale of your model in relation to the world space.
To edit the world scale:
- In the content view pick the scene you wish to edit.
- Whilst in edit mode in the sidebar navigate to the Viewer tab and then the World sub-tab.
- In the World Scale field adjust the scale by either clicking and adjusting the slider or by editing the number input field.
Note: The slider adjusts a range from 0 to 2. The number input will allow any value.
World Position
Section titled “World Position”Editing World Position allows you to adjust the XYZ coordinates.
To edit the world position
Section titled “To edit the world position”- In the content view pick the scene you wish to edit.
- Whilst in edit mode in the sidebar navigate to the Viewer tab and then the World sub-tab.
- In the World Position field adjust the coordinates by entering your desired values in the number fields.
Note: You can also adjust these input fields by clicking and dragging.
World Rotation
Section titled “World Rotation”Editing World Scale allows you to set the relative scale of your model in relation to the world space.
To edit the world scale
Section titled “To edit the world scale”- In the content view pick the scene you wish to edit.
- Whilst in edit mode in the sidebar navigate to the Viewer tab and then the World sub-tab.
- In the World Rotation field adjust the coordinates by entering your desired values in the number fields.
Note: You can also adjust these input fields by clicking and dragging.
Set to Defaults
Section titled “Set to Defaults”To reset the model position click set to defaults.