MIDI Device
The MIDI Device allows triggering, automation, and control through standard MIDI messages.
Setting up a MIDI device
Section titled “Setting up a MIDI device”Designer includes the following pre-built MIDI control surfaces:
If you wish to use a MIDI control surface other than the ones provided by default, you can use the MidiDevice device type to create a virtual replica of the real-world MIDI control surface. This control surface can then be used to send MIDI to and from Designer.
- Create a MidiDevice. A MidiDevice is created in the same way as any other device type. See Creating Devices for step-by-step instructions, then select MidiDevice from the menu of different device types. The MidiDevice is initially just a title bar displaying its name as the device currently has no features or properties.

- To open the MidiDevice editor, right-click on the title bar and select edit. The MidiDevice editor is used to create the MIDI control surface.
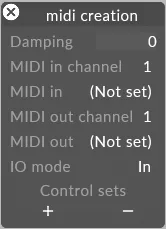
- Set the midi in/midi out properties to the appropriate MIDI port. HDSP9632 are the MIDI ports on the RME breakout cable, or AOI Midi on newer systems.
- Under control sets, select the + button to open the MidiControlSets manager. The MidiControlSets manager contains a list of all the control sets. Note that Designer comes with a series of control sets by default.
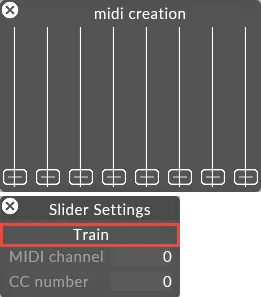
- To create a new control set, type the control set name into the newmidicontrolset text field, in this example sliders, and hit Enter.
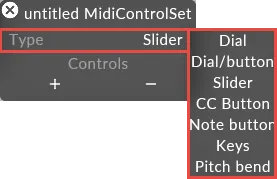
- To specify the type of control set, right-click type and select a control set type from the menu. Options are dial, slider, button, keys and dial/button. This example uses the slider control set type.
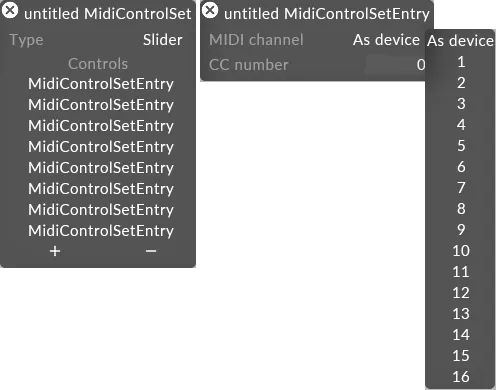
- Select the + button to add the desired number of control objects. In this example ten sliders have been created.
- Set the mode property to in, out or bidirectional depending on how the MIDI data should be sent. bidirectional will set the MIDI data to be sent to Disguise as well as from Designer.
- Repeat the above steps to create the required number of dials/sliders/buttons/keys.
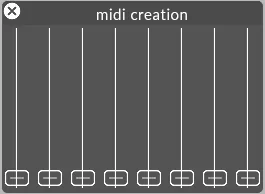
- Once all of the required controls have been created, close and reopen the MidiDevice by right-clicking the device from the Devices menu.
Notice that the MidiDevice is no longer a title bar, but is now a virtual replica of a MIDI control surface.
Assigning controls to a control surface
Section titled “Assigning controls to a control surface”The next task is to assign the controls to a control surface.
- To link a control to a control surface, right-click on the specific control, for example slider 1.
- Move or change the encoder value on the control surface. Disguise will learn the encoder and store it. Repeat this step for the encoders that are to be used.
Assign a MIDI control to a layer property
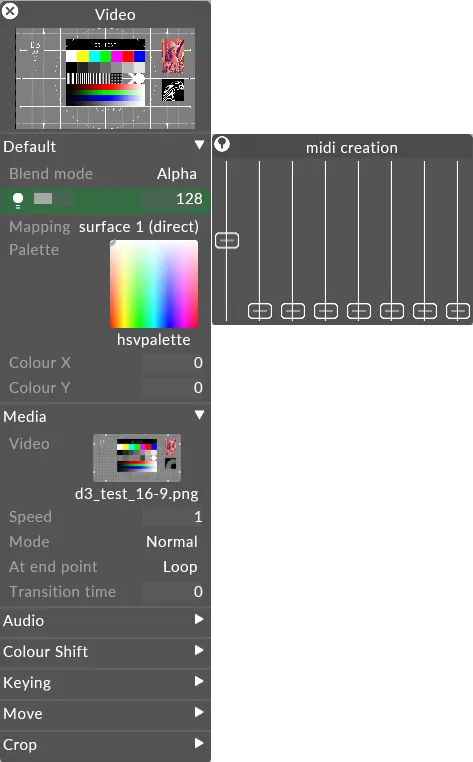
Section titled “Assign a MIDI control to a layer property”- Hold Alt and left-click and drag from the encoder to a layer property to apply MIDI control to that property. This will draw a white arrow. For more information on Arrows, see Compositing layers using Arrows.
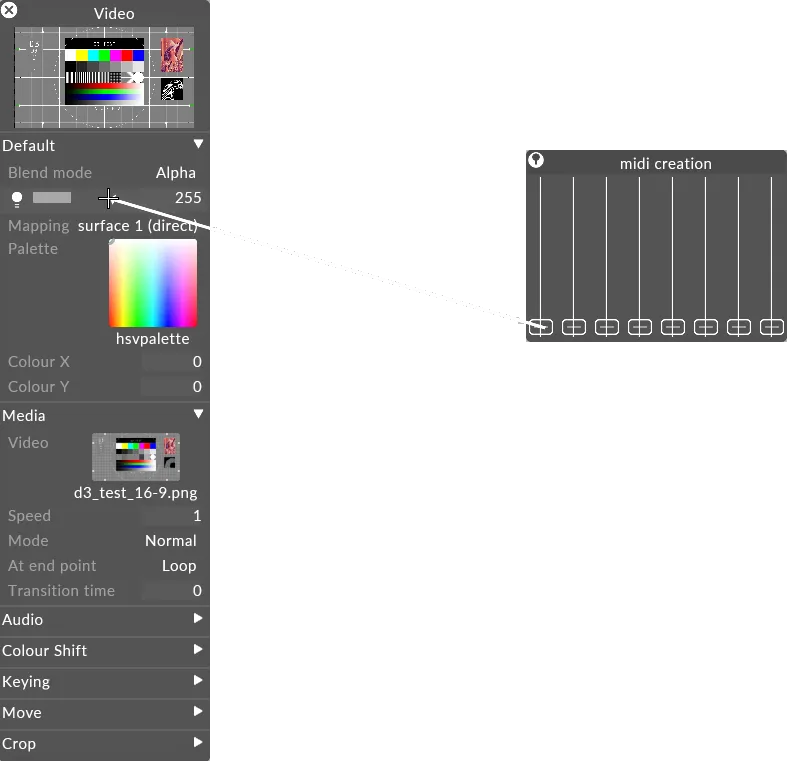
- Release the mouse button to assign the encoder to the specific layer property. The layer property will turn green once the link has been successfully created.
- To check the expression that is being used by a layer property, right-click on the specific property. This will open a small editor containing the expression.
For more information on expressions see Expressions.