Editing Props
- Right-click a prop directly in the Stage level. or
- Right-click the prop’s name from the list of props in the Props Manager menu. Read the Creating/Removing props sub-chapter above to learn how to open the Props Manager/Props menu.
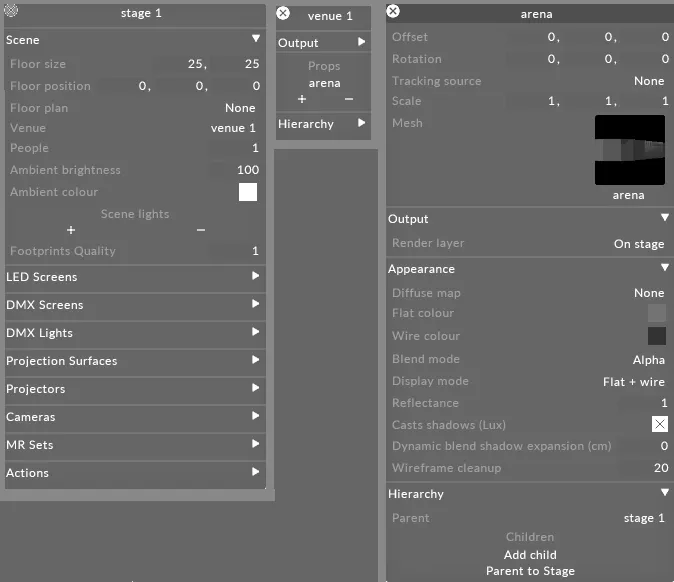
Prop properties
Section titled “Prop properties”Offset
Section titled “Offset”Offset values are expressed in meters and are based on the original prop position along the x, y, z in the 3D application it was exported from.
Rotation
Section titled “Rotation”The rotation value is always based around the origin point in the 3D application it was exported from. For example, if you export a cube which is offset 10m to the right in Blender it will show up 10m to the right in the stage. When you change the rotation values it will rotate around the origin in Disguise, rather than the local origin of the object.
To avoid this, you should export the object at the origin 0,0,0 of your 3D application. Then offset it 10m in the stage. When you rotate the object in Disguise it will now rotate around its local axis.
The scale property is a multiplier. It multiplies the prop size with its original size as exported from the 3D application.
This points to the Mesh file that defines the shape of your props. Selecting this property will open the Mesh object library, which shows all of the Mesh .obj files saved on your local hard-drive in the Mesh folder.
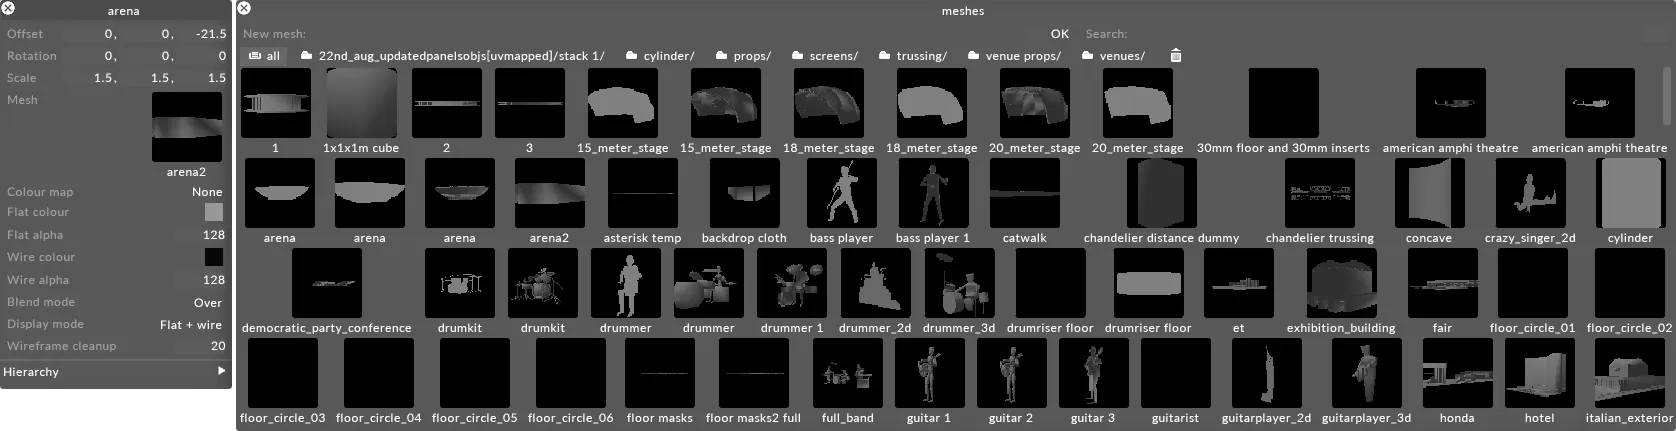
To change a prop mesh
Section titled “To change a prop mesh”- Left-click mesh to open the Mesh object library.
- Left-click the mesh you want to replace the currently active mesh. This will update the prop mesh.
If you want to use any other shape than the standard prop meshes provided in Designer, you will need to use a UV-mapped .obj file of the prop.
Diffuse Map
Section titled “Diffuse Map”This points to the Texture file that defines a prop’s texture. You can use this property to create and apply a texture to a prop, allowing you to visualise your stage as realistically as possible. Selecting this property will open the Texture object library, which shows all of the still image files saved on your local hard-drive in the DxTexture folder.
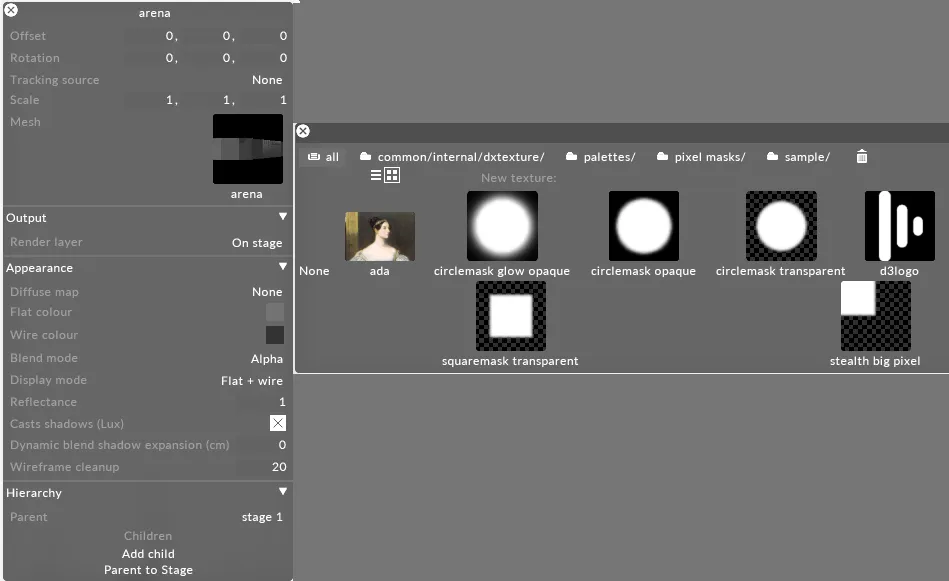
To apply a texture to a prop
Section titled “To apply a texture to a prop”- Left-click texture to open the Texture object library.
- Left-click the texture you want to apply to the prop.
If you want to use a texture other than the standard still images provided in , you will need to use a custom still image file.
Flat colour
Section titled “Flat colour”This property defines the color of a prop.
Wire colour
Section titled “Wire colour”This defines the color of the wire-frame of the Prop. In order to see the wire-frame you need to set the props Display Mode to either flat+wire or wireframe.
Blend mode
Section titled “Blend mode”This controls how the props contents are composited with the rest of the objects in the stage.
Over: should be used for non-transparent props.
Add: should be used for screens that are totally invisible when there is no content on them.
Alpha: should be used for screens that are partially transparent.
Display mode
Section titled “Display mode”This controls the different shading types of the prop.
Hidden: does not render the prop.
Flat: only renders a flat shaded prop.
Wireframe: only renders a wire-frame of the prop.
Flat+wire: renders a flat shaded prop with highlighted edges.
Wireframe cleanup
Section titled “Wireframe cleanup”This defines the level of detail of the wire-frame rendering. The default value is 20. The lowest value is 0 which will render the most wire-frames, and the maximum value is 255 which will render the least wire-frames.
Further reading
Section titled “Further reading”See the Placing media files for a project sub-chapter to understand where to place a mesh .obj file and how to access it in the software. Also save the file to a supported file format.