Creating Layers
A layer can be created using two methods.
You can create a layer without a name, but it is recommended that you name your layers so that the Timeline is easier to understand.
Option 1
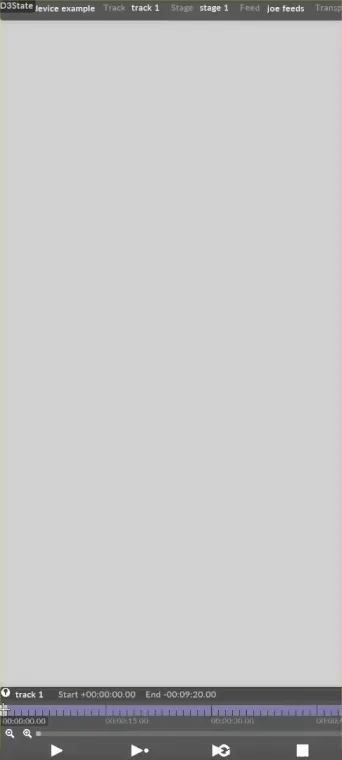
Section titled “Option 1”- Right-click the Track bar at the point on the Timeline where you want to create the layer. This will open the Track bars menu.
- Type the name of the layer in the new layer text field and hit Enter.
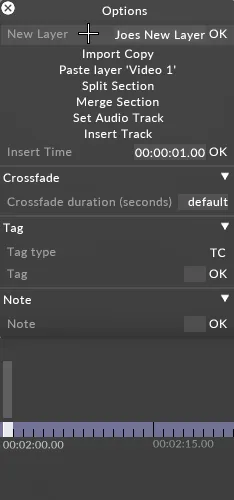
- The layer menu is separated into different layer categories (content, control, effects, generative and previsualisation) with each category grouped under a collapsible separator.
- Typing into the search box opens up separators automatically to show you matching layer types.
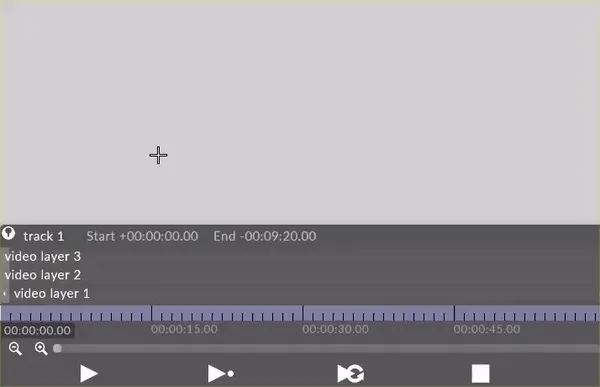
- Left-click the layer you want to create. This will create the new layer at the point on the Timeline you selected. The layers editor should also open in the top-left corner of your screen. You can now edit the layer or restructure the layer.
Option 2
Section titled “Option 2”- Select a Track bar at the point on the Timeline where you want to create a layer.
- Hit Ctrl+L. A list of all of the layers available in will open.
- Left-click the layer you want to create. This will create the new layer at the point on the Timeline you selected. You can now edit the layer or restructure the layer.