PreComps
A PreComp (or pre-composition) in Designer acts as a virtual screen for you to write content to which can then be used as an input to another effect or composition. It also provides an alternative to the arrowing system which was limited to a one to one input, whereas a PreComp can be many inputs to many sources.
Creating a PreComp
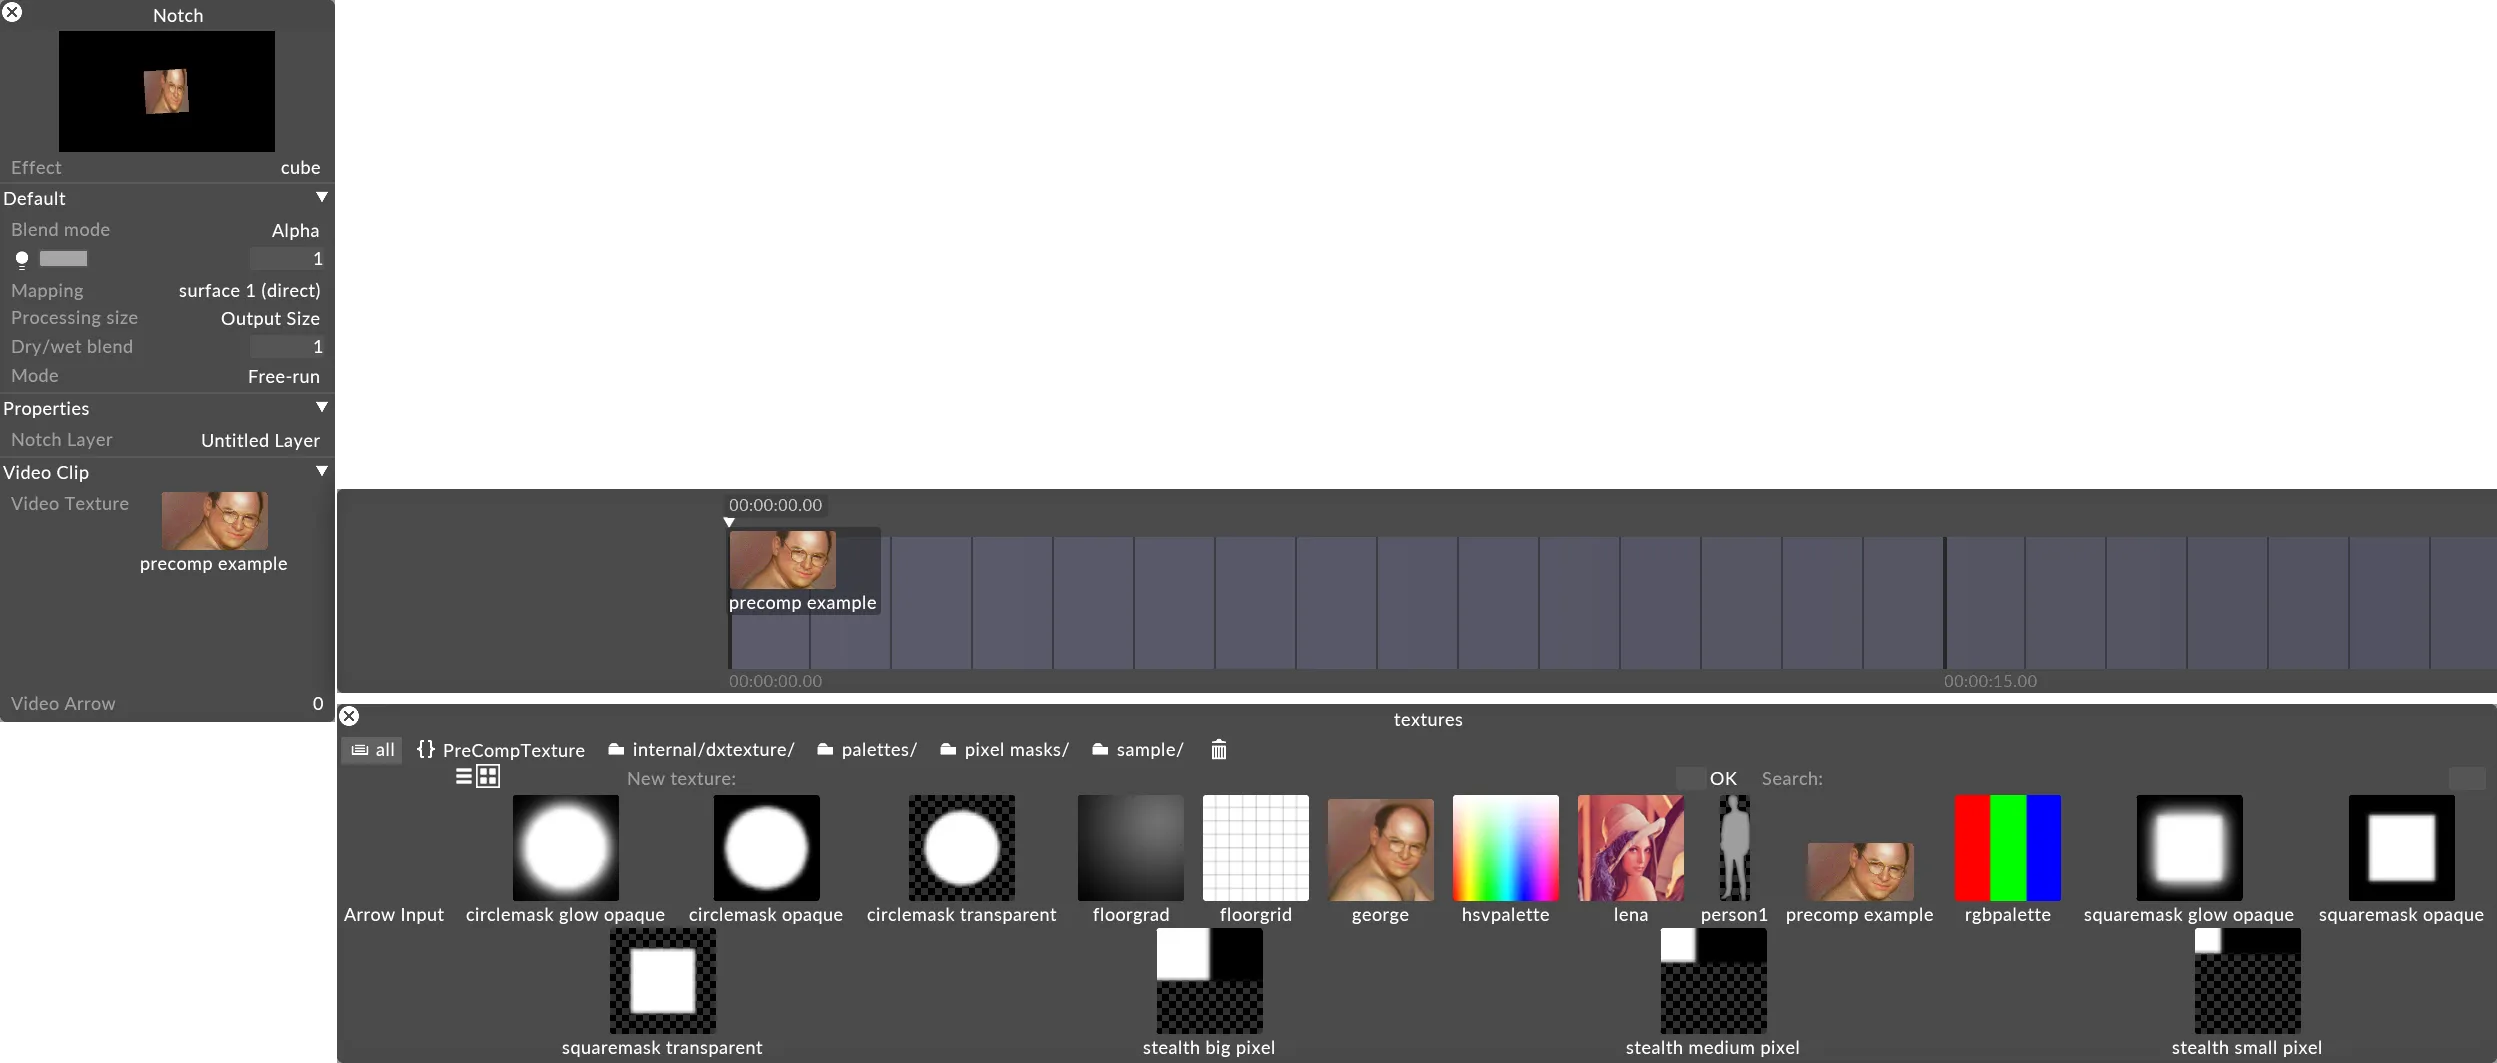
Section titled “Creating a PreComp”A PreComp is created like other textures in Designer such as masks, from the Textures menu, which can be accessed from any layer that utilizes a texture input. Like any other texture, once it is created, it will be stored in the Textures menu and can be used in other locations.
- Create a new layer and select a layer type that has a Texture source property. The Bitmap layer is the simplest one to use.
- In the new texture field, enter a name for your PreComp. Choose PreComp Texture as the texture type.
- Set the desired resolution for the PreComp, just as you would do if this was a real, physical screen. This should correspond to the resolution of the screen it will be mapped to.
Render to PreComps
Section titled “Render to PreComps”Once you have created a PreComp, a new default Direct mapping will now be present in the Mappings Manager, allowing you to route content into the PreComp from a content layer.
- Create a layer and left-click on the content layer in the timeline to open the layer’s properties.
- Set the layer to display the desired content.
- Under the Mapping properties field, select the mapping with the same name as the newly created PreComp.
Now your layer is targeting the PreComp just like it would any screen in the project. PreComps can also be added to other mappings as if they were screens.
Using PreComps as a source for an Effect Layer
Section titled “Using PreComps as a source for an Effect Layer”The PreComp can be used as the Source texture input to an effect layer.
- Create an Effect layer and position it above the source layers.
- Set the Effect layer mapping to the screens the content will be shown on. You may not select a mapping that targets another PreComp.
- Set the source layer mappings to target PreComp textures.
- Set one or more source input fields on the effect layer to take the PreComp texture as input.
- Once you do this you will see an orange arrow pointing from each layer rendering to a PreComp to the effect layer. This tells you your PreComps are configured correctly.

Using PreComps in multiple tracks
Section titled “Using PreComps in multiple tracks”Designer supports sharing PreComp textures between tracks. So long as one track has a layer targeting the PreComp under it’s playhead, all other transports can utilize that PreComp. The tracks will composite to the PreComp in the same order they would to any screen, from bottom to top of the multi-transport.
Previewing a PreComp
Section titled “Previewing a PreComp”- Right-click on the thumbnail in the Layer properties window.
- Use middle mouse button to pan around the expanded preview.