Projection Examples - Pelt mapping
Pelt mapping is suitable for projection surfaces curving across multiple axes, which areproblematic to unwrap using other mapping types, for example a body or a head.
How the UV map is generated
Section titled “How the UV map is generated”The Pelt map features a stretcher that can be manipulated by springs to pull the UV map outwards. This enables precision control over the UV coordinates to ensure they are evenly distributed across the most complex surfaces, which other mapping types are incapable of completely unwrapping.
Step 1 - Generating the UV map (3ds Max)
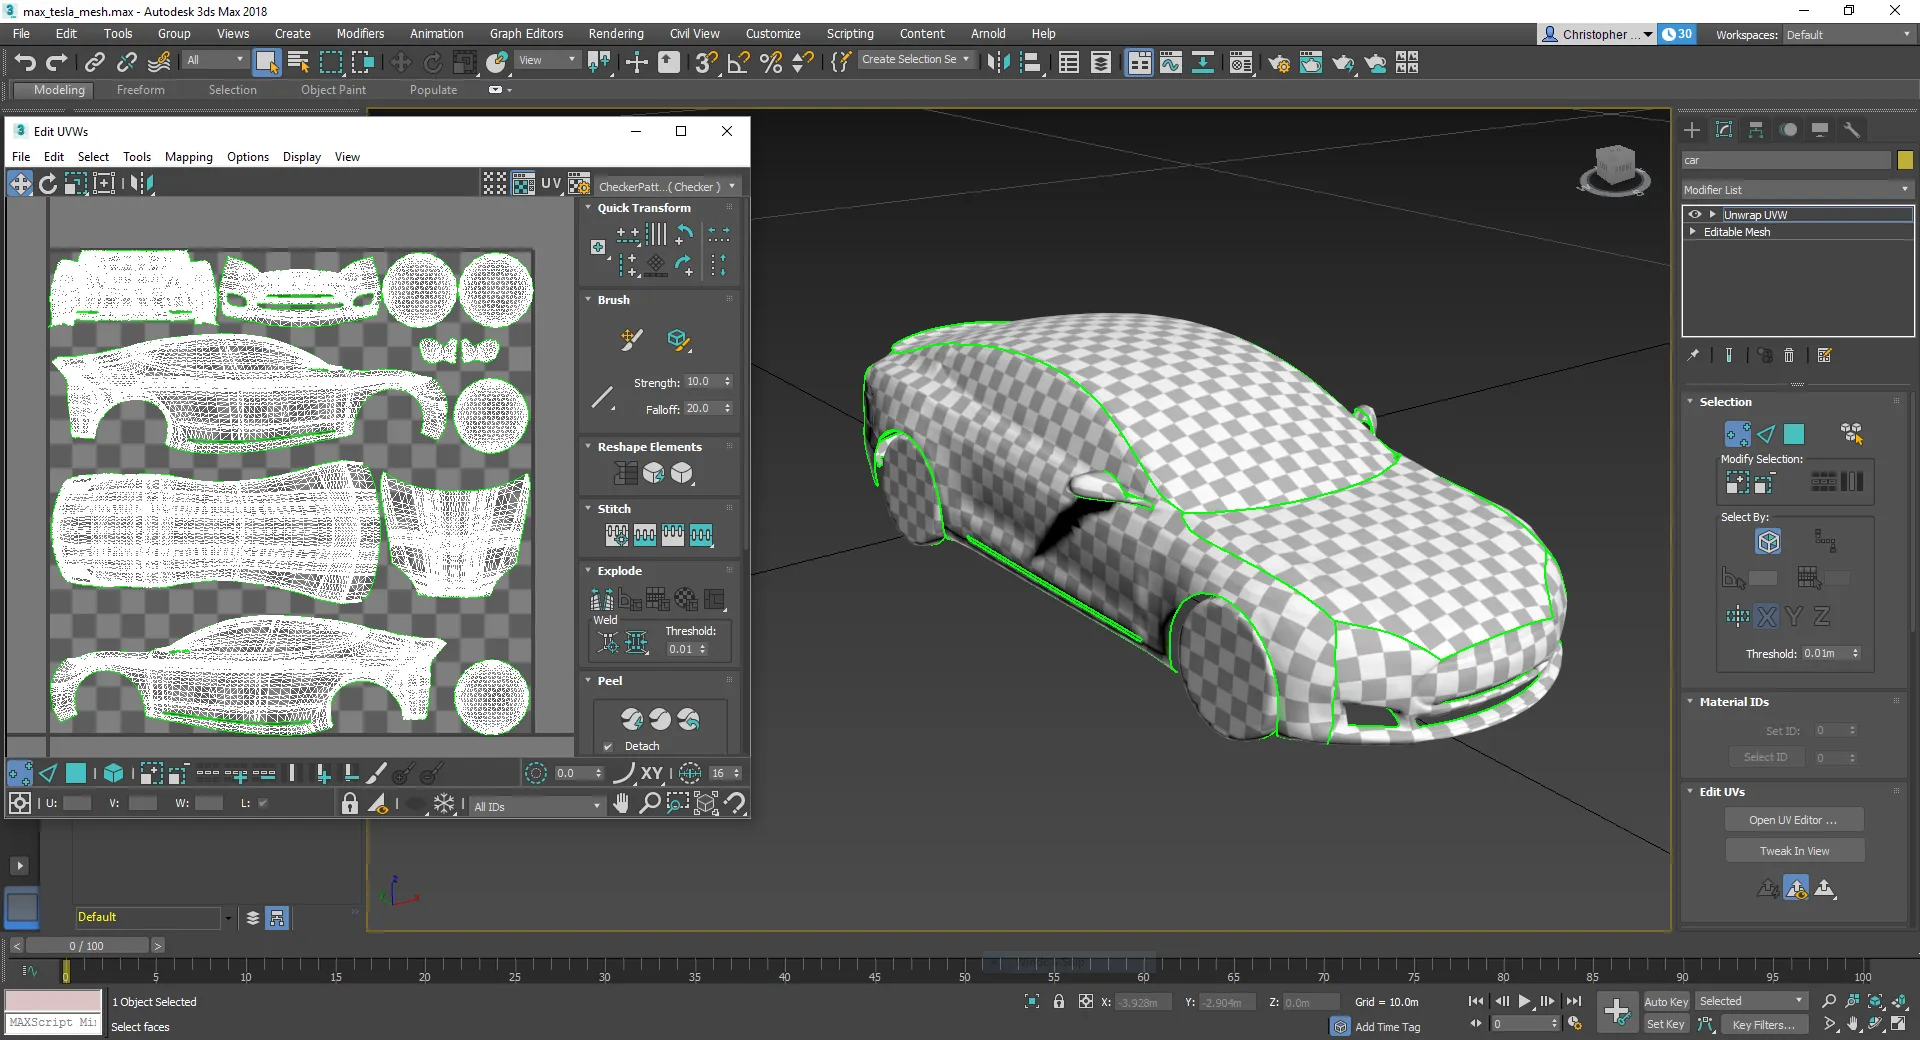
Section titled “Step 1 - Generating the UV map (3ds Max)”- Select the Unwrap UVW modifier.
- From the list of projection types select pelt mapping.
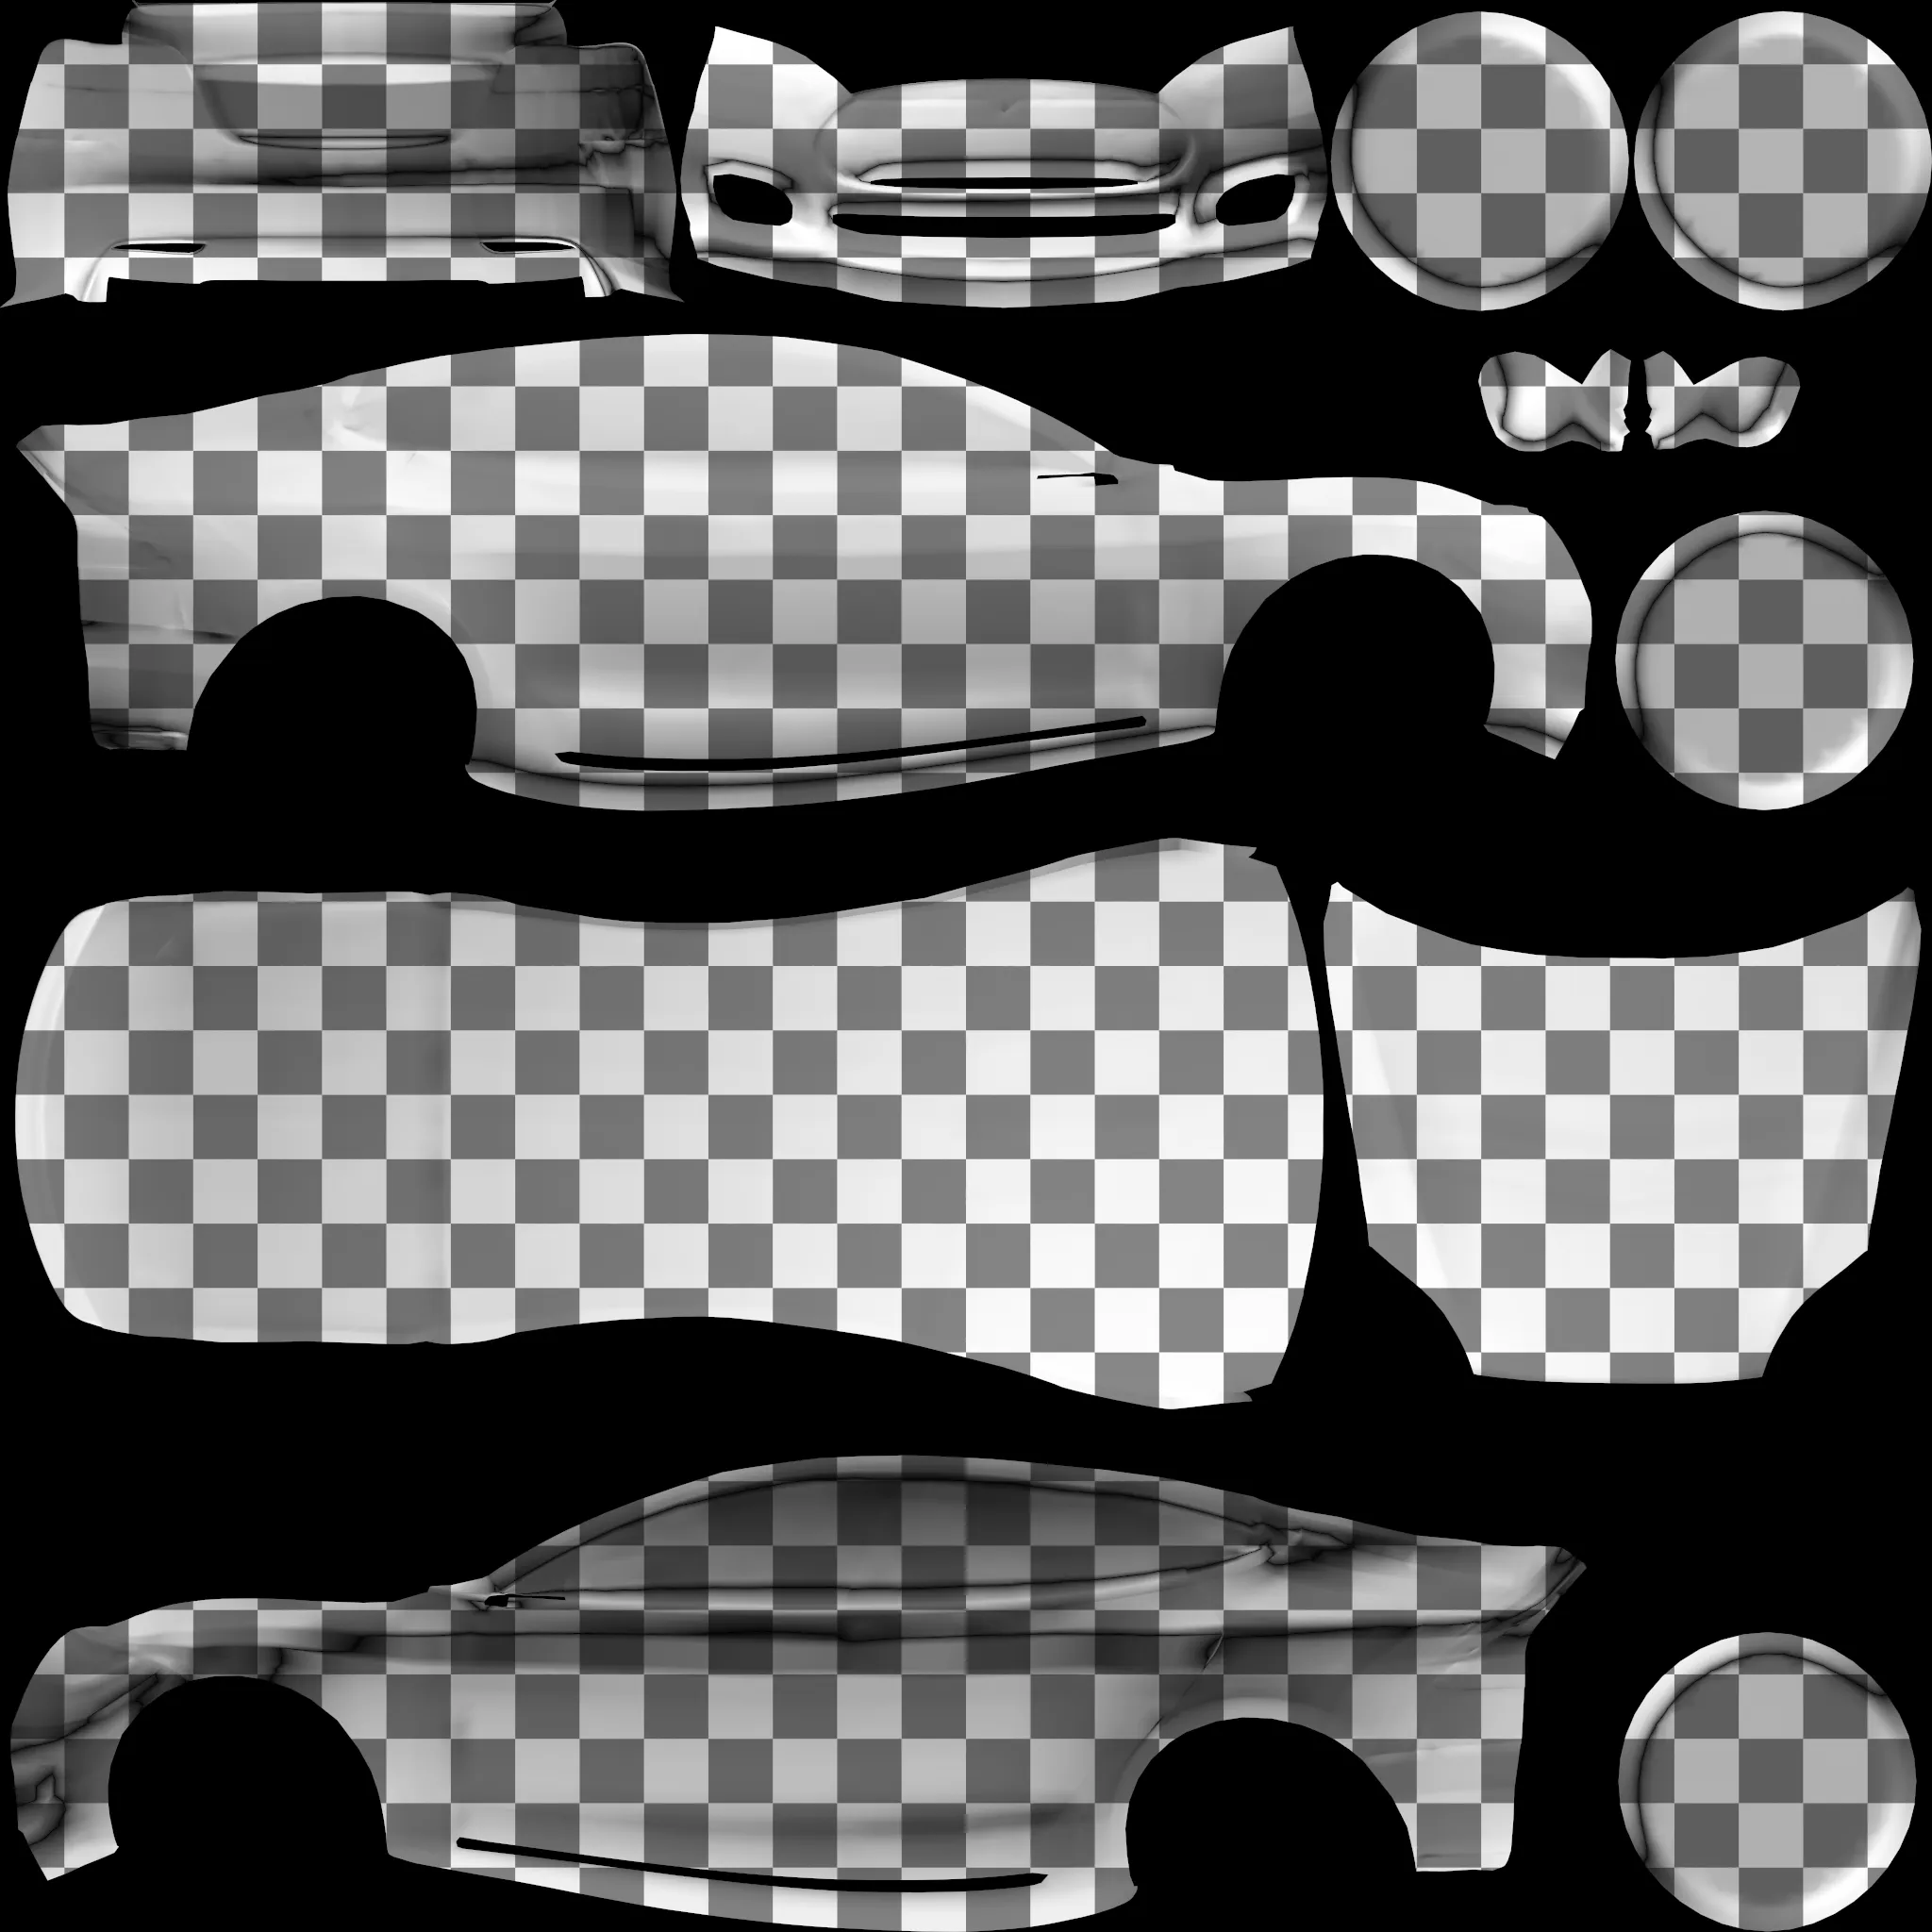
- Open the Edit UVWs window to view the UV map. The image below shows a non-uniform checker pattern rendered to the surface, which indicates the UV map has an uneven distribution of UV coordinates.
- To fully unwrap the surface the pelt map’s stretchers should be pulled outwards until the UV map accurately represents the true shape of the projection surface.
A 3D model of a car pelt mapped in 3ds Max.
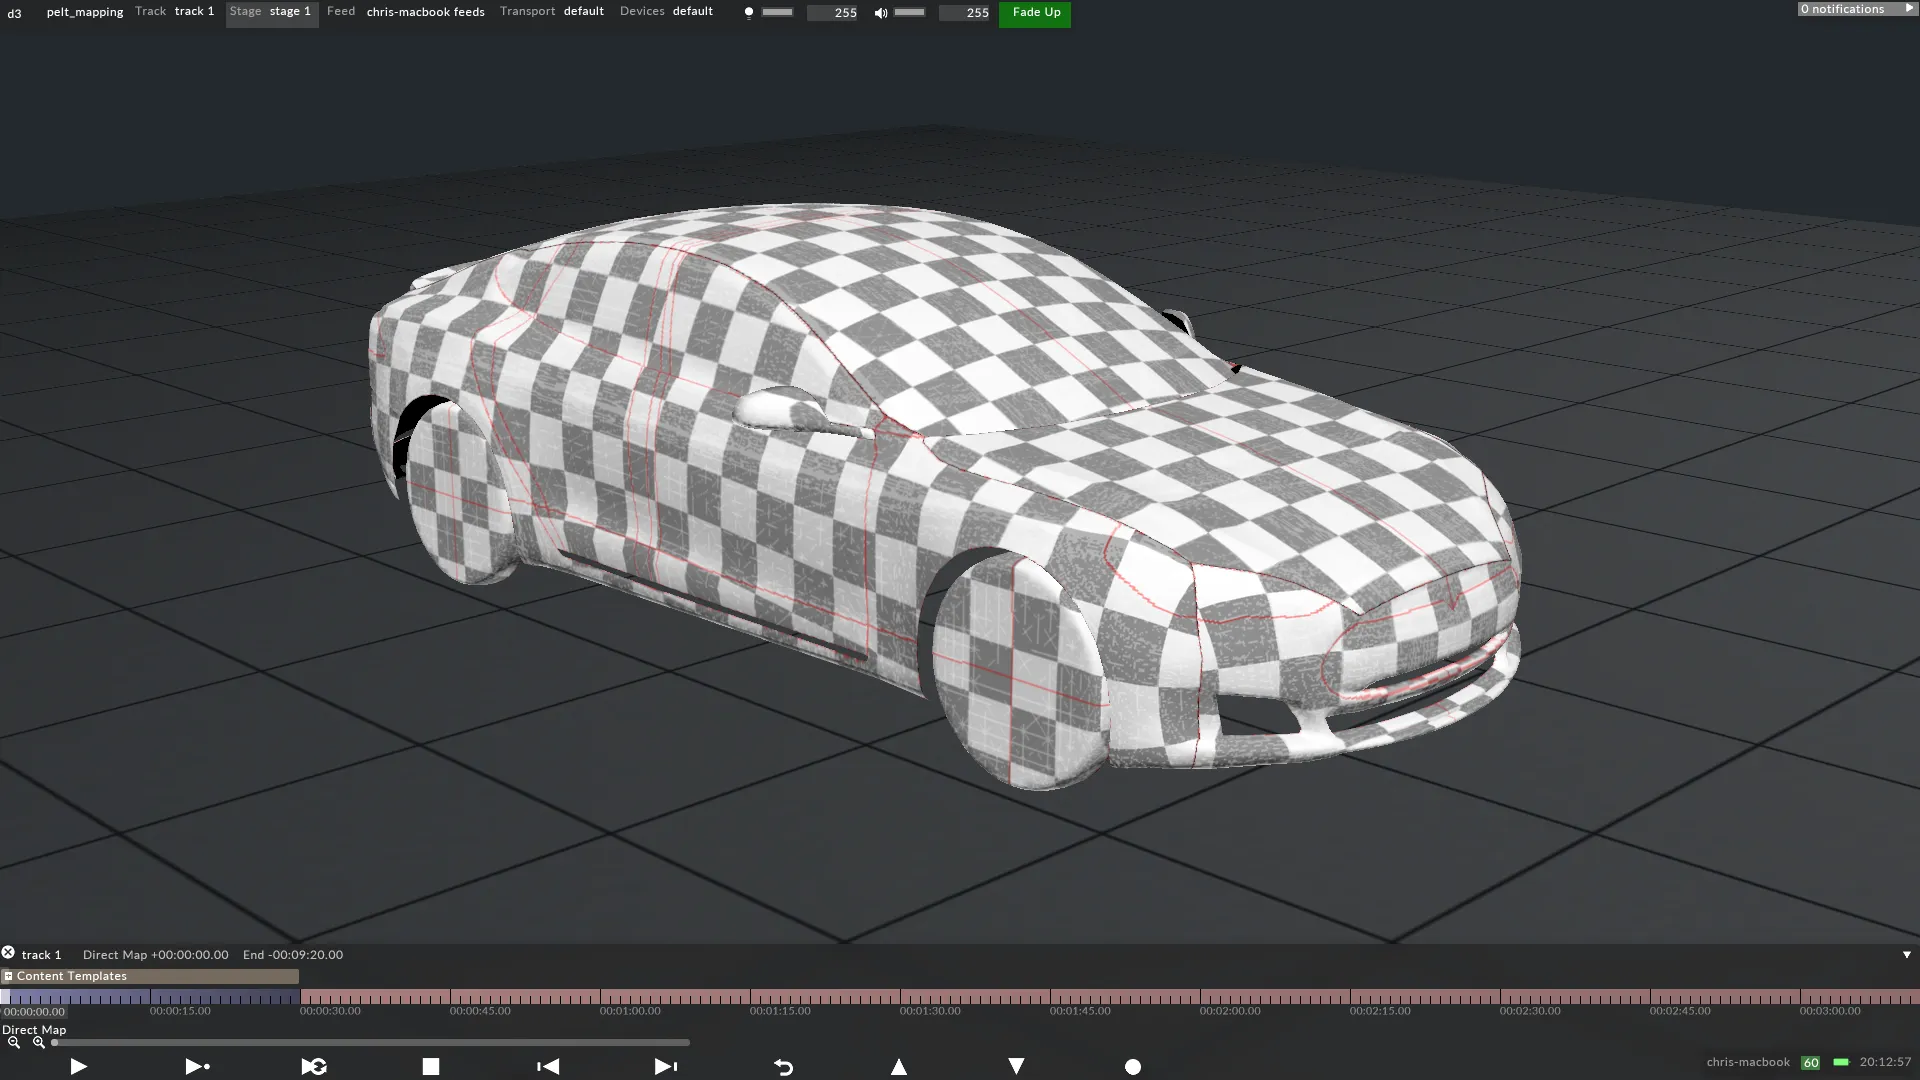
Step 2 - Rendering UV maps to content templates
Section titled “Step 2 - Rendering UV maps to content templates”The image below shows the content template mapped to the screen in Disguise. The template’s resolution was calculated by following the same technique used for Shrink wrapped / Cylindrical mapped projection surfaces, because when a surface is Pelt mapped it is problematic to calculate the resolutio mathematically.