Cameras
Cameras are another display type in Designer. Similarly to projectors they render the scene from a specific point of view.
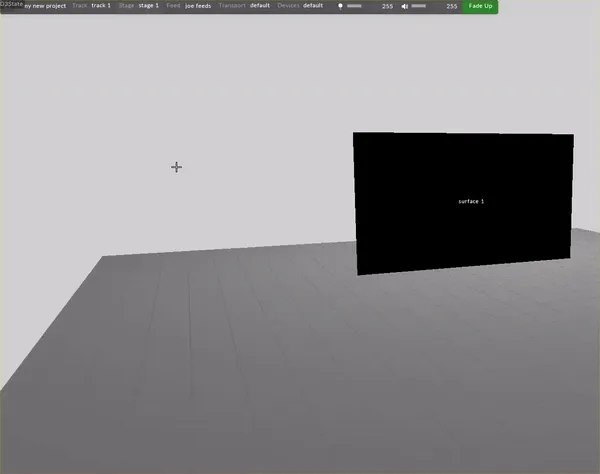
It is possible to create multiple cameras in a project in order to simulate the location and viewing perspectives of physical cameras in the real world.
The Visualiser’s view of the stage is also a camera referred to as the Visualiser Camera. This can be accessed by clicking the Visualiser Camera button below the Cameras list or right-clicking on the background.
Workflow
Section titled “Workflow”- Open the stage editor by right-clicking stage from the dashboard or by right-clicking the floor in the visualiser.
- Expand the Cameras tab.
- Click + to add a camera.
- Left-click the new camera field in the Camera manager.
- Enter a name for the camera.
- Left-click OK.
- Choose Camera from the camera types list
- You will now see a camera object in the visualiser, at the origin point (0,0,0).
- Use the 3D widget to adjust the camera’s X,Y,Z position within the stage.
Patching Cameras to Outputs
Section titled “Patching Cameras to Outputs”Cameras allow you to output that viewing perspective using feed rectangles in the Feed Output window.
Assigning the camera to a feed
Section titled “Assigning the camera to a feed”- Position the camera in the visualiser.
- Left-click Feed from the dashboard.
- Right-click on the camera feed at the top of the feed scene and left-click Add feed rectangle or alternatively hold ALT, left-click and drag an arrow from the camera feed to an available output head.