Recording Timecode with Expression Variables
The following workflow compares incoming timecode against the position of the playhead using Expression variables and a Shot Recorder device.
Workflow
Section titled “Workflow”The following workflow demonstrates recording timecode using a expression variables.
- Create a blank project.
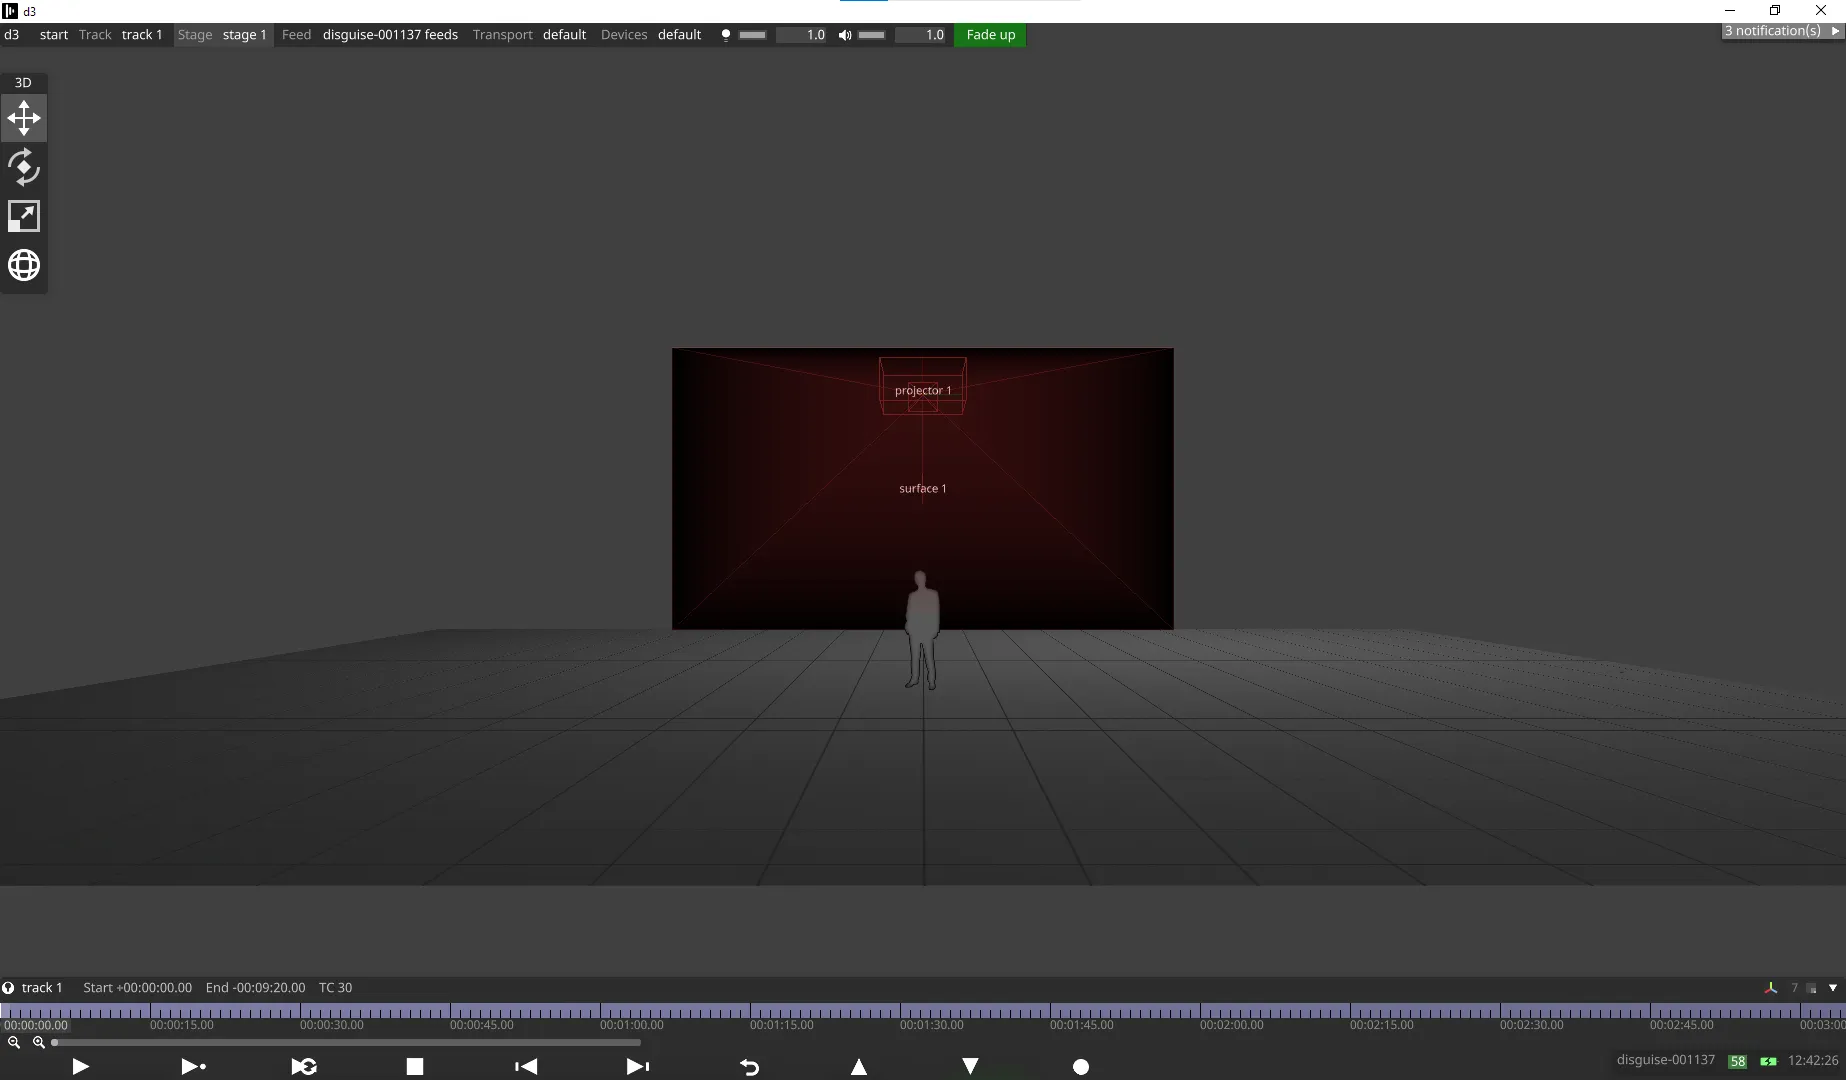
- Create a layer, and ensure it is as long as the track. This example uses a Text layer.
- Add a 0 Timecode Cue (TC) at the beginning of the track.
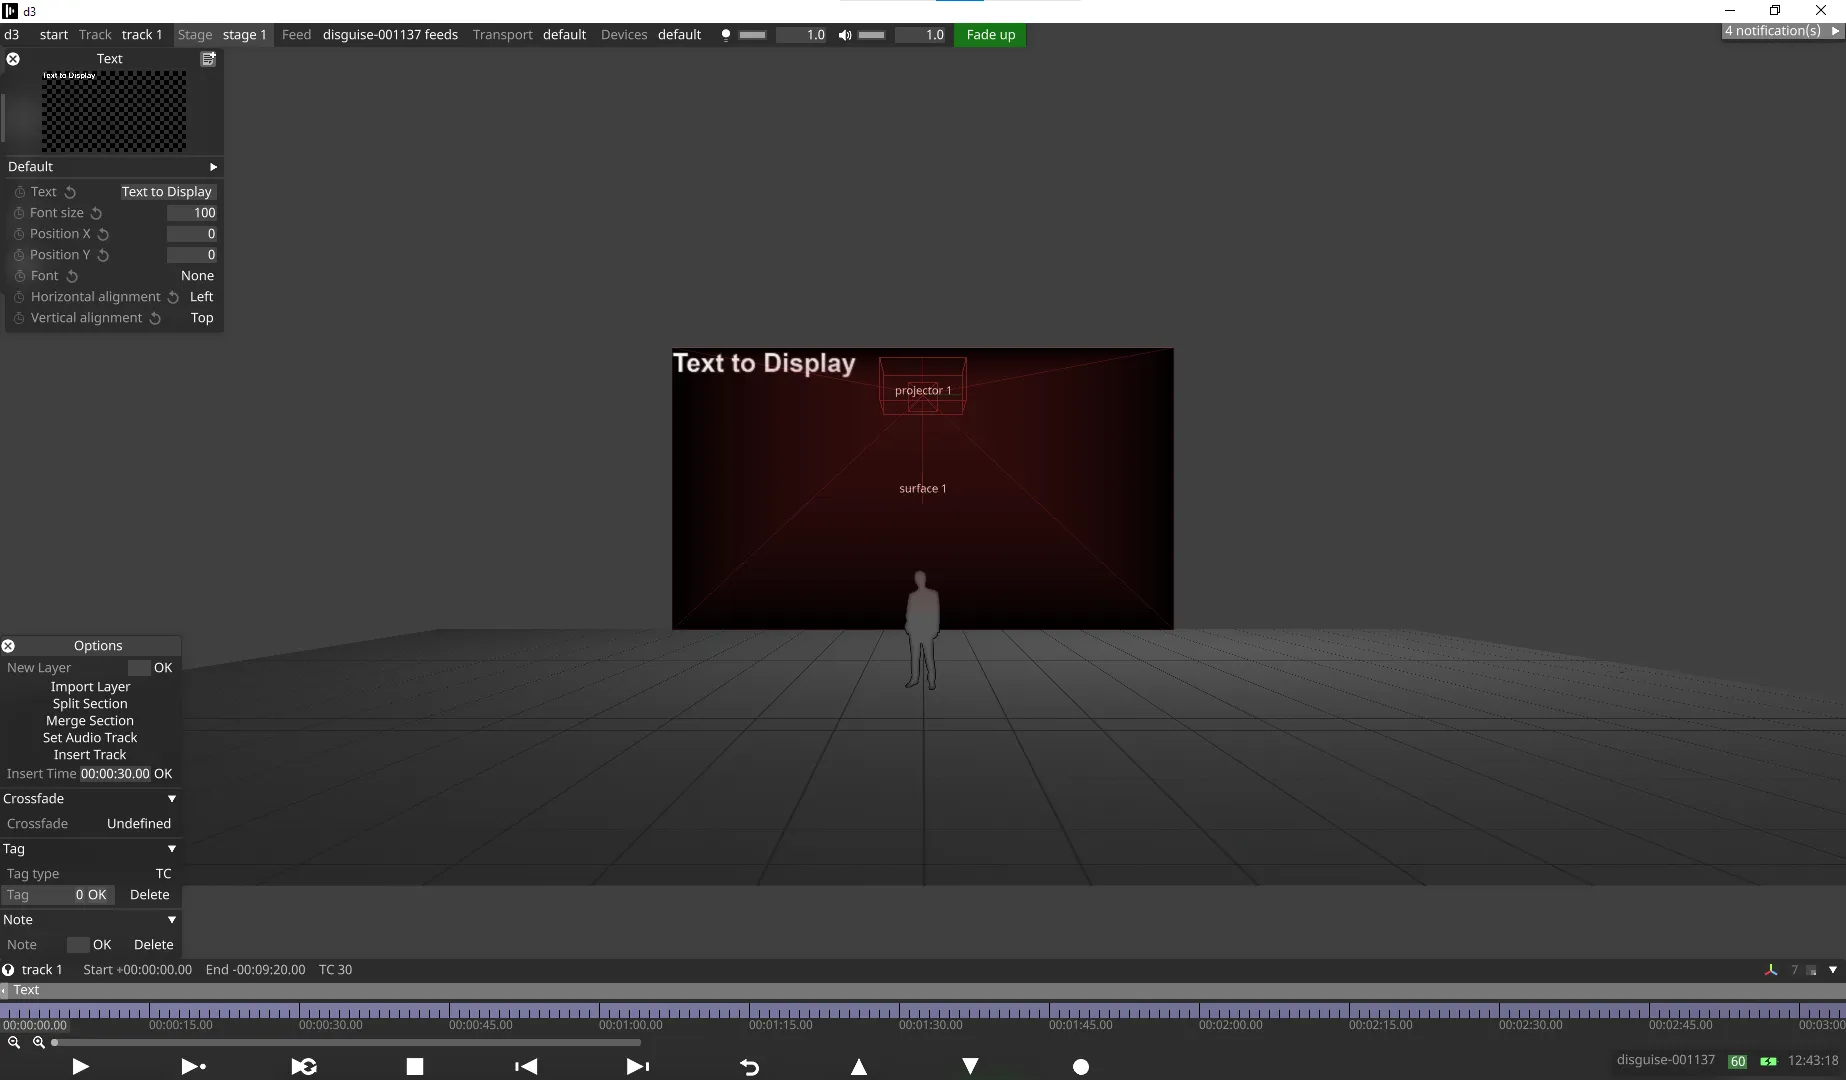
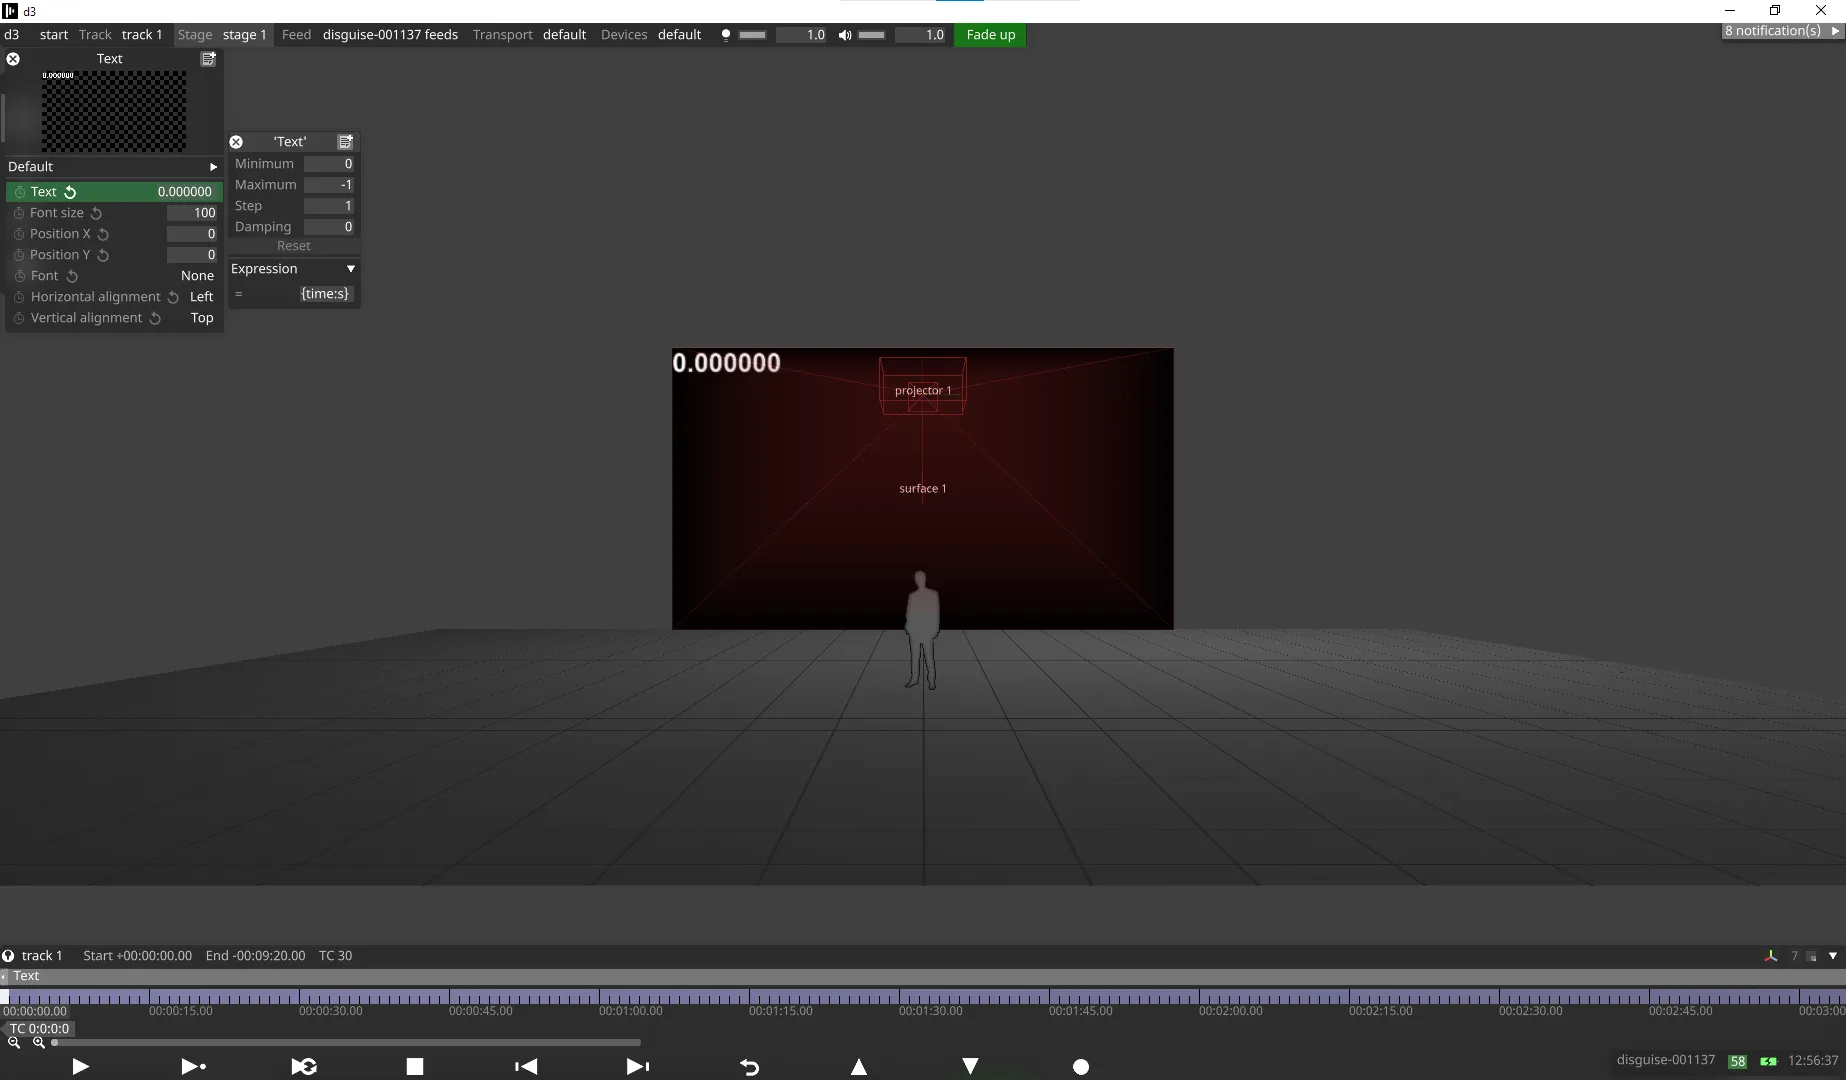
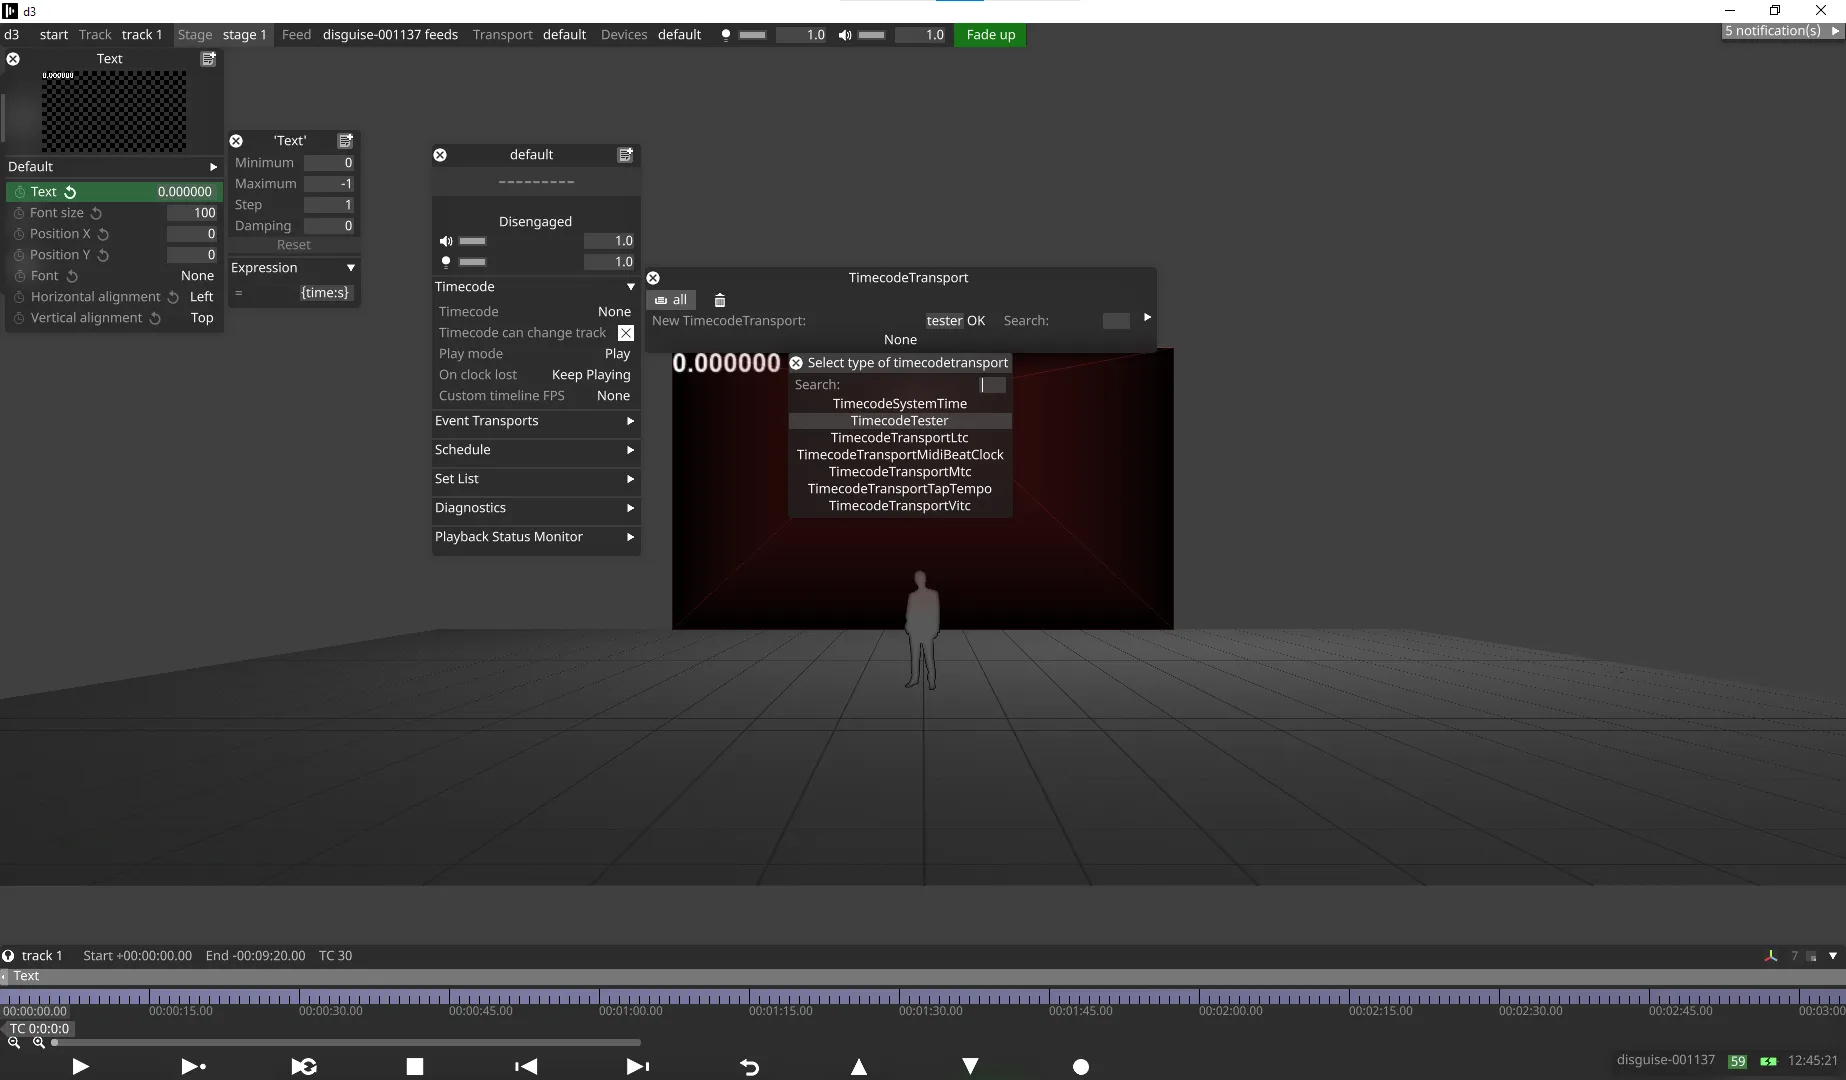
- Right-click the Text field of the Text layer, and set the Expression to
time.
- Create a new Timecode Transport source, for example, TimecodeTester.
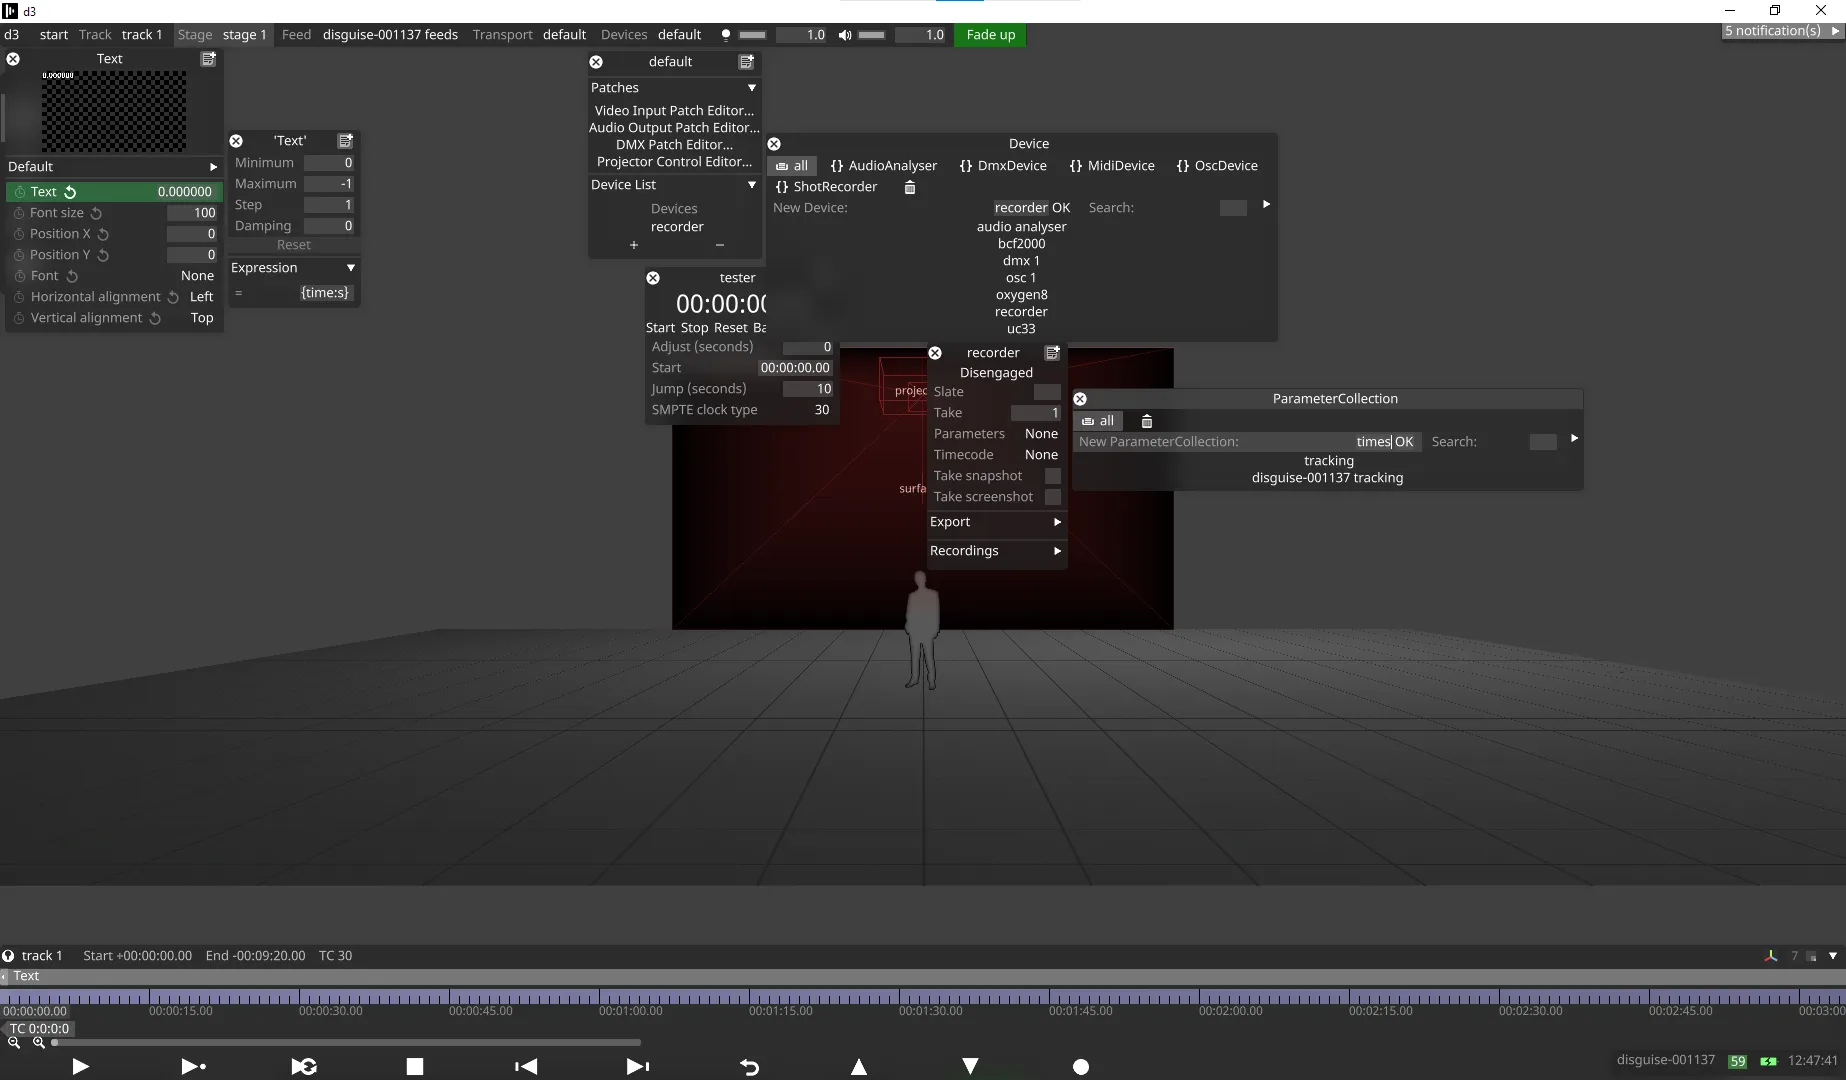
- Go to Device Manager, and add a Shot Recorder device.
- Create a ParameterCollection for the Shot Recorder.This is what will be recorded.
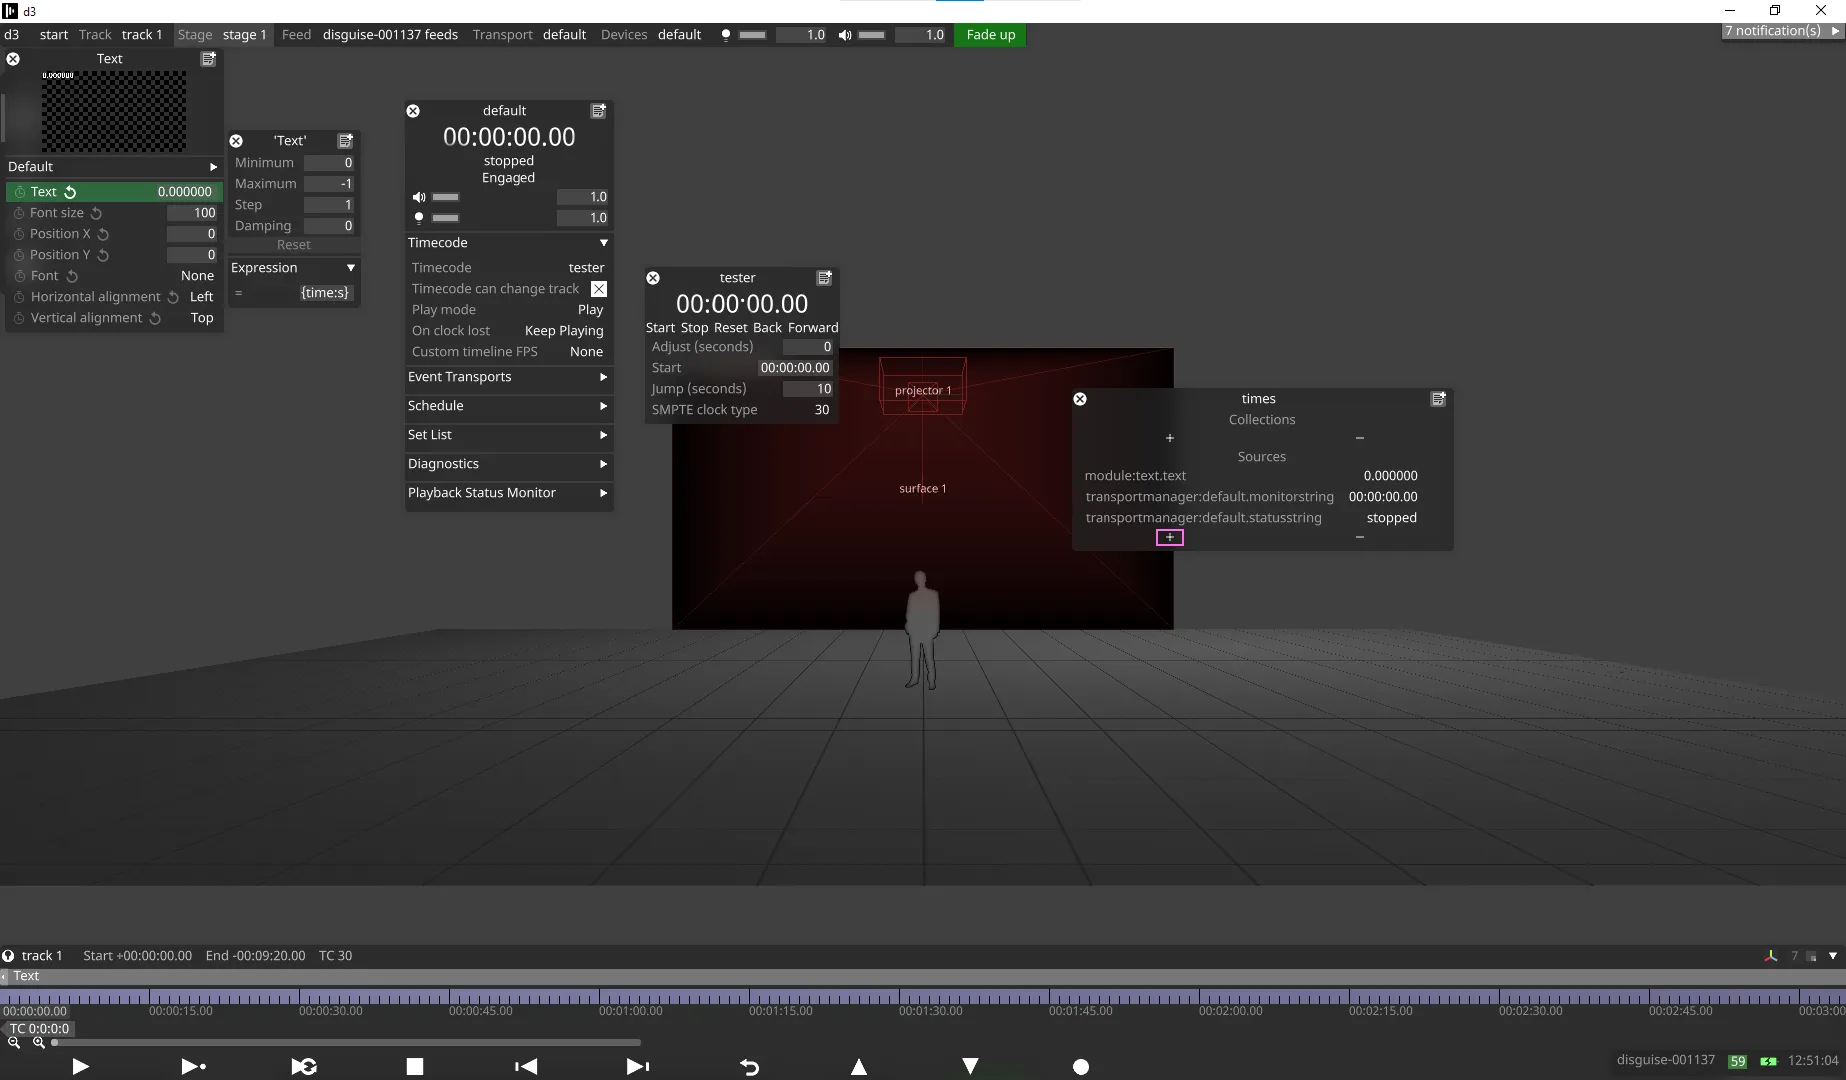
- Link the Text value to the Parameter Collection by using Alt+drag from the + icon under Sources to the Text field of the Text layer.
- Engage the Transport and Alt+drag the Timecode value and status to connect the Timecode to the Transport.
- Start playing Timecode, and click on Disengaged on the Shot Recorder to engage it and begin recording.

- To finish the recording, click on the Engaged button of the shot recorder.
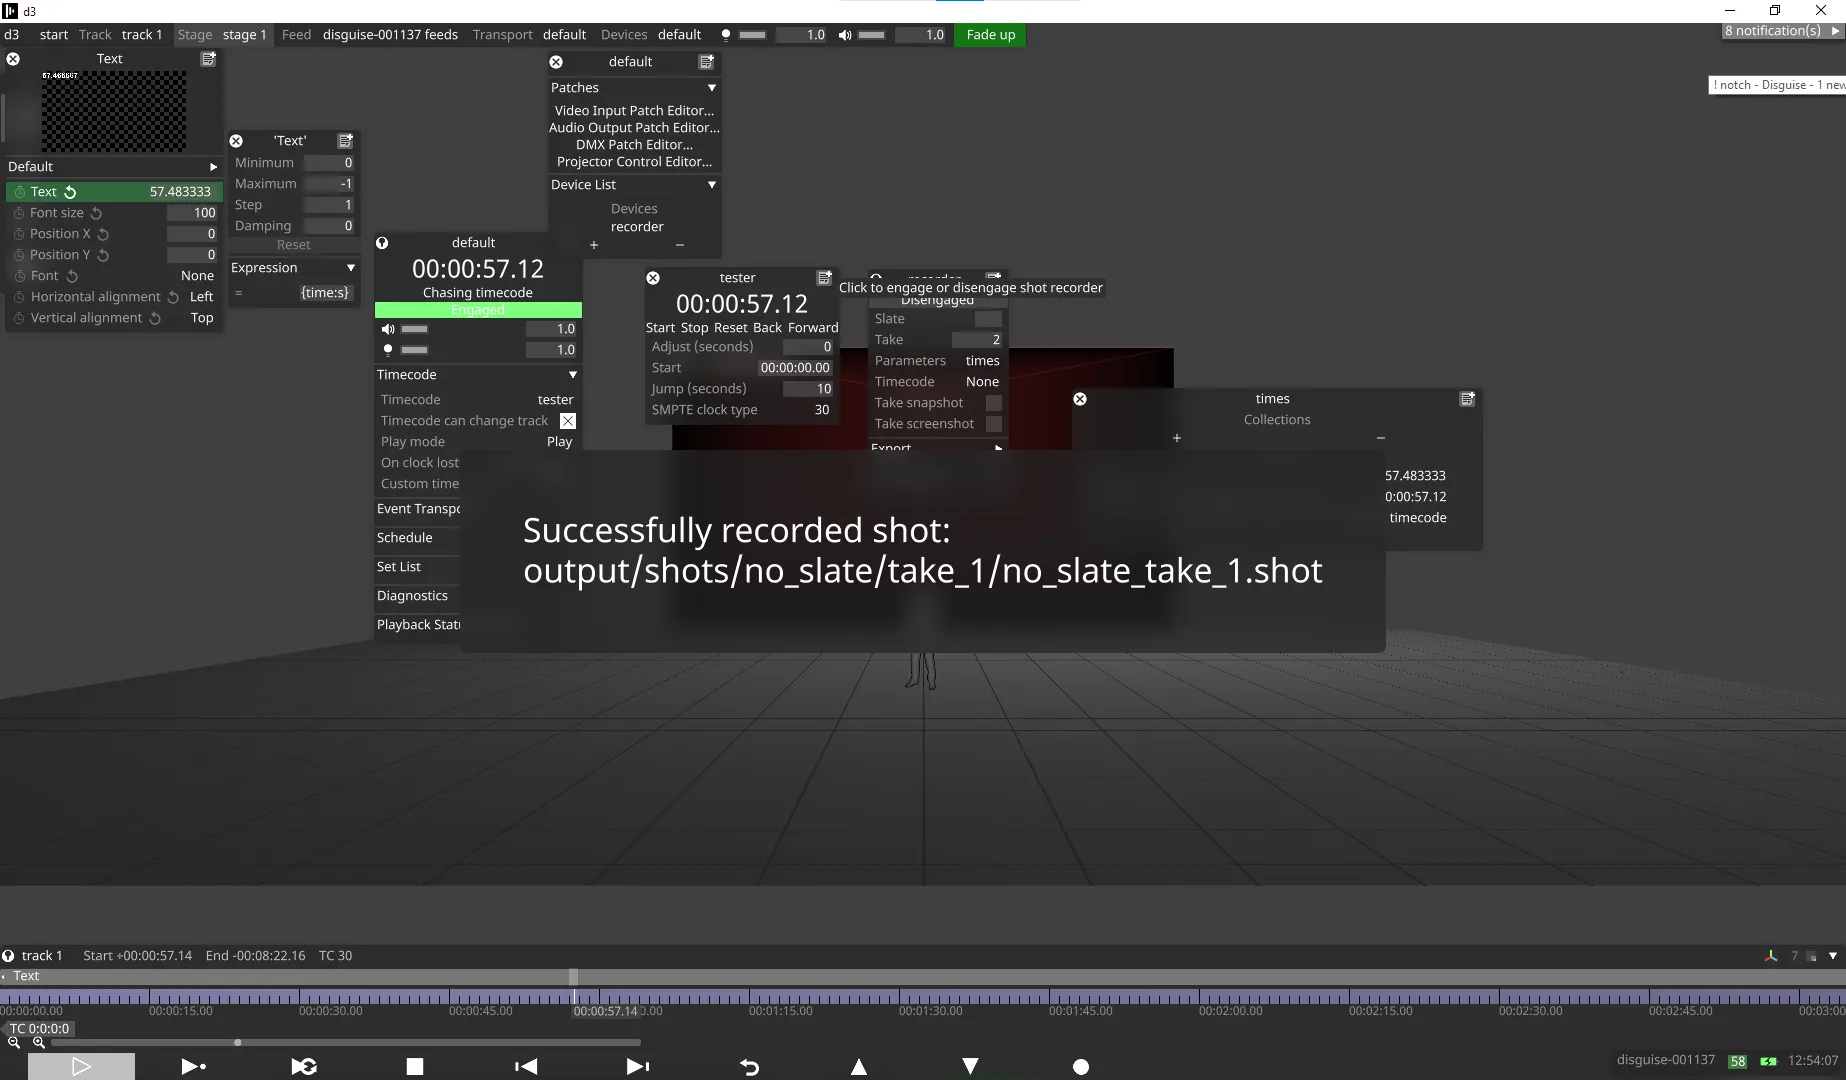
- Expand the Export menu of shot recorder, select CSV (dense) and click Export all recordings.
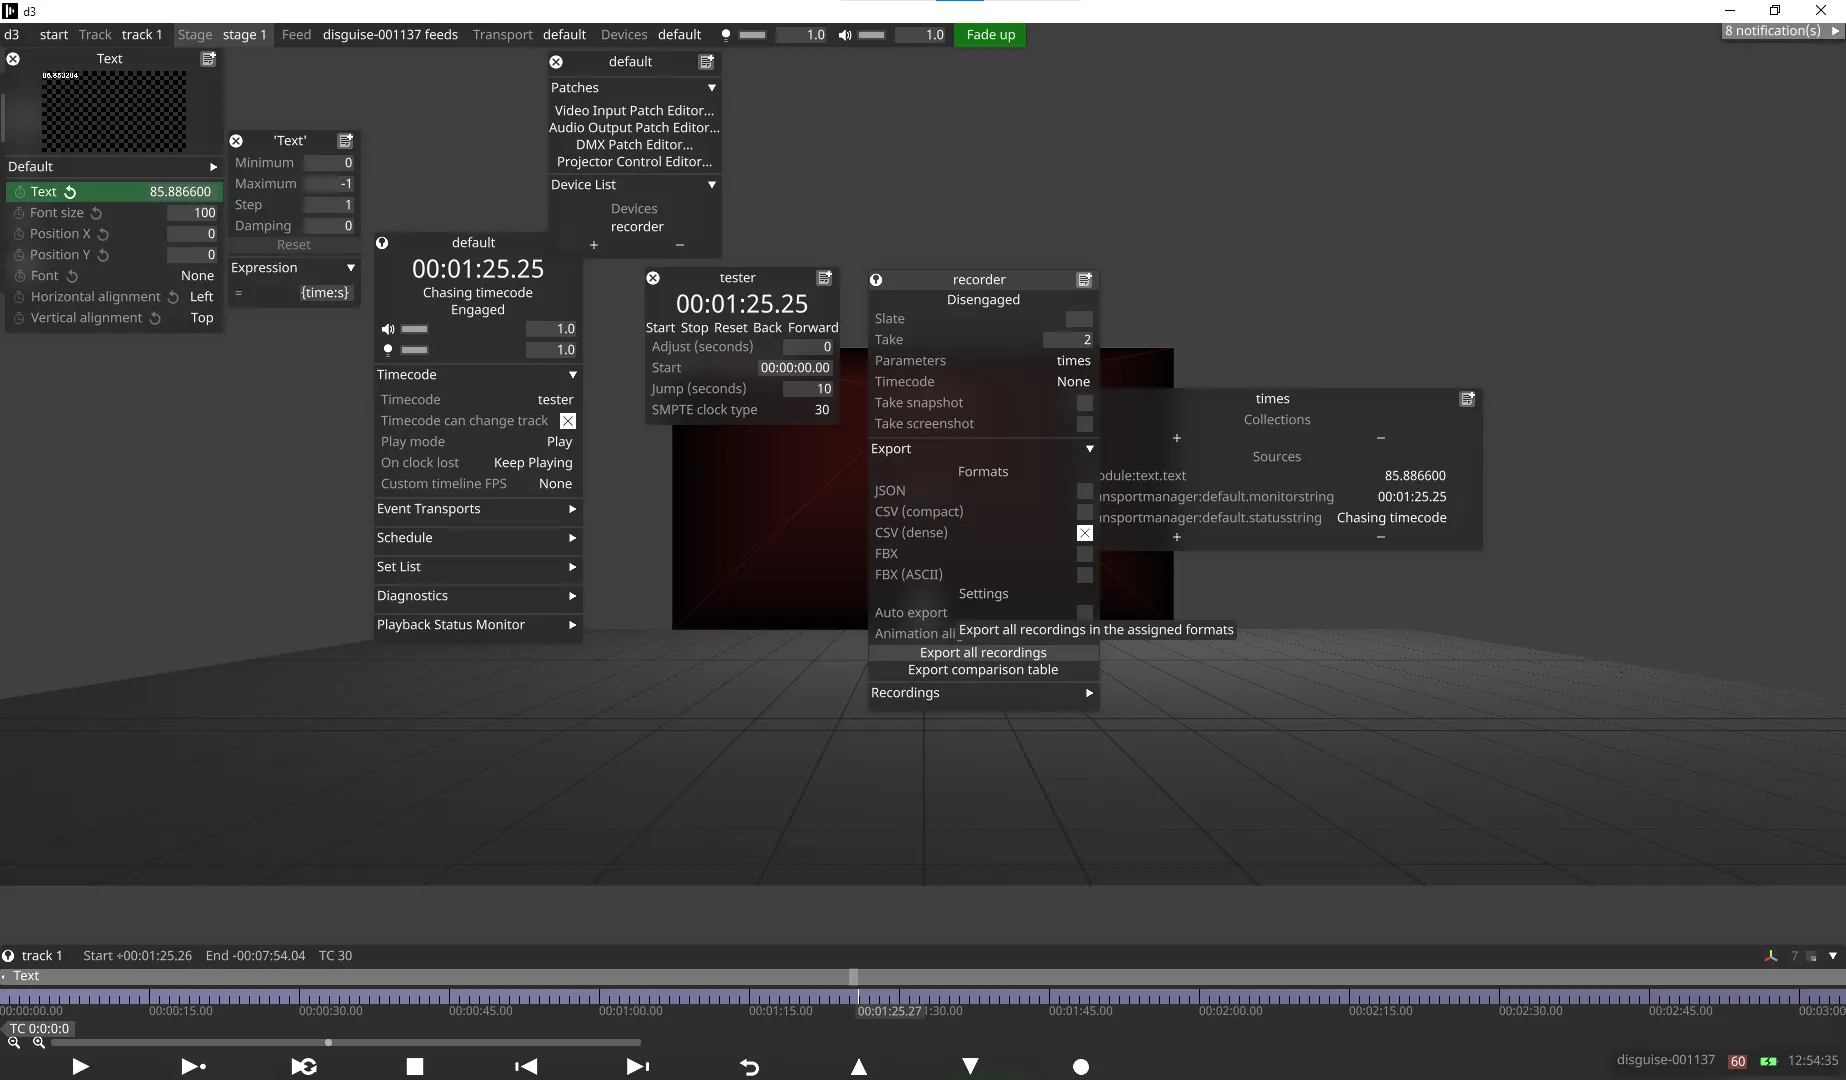
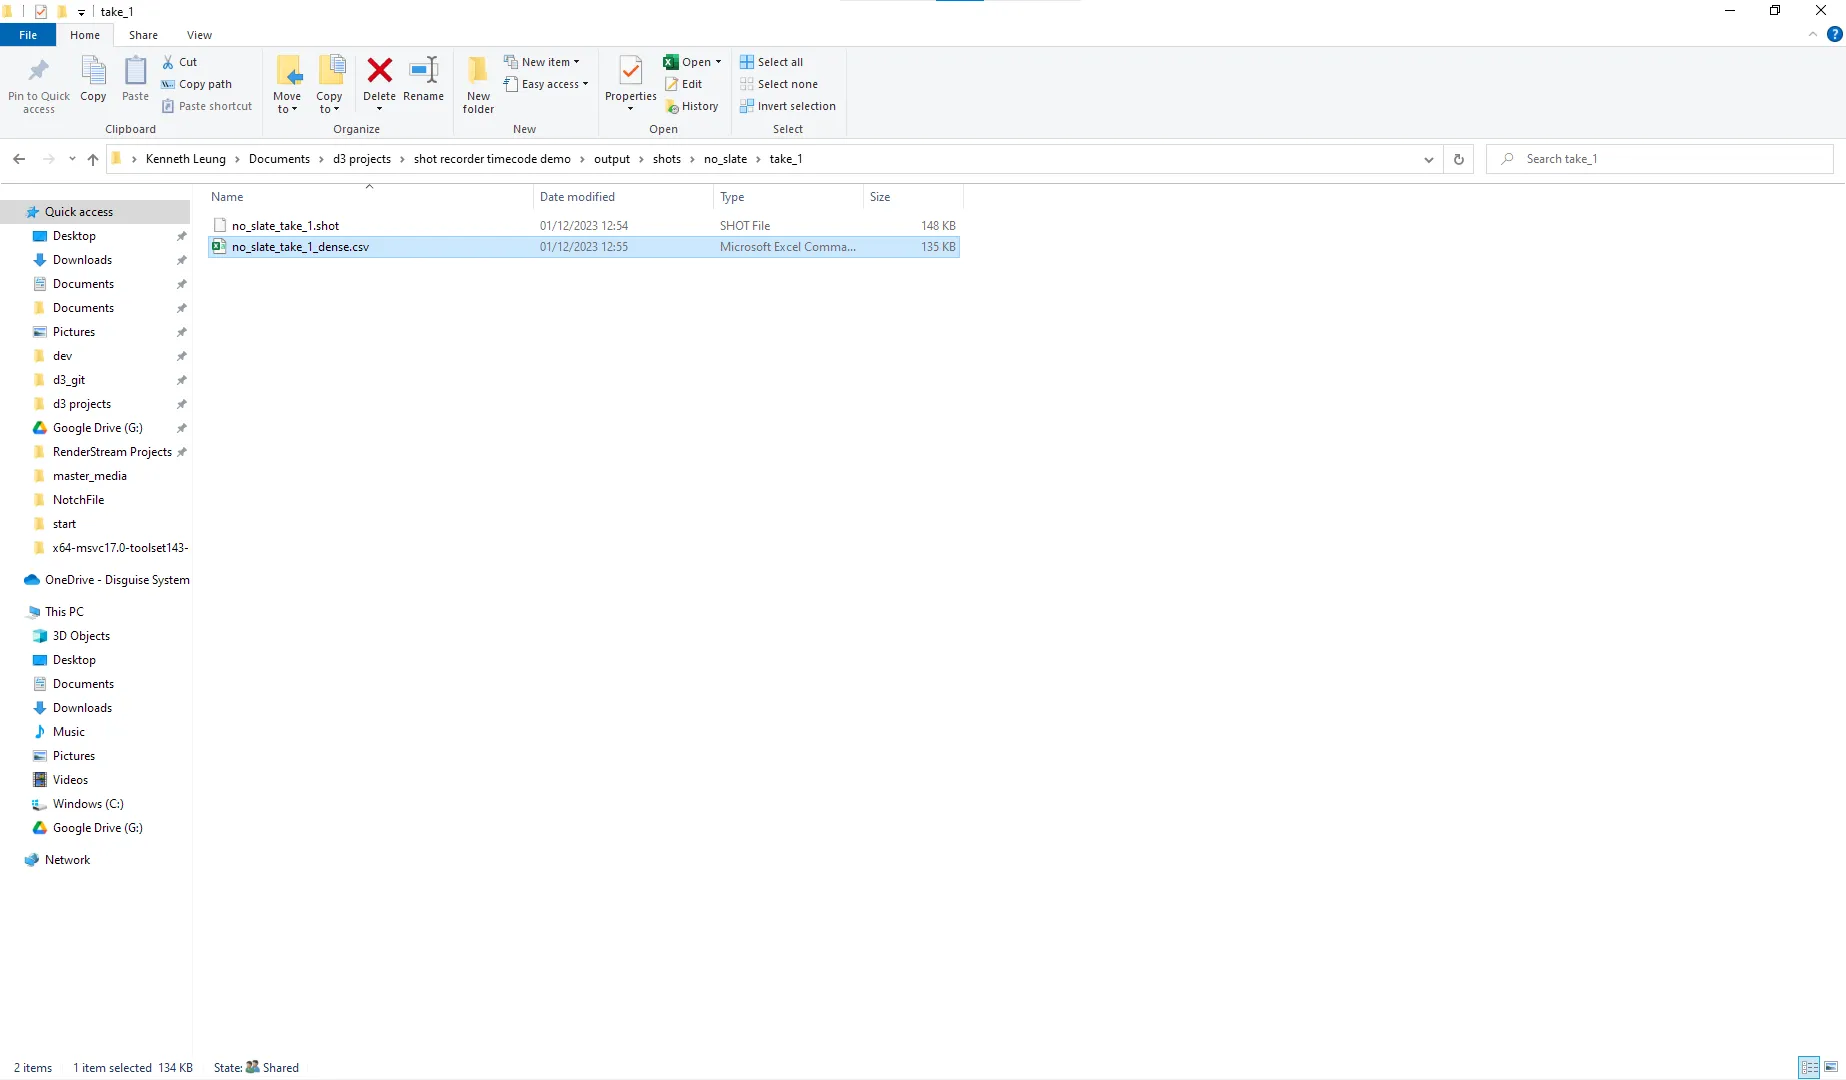
- There will be a .csv file under
output/shots/no_slate/take_xxx.