ACES
The Academy Colour Encoding System (ACES) is a colour space management workflow specifically designed to make capturing and displaying video in the correct colour format easier to achieve in film pipelines.
ACES (Academy Color Encoding System) is an open device-independent color management and image interchange system. It enables creation of digital masters suitable for long term archiving. It is also a set of developer tools: a suite of encoding specification, transform definitions and guidelines, archive-ready image data and metadata container specification. In simple language - it allows color transformation/conversion across screens.
Supporting ACES inside of Designer allows Disguise to be used as part of a colour-managed workflow alongside other ACES-compatible software such as Davinci Resolve, Autodesk Maya, Foundry Nuke and Unreal Engine.
For more information on colour spaces and colour management please visit the colour management page.
Workflows
Section titled “Workflows”Within Designer
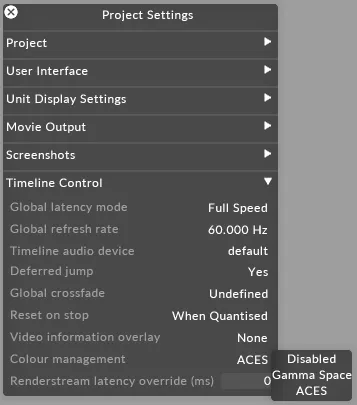
Section titled “Within Designer”- Right-click the d3state editor in the dashboard and select Project Settings.
- Set the Colour Management option to ACES. The transform options will not be available unless the project is set to ACES mode.
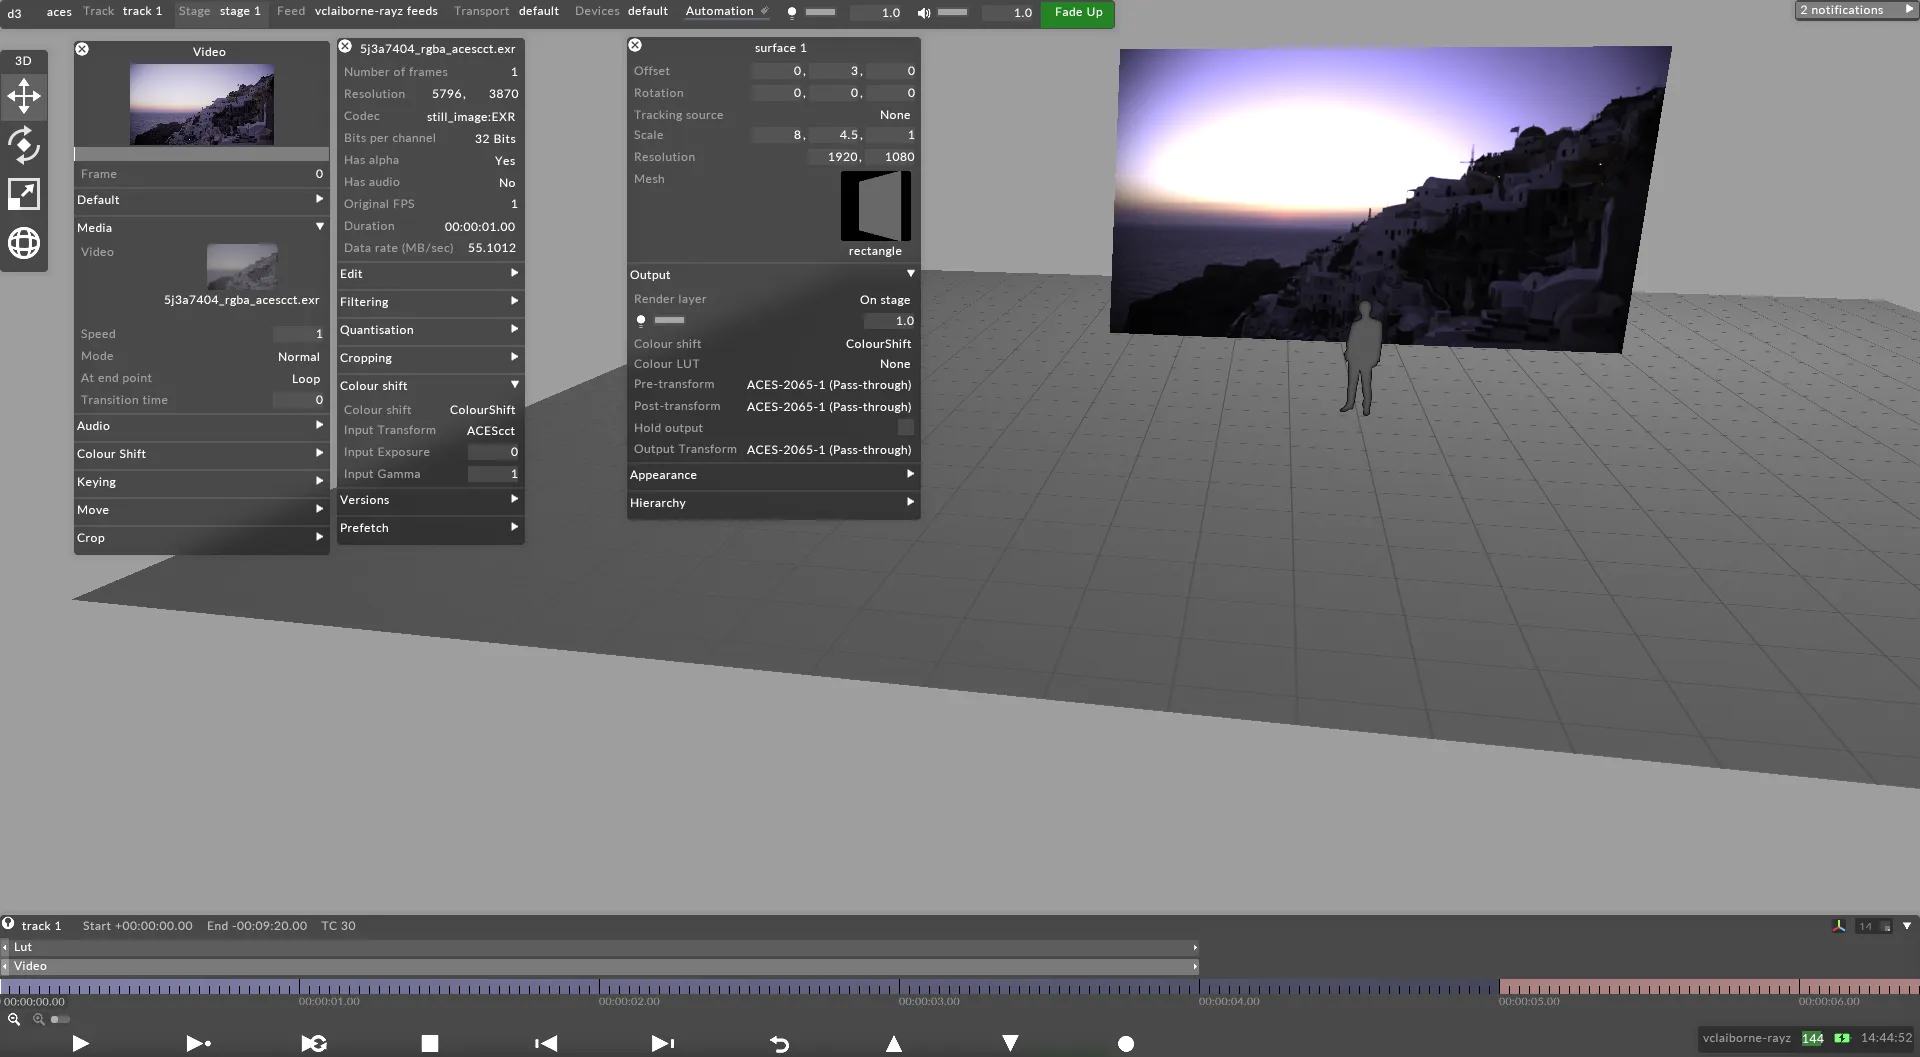
- On every video clip/asset, right-click on the thumbnail from the Media field of any content layer.
- Expand the Colour shift tab.
- Set the Input transform to the format that the content was authored in.
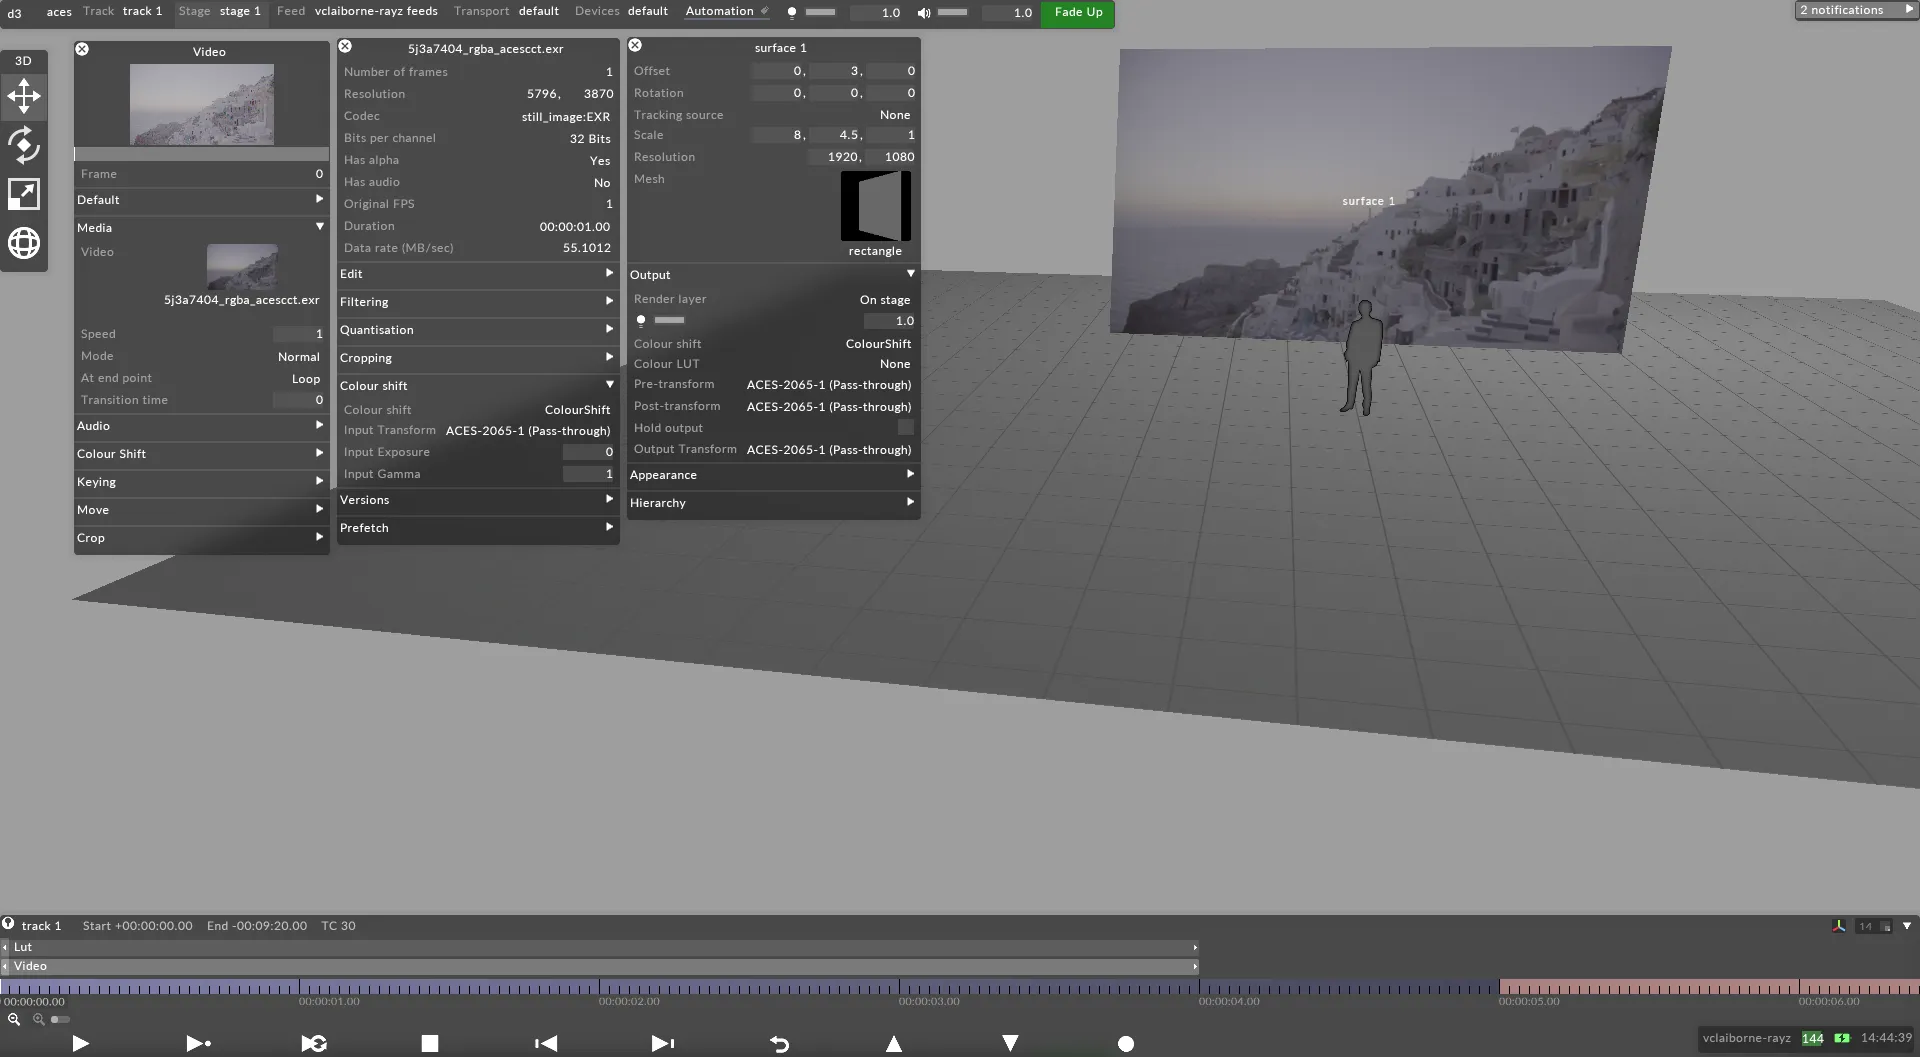
- The content should reflect more accurately in the visualizer.
Note that you can view the content library in table form and use Select All to bulk change a whole folder.
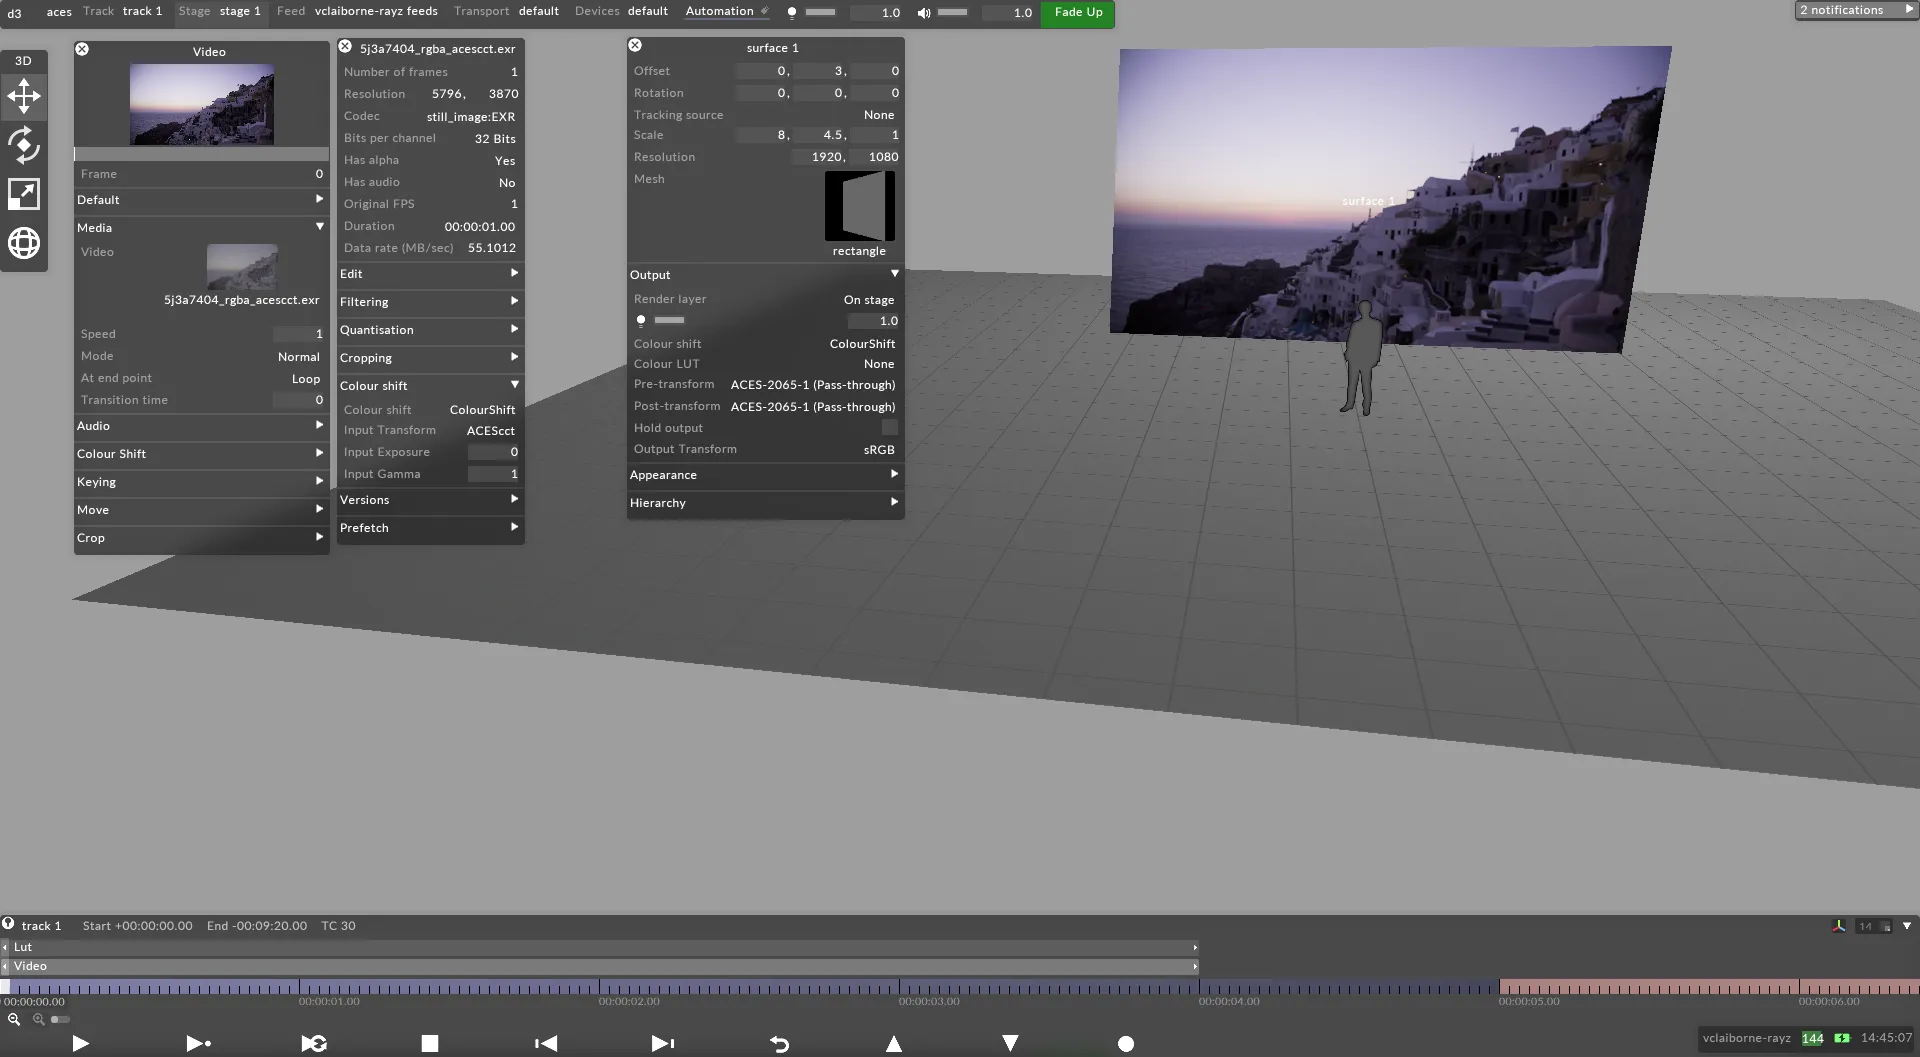
- On all LED screens in the visualizer, right-click and set the Output transform to the desired format for the LED processors.
Note that all screens can be bulk selected from the stage editor and edited at once.
- Optional: A LUT file can be applied using a LUT layer.
On the connected hardware
Section titled “On the connected hardware”Set the output transform to match the chosen format set on the LED screen objects.
Additional notes:
- Author any static video content in the colour space and gamma curve that you are intending to use.
- For true HDR video playback from video content, a DPX 10-bit image sequence is best.
- For Generative Layers there is no Input Transform to pick.
RenderStream - Render Engine Workflow
Section titled “RenderStream - Render Engine Workflow”If the Disguise project is configured for ACES transforms, the incoming RenderStream content from a third party render engine can be configured to HDR for compatibility. In this example we demonstrate with Unreal, but the ACES workflow may also be used with other render engines.
In the Unreal project
Section titled “In the Unreal project”- Choose your colour space in Unreal.
- Set Execute Console Command nodes:
r.HDR.Display.OutputDevicer.HDR.Display.ColorGamut
- Set after Event BeginPlay in the project blueprint: these settings tell the project to output in this format when the stream begins.
In the Disguise project
Section titled “In the Disguise project”- In the Project Settings, set the Colour management option to ACES.
- In the RenderStream Layer layer in Designer, right-click the asset to enable ACES Colour Management and set transform to the incoming format as determined in the Unreal output settings.
- On all LED screens in the visualizer, right-click and set the output transform to the desired format for the LED processors.
On the connected hardware
Section titled “On the connected hardware”- Set the output transform to match the chosen format set on the LED screen objects.
Note that Disguise does not embed any HDR metadata in the video signal so the display device must be set at the other end to the matching format.
ACES and the colour-managed workflow
Section titled “ACES and the colour-managed workflow”-
ACES intends to provide a universal base for a colour-managed workflow, replacing individual bespoke systems, to allow for accurate interchange between organisations as well as within, and for archival purposes.
-
ACES makes use of two important core concepts, “display-referred content” and “scene-referred content”. Before your content enters an ACES pipeline, generally, it is “scene-referred”. Once it has left the ACES pipeline, generally, it is “display-referred”.
-
Content which is produced by a camera or by a 3D renderer is “scene-referred”; that is, the values stored in the image are interchangeable only with other images from that camera or renderer using the same settings.
-
By contrast, “display-referred” content has a direct relationship between the values stored in the image and the expected colour and intensity of the image when displayed on a calibrated display.
-
As a user of imaging software outside of a colour-managed workflow, there are some unintuitive aspects of using a colour-managed workflow. The ACES pipeline is designed to bring your content from designated input or intermediate formats, such as ARRI LogC, Canon CLog3, or ACEScg to designated display output formats such as sRGB, rec2020 or P3-DCI. While ACES provides transforms for bringing output content back into ACES space, and these transforms are often necessary (e.g. if you have a camera that outputs rec709 content), the intention is that the pipeline is end-to-end with a single output stage. Bringing display-referred content into ACES and putting it through a pipeline again is not transparent.
Visit this link for a helpful ACES colourspace to RGB converter.