Configuring SDI Capture
Live Video input inherently introduces frame latency during playback. Please contact Disguise support for guidance on performance standards.
The first step to getting SDI inputs into d3 is to configure the Active Silicon SDI capture card outside d3. To do this:
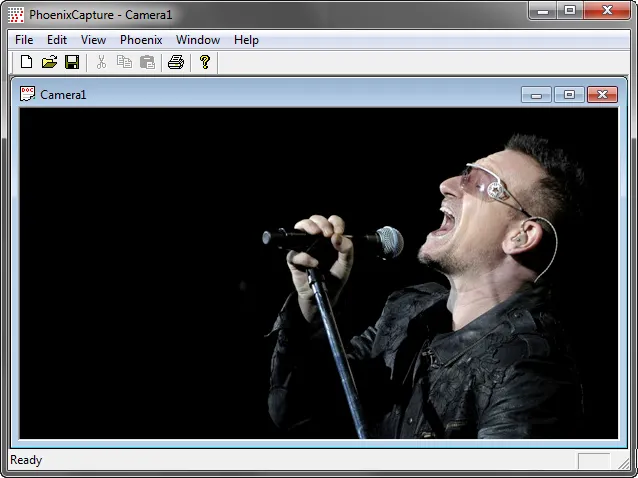
- Run the Active Silicon Phoenix Capture 32-bit application ( Start > All Programs > Active Silicon PhoenixCapture (32-Bit)). You will now be presented with a screen as in the image below.
- Select Phoenix > Control Centre.

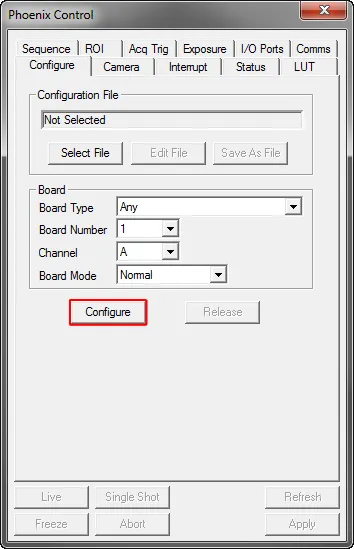
- Select the board number and channel that you plugged your SDI source into then hit select file.
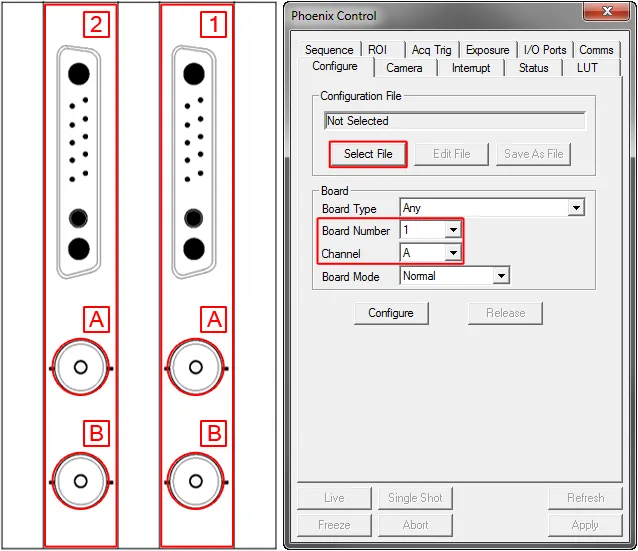
- Select the board ( 1 ) or ( 2 ) and port ( A ) or ( B ) within the Phoenix Control window.
- Select the correct configuration file for the SDI signal you are capturing ( PAL , NTSC , 1080i or 1080p)
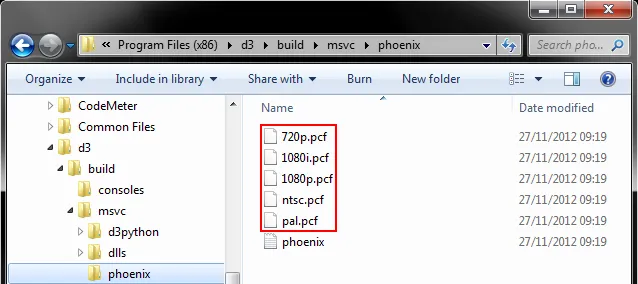
- Choose the appropriate configuration file for the SDI signal
- Click configure to save your settings.
- Click Live to test your signals.
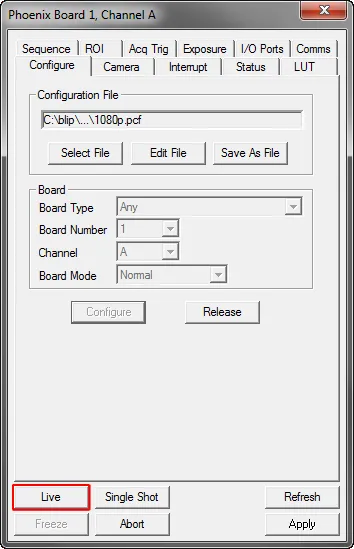
- Click Configure to check the status of the card. Please note: if an error message pops up it may be necessary to re-flash or update the driver. software. For any other problems please contact the Disguise Suppport. The capture card has now been configured and you can continue with creating a Video sampler device in Designer.