Designer Download & Installation
There are two installers available for Designer: Starter and Full. The Starter installer is used for Designer Starter only. All other uses of Designer require the Full installer: media servers, Designer Pro and X1.
For details of Designer license types see here, or dive into the details of Designer Starter, Designer Pro and X1.
Designer Starter uses a .d3Starter project file format, whereas Full Designer uses the .d3 project file format. Designer Starter can open .d3 files, but only save .d3Starter files. The Designer Starter file format cannot be opened by Full Designer with any license type.
Downloading the installer
Section titled “Downloading the installer”- Ensure your PC is connected to the internet.
- Download the latest Designer release installer from Disguise Cloud.
- Run the downloaded installer.
Install location
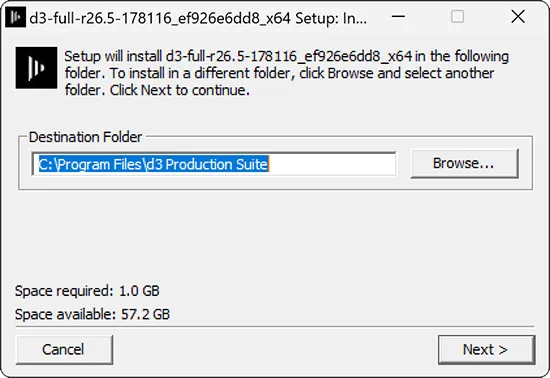
Section titled “Install location”On the first screen you will be prompted to select an installation directory for the program files.
- Select Browse to change your installation directory.
- Select OK to return to the Designer installer window.
- Select Next once you are happy with the installation directory. If you are upgrading an existing installation of Designer, the installer will detect and use your current installation directory.
End User License Agreement ( EULA )
Section titled “End User License Agreement ( EULA )”- Read the EULA and all associated license information.
- You may optionally choose to Share d3 usage and diagnostic analytics. This setting will persist through re-installs and remote installs of Designer.
- Click I Agree to continue.

Component selection
Section titled “Component selection”Next, you will be prompted to select which components you wish to install. Designer installs several required runtime libraries and drivers, including:
- Microsoft Visual C++ Redistributable (x64)
- CodeMeter Runtime
- NewTek NDI® Runtime
If the installer detects that you already have a given supporting component installed (e.g. CodeMeter drivers), the installer may deselect that component to avoid unnecessary re-installation.
- Select the boxes to tick or untick components.
- Select Next once you are happy with the selected components.

Leaving the Share d3 projects folder ticked will cause the installer to share the d3 projects folder. If it is unticked, no share settings will be modified. On a remote install, the installer will behave as the previous full installer did, i.e. if the check box was checked last time the installer was run, the remote installer will act as if its checked and vice versa. In the situation that a full installer has never been run, a remote installer will act as if the box has been checked.
Installation
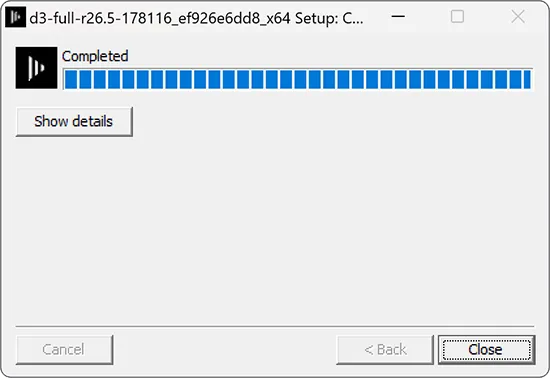
Section titled “Installation”The Designer files will now install into their appropriate location.
The installer also adds Windows Start Menu shortcuts, Windows Firewall rules and file associations for Disguise-related file types.
Installing for the first time: if you are installing Designer for the first time you will prompted to choose a directory for your Designer projects. By default, this is placed in your Documents folder but you may prefer to place it in another fast storage drive like an SSD drive.
Upgrading from a previous version: if you are upgrading from a very old version of Disguise (pre-r10) the system will automatically detect and use the current Projects folder and you will not see the screen where you can change your Project folders directory. From r10 onwards you are free to choose the location of your Projects folder.
Click Close once the installation is complete.
Uninstalling Designer
Section titled “Uninstalling Designer”Any third-party programs installed by Designer (e.g. CodeMeter drivers, QuickTime or NDI®) will not be removed during the uninstall process. These applications will need to be uninstalled separately, if necessary.
- Open the Windows Start menu (bottom left of screen).
- Type Installed apps and open the Windows Settings page of that name. In older Windows versions, this may be called “Apps & features” or “Programs & Features”.
- Click on the three dots next to Disguise Designer and select “Uninstall”. Note: Older Designer versions were listed as “d3”.
- Follow the on-screen instructions.
Automatic Installer backup
Section titled “Automatic Installer backup”After a successful Designer installation, the installer is automatically backed up.
-
On a Disguise server, the backup is stored in the Media drive at: D:\d3\installers
-
On any non-Disguise server, the backup is stored in: C:\Program Files\d3\installers
These backups are used during the re-imaging process and allow Designer to be restored to the previously installed version.
From r32.2, all backups are stored on the D drive.