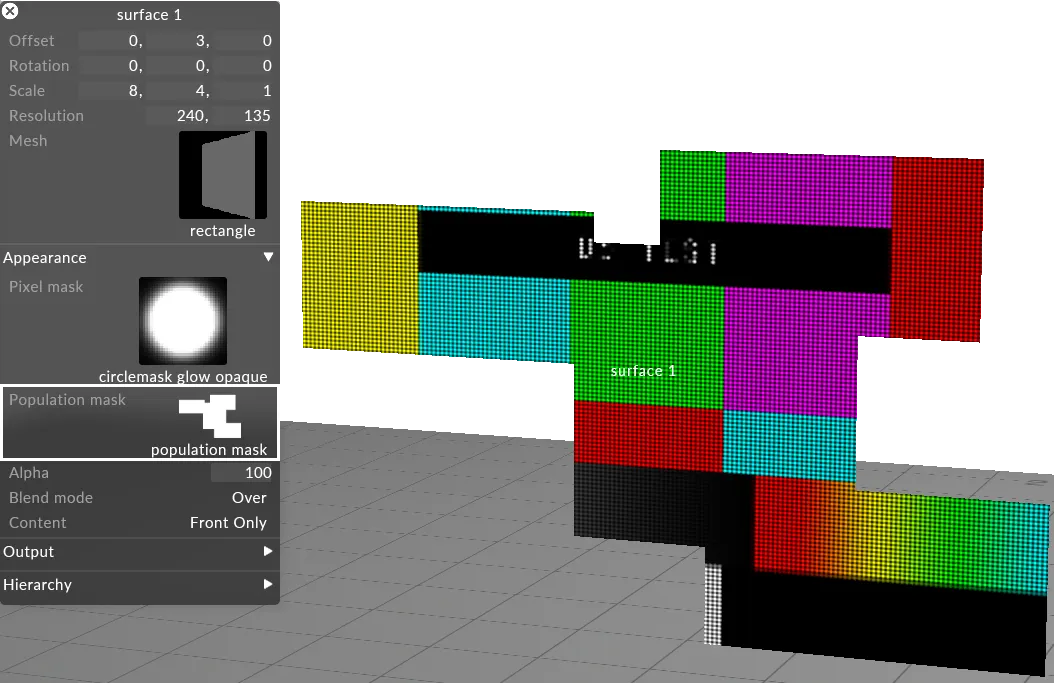
Population Mask
This points to the still image file that defines the Population mask. Thepopulation mask allows you to quickly specify which pixels in will open the Texture object library, which shows all of the Texture still image files saved on your local hard-drive in the DxTexture folder. However, before placing a Population mask you will need to create it.
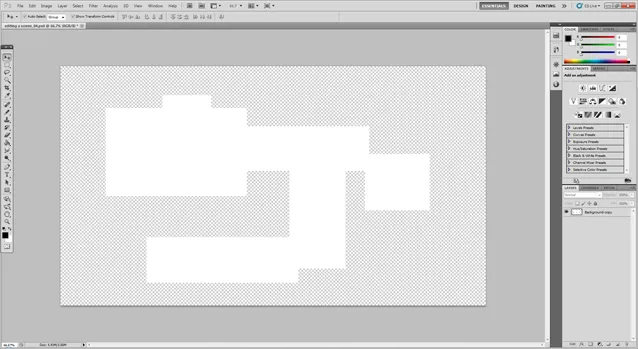
How to create a Population mask
Section titled “How to create a Population mask”-
Create a .png image. We recommend using Adobe Photoshop for this. The Population mask should have the same resolution as the screen.
-
Make the areas you want to be see-through in the screen the alpha channel in the Population mask.
-
Make the areas you want to be illuminating in the screen white in the Population mask.
-
Make the areas you want to be black in the screen black in the Population mask.
See the Placing media files for a project subchapter to understand where to place a still image file and how to access it in Designer. Also save the file to a supported file format.