Skeleton
The Skeleton object is the starting point for mocap and skinned mesh workflows in Disguise. A skeleton consists of a rigged structure of bones, which is either provided by a tracking source or imported from a rigged FBX mesh. These bones can be moved to deform a skinned mesh within Disguise or sent over RenderStream to control a Skeleton in an external render engine.
Creating and editing a new skeleton
Section titled “Creating and editing a new skeleton”-
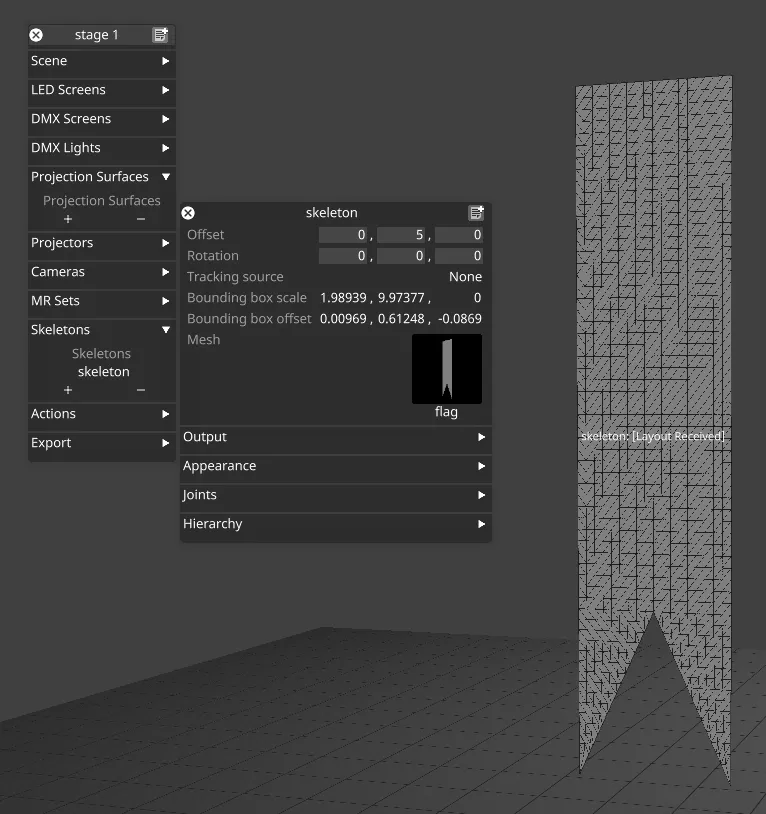
In the stage editor, under Skeletons, click the + button to add a new skeleton with a default bone structure.
-
Use the Mesh field to select an FBX rigged mesh for the skeleton.
-
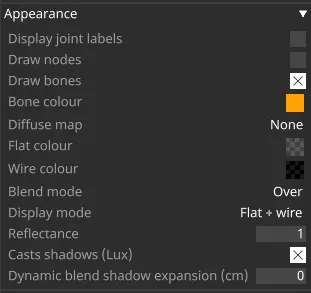
In the Appearance separator options can be set to control the rendering of the skeleton in the visualiser, for example showing or hiding the bones and the mesh.
-
In the Joints separator the skeleton can be posed manually by adjusting bone offsets and rotations.

-
To reset the skeleton pose to zero, click the Zero Pose button in the Joints separator.
Setting up a skinned mesh for a projection surface
Section titled “Setting up a skinned mesh for a projection surface”- Find or create an FBX file which contains a single rigged mesh, and copy this into the project’s objects/Mesh folder.
- Create a new skeleton and select the FBX mesh in the skeleton’s mesh field.
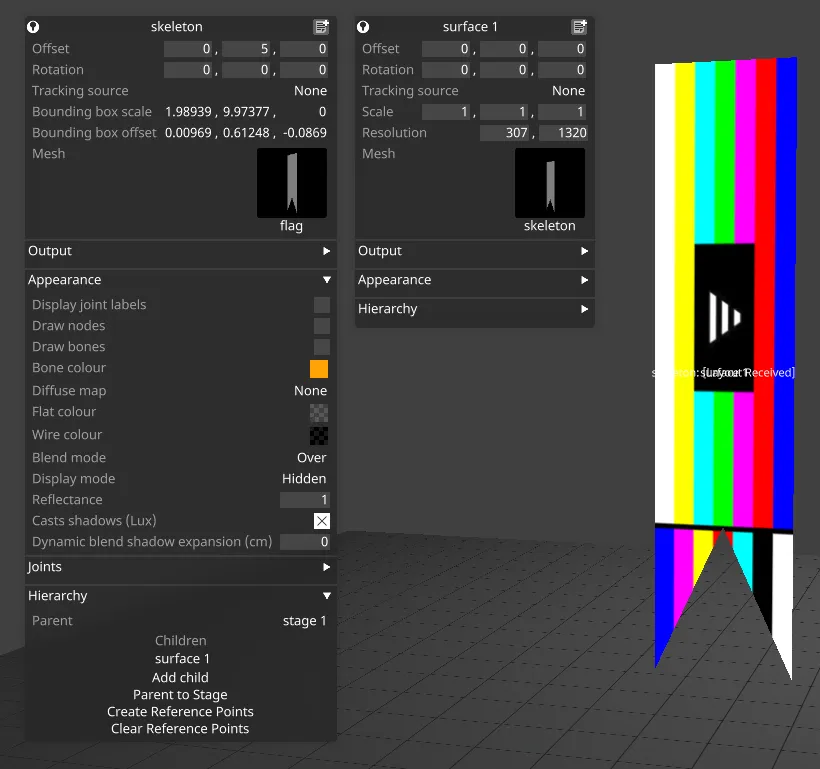
- Create a new projection surface and select the mesh named after the skeleton (not the original FBX mesh).
- Try moving the skeleton’s bones using the manual posing controls in the skeleton editor. The mesh should deform in both the skeleton and the projection surface.
- To align the projection surface exactly with the skeleton, add the projection surface as a child of the skeleton and set the surface’s offset and rotation to zero.
- If you want to hide the skeleton mesh, set the Display mode under Appearance to Hidden.
Playing back an animated skeleton
Section titled “Playing back an animated skeleton”Skeleton animations can be played back on the timeline using the scene animation layer. To do this, load an animated FBX skeleton and select it as a mesh as normal. Then follow the instructions for the scene animation layer to play back the animation.
Controlling a skeleton using tracking data
Section titled “Controlling a skeleton using tracking data”To use tracking data to control a skeleton’s bones, you will need to create a skeletal tracking source or driver. Available tracking sources include:
Alternatively, individual joint positions and rotations can be controlled using tracking axes. To control a skeleton joint with a tracking axis:
- Create a new Position Receiver under Devices.
- Open the Position Receiver editor, and add the appropriate Driver for your incoming tracking data under Drivers.
- Under the Axes separator, click Create Axes.
- Open the editor for the axis you want to use to control a Skeleton joint.
- Under the Configuration separator, select your skeleton in the Object field.
- In the Property field, type an equation to control the desired joint property, for example
joints[10].pose.offset.x. - The expression is formed as follows:
- The index inside the square brackets is the index of the joint. This can be found by expanding the joint offset or rotation separators in the Skeleton editor.
- After
pose, type eitheroffsetorrotation, depending on which property you want to control. - Type
x,y, orzat the end of the expression to define which axis is being controlled.
![]()