4U v2.5 Windows Updates
Diagnosing this issue is fairly simple, as the main symptom is a noticeable decrease in performance and unstable frame rates occurring whenever the machine is networked.
How to Install the Intel update
Section titled “How to Install the Intel update”If you are experiencing the symptoms described above and require the Intel update, please follow the steps below:
- Click on Start.
- Search for Control Panel.
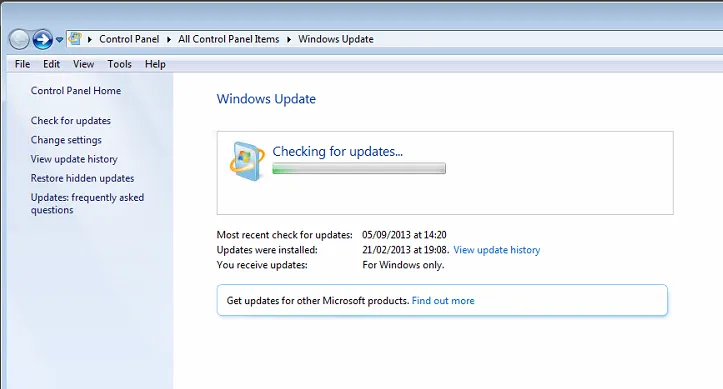
- Click on Windows Update
- Click on Check for updates
- Once the first automatic updates are installed and Windows has finished searching for updates, you will be able to view and select specific Important and Optional updates to install.
- Select to View Important updates and untick the box at the very top of the list to untick and de-select all Important updates
- Navigate to the Optional updates tab and tick the box on the Intel update from there: Intel - LAN, LAN (Server) - Intel(R) 82579LM
Gigabit Network Connection.
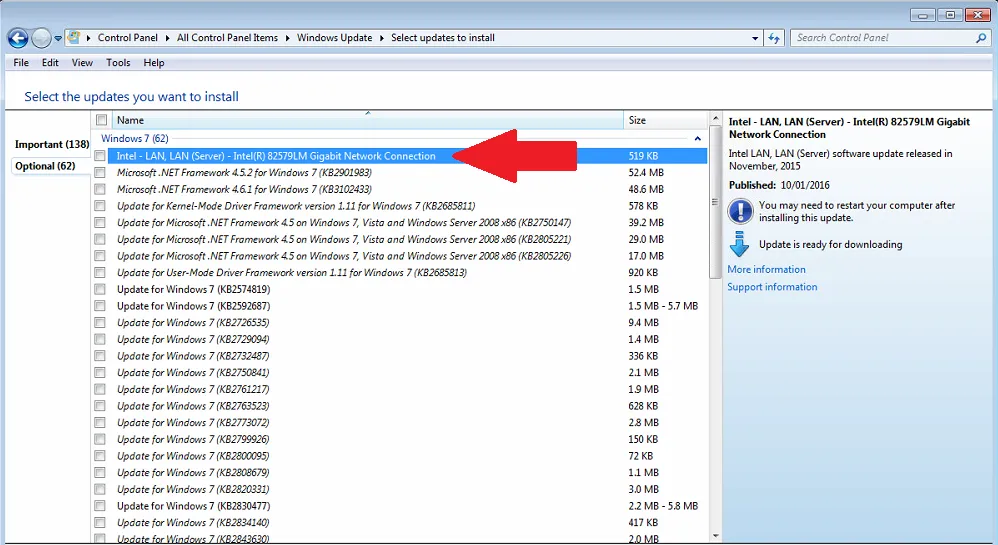
- Ensure there are no selected updates from the Important tab, then install the Intel update on its own.
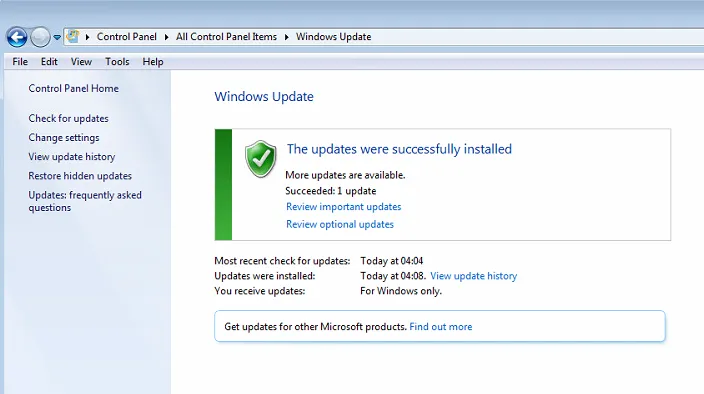
- If the update is successful you should see the above screen.
At this point you should notice an increase in network performance right away. There is normally no need to restart the machine, although restarting is always recommended.