Creating and Removing Props
Creating a prop for a venue
Section titled “Creating a prop for a venue”- Right-click stage from the dashboard (bar at the top of the screen). This will open the Stage editor.
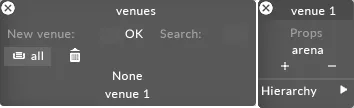
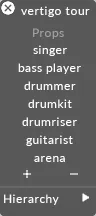
- Right-click venue. This will open up the Props menu which displays a list of all of the active props in the currently active
venue.

A new project will by default contain one venue called venue 1, which itself will contain one prop called Arena.
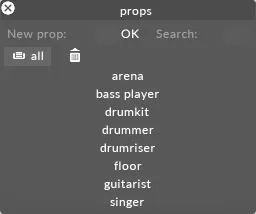
- Left-click +. This will open a Props manager that lists all of your props. It is important to note that the props in this list can be added to either, some, or all of your venues; you do not have to limit a prop to only one venue.
-
Left-click a prop from the Prop manager to add it to the currently active venue, in this example venue 1. You can now edit the prop.
-
If you wish to create a new prop, type the name of a new prop in the new prop text field and hit Enter. This will create the prop and add it to the currently active venue.
-
Repeat these steps for each prop you wish to add to the currently active venue.
Removing a prop from a venue
Section titled “Removing a prop from a venue”- Left-click and drag a prop , from the prop menu to the - button. This will remove the prop from the prop menu, although the prop itself will not be deleted: it is still listed in the Prop manager. Notice how this change has been updated in the Stage Visualiser.
Permanently deleting a prop
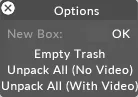
Section titled “Permanently deleting a prop”- Left-click and drag the prop you want to delete from the Prop manager to trash (represented by a trash-can icon).
- Right-click trash and select empty trash to permanently delete the prop from your stage.