Schematic
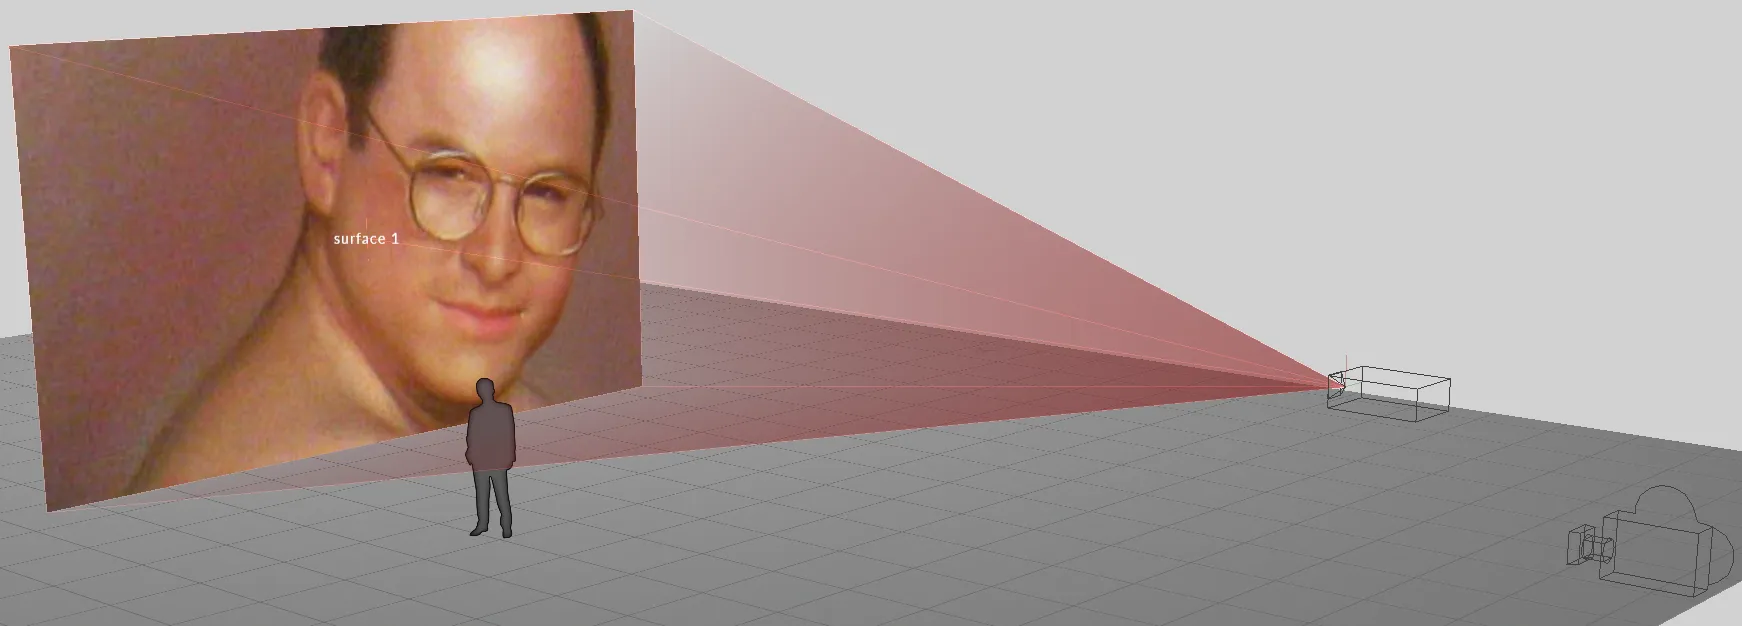
Schematic render is an operational rendering mode that provides unlit, but accurate rendering of content in the stage visualiser.
Previous to r15, the schematic rendering mode was the only mode available in the stage visualiser settings. It is intended to be used during playback, sequencing and when maximum performance is needed.
Effectively communicate the technical aspects of your creative concept to the whole production team. View your stage, storyboards, and test content from any angle in the real-time 3D stage simulator.
Workflow
Section titled “Workflow”- Setup your project as normal by adding projectors, screens, venues & props.
- Change your visualiser camera to schematic mode, or make a new Camera to assign to a feed output.
Schematic is the default enabled mode of the three renderers.
Example
Section titled “Example”Enabling schematic mode
Section titled “Enabling schematic mode”- Open the stage editor by right-clicking Stage from the dashboard or by right-clicking the floor in the visualiser.
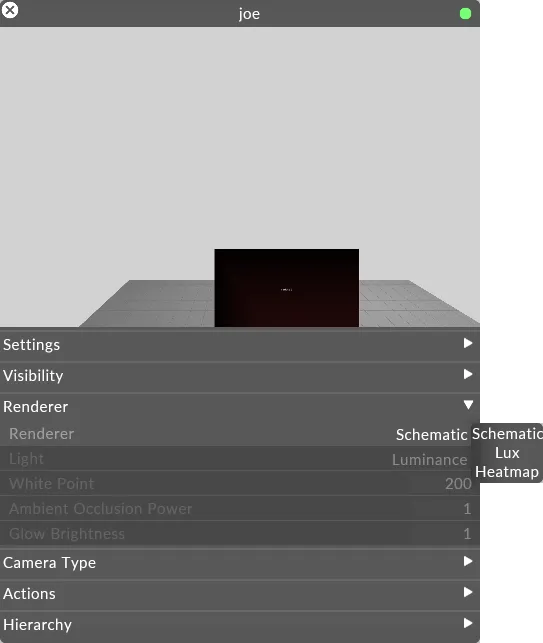
- Expand the Cameras tab, and right-click Visualiser camera to edit the visualiser camera settings. Alternatively, you can edit another camera and output that to the feeds.
- In the camera editor, expand the Renderer tab and set the render mode to Schematic.
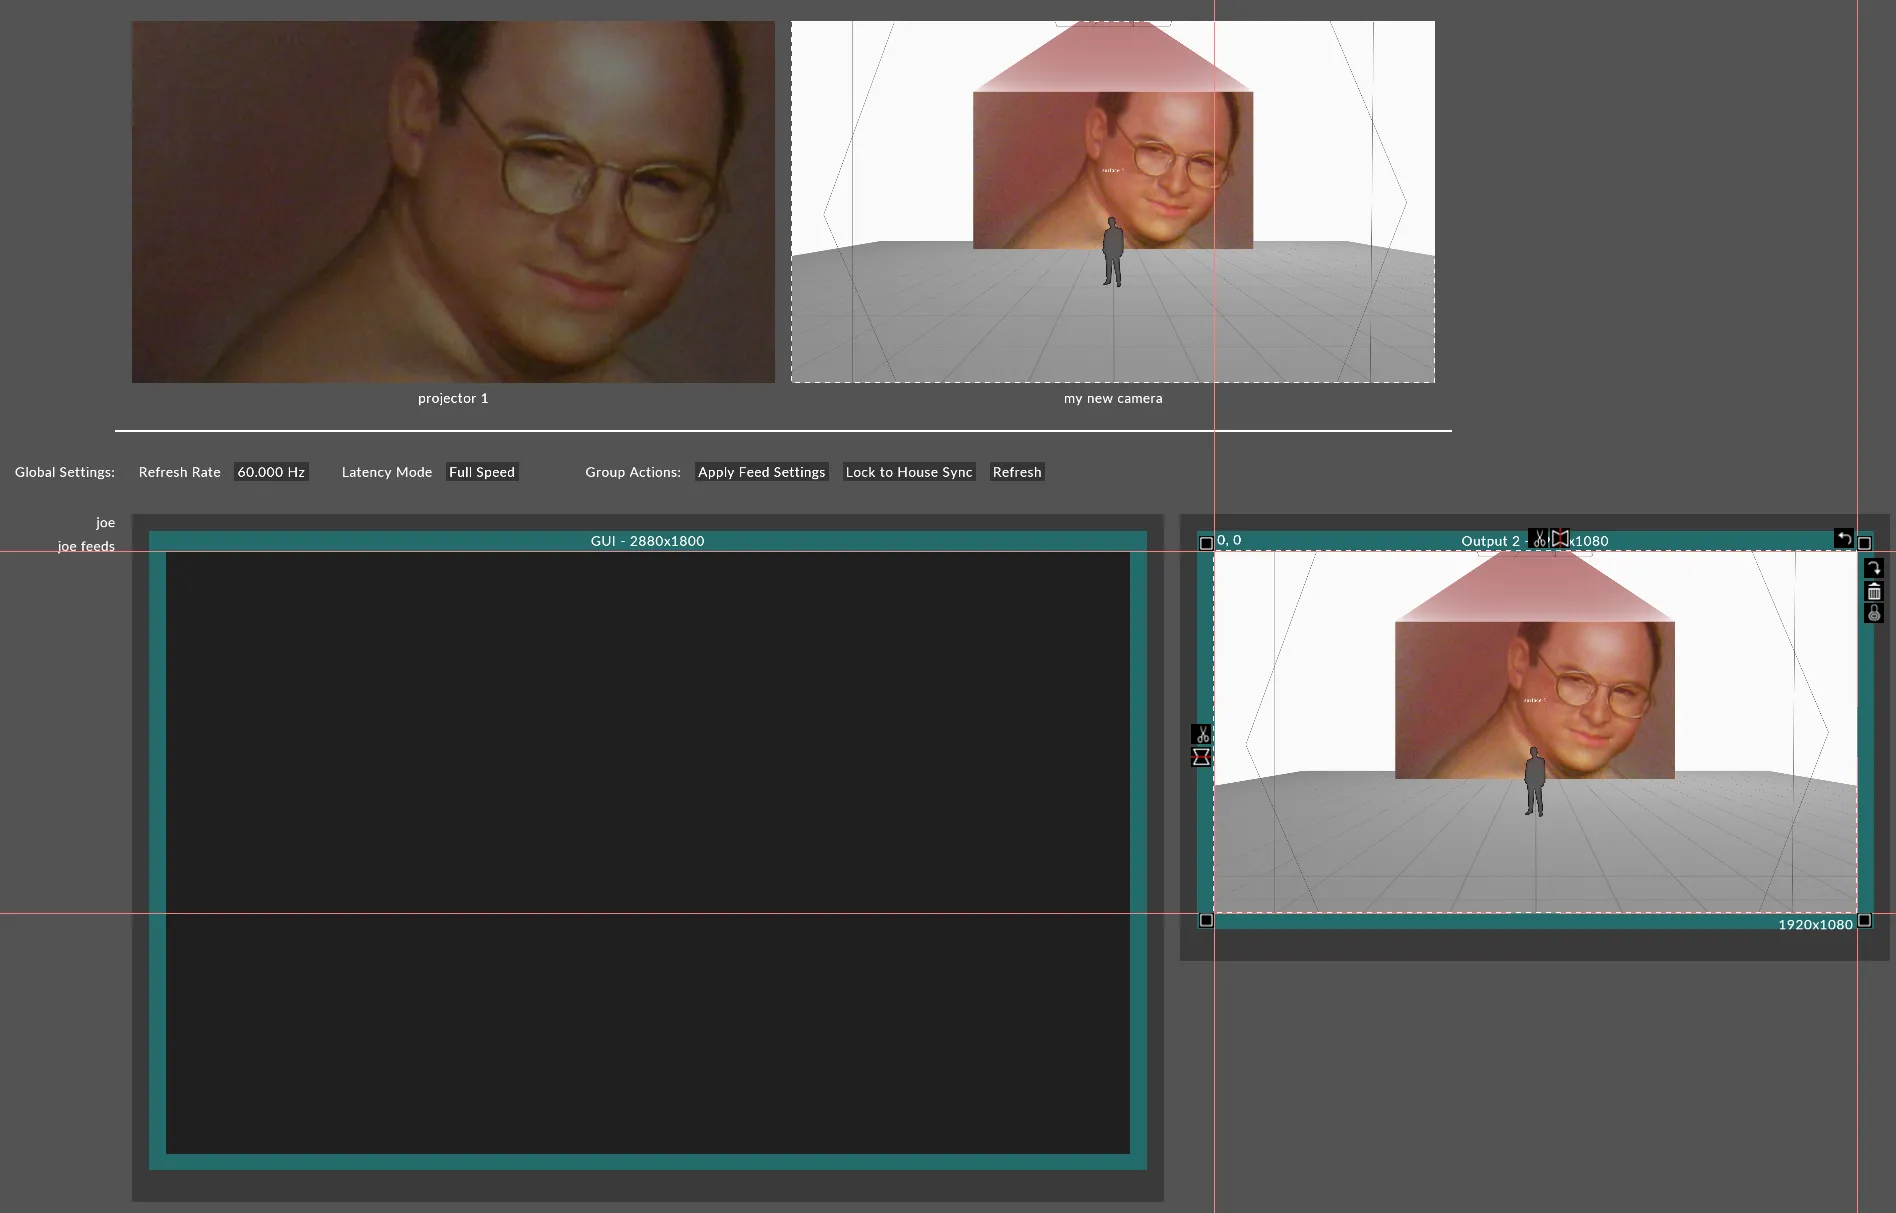
Viewing schematic rendering through cameras
Section titled “Viewing schematic rendering through cameras”- Position the camera in the visualiser.
- Left-click Feed from the dashboard.
- Right-click on the camera feed at the top of the feed scene and left-click Add feed rectangle or alternatively hold ALT, left-click and drag an arrow from the camera feed to an available output head.