Designer HTTP Sockpuppet
Once connection is established using Porta Bridge,, Porta can access any parameter exposed via HTTP Sockpuppet.
Controlling HTTP Sockpuppet Parameters in Porta
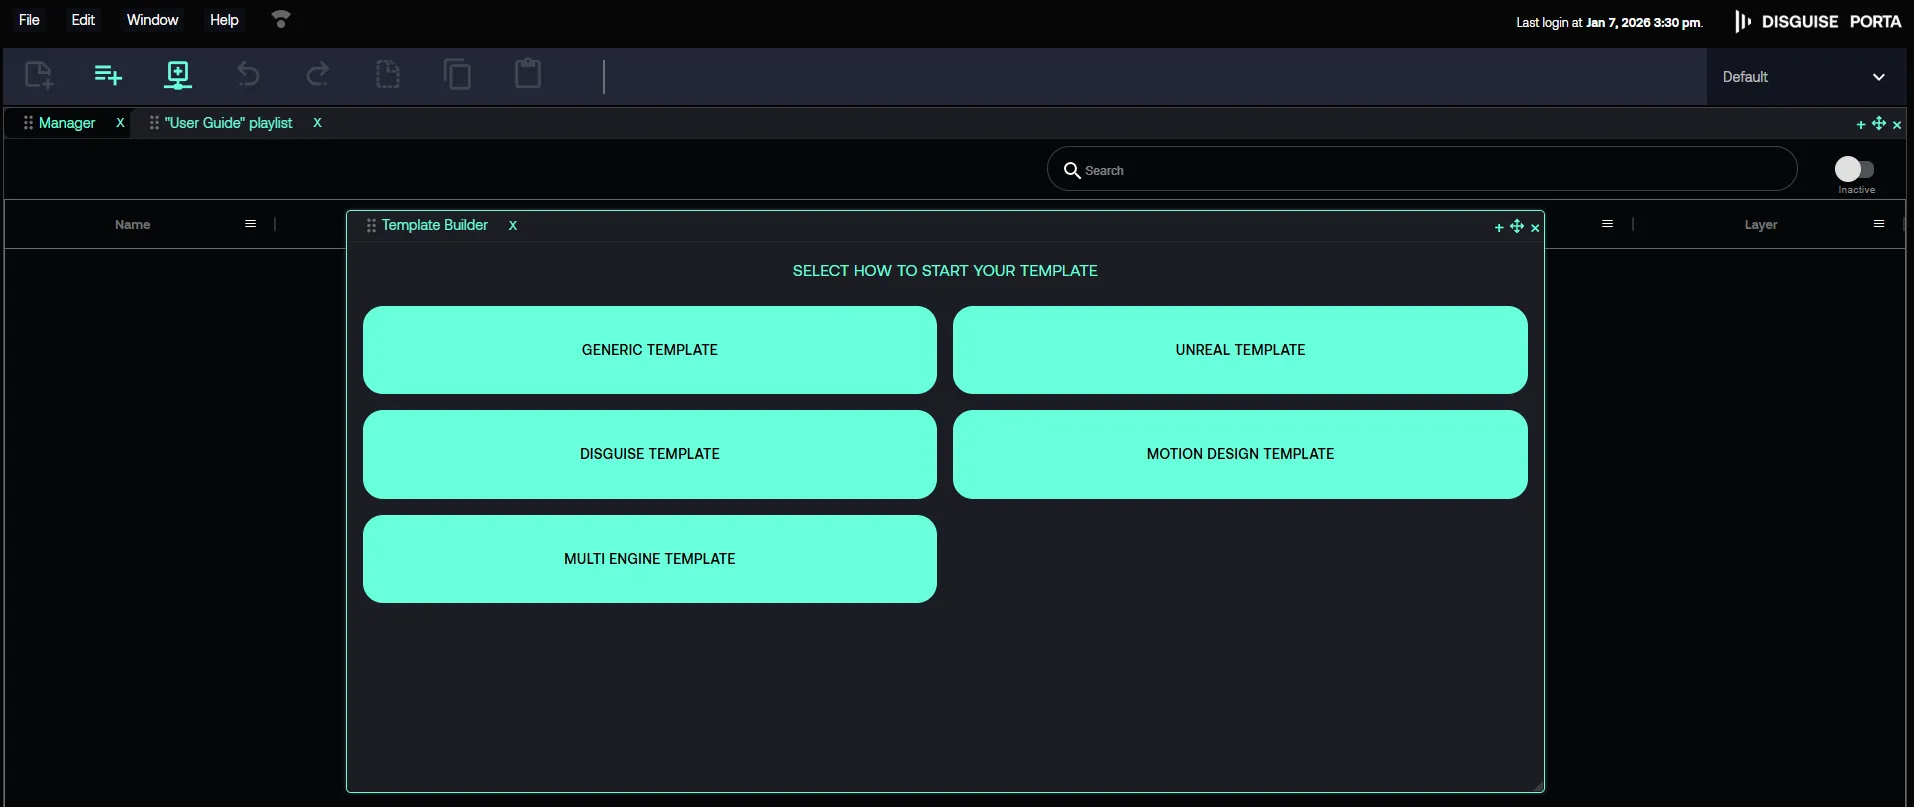
Section titled “Controlling HTTP Sockpuppet Parameters in Porta”Step 1: Create a new template
Section titled “Step 1: Create a new template”- In Porta, navigate to File -> New -> Template.
- In Template Builder > SELECT HOW TO START YOUR TIMELINE, click DISGUISE TEMPLATE.
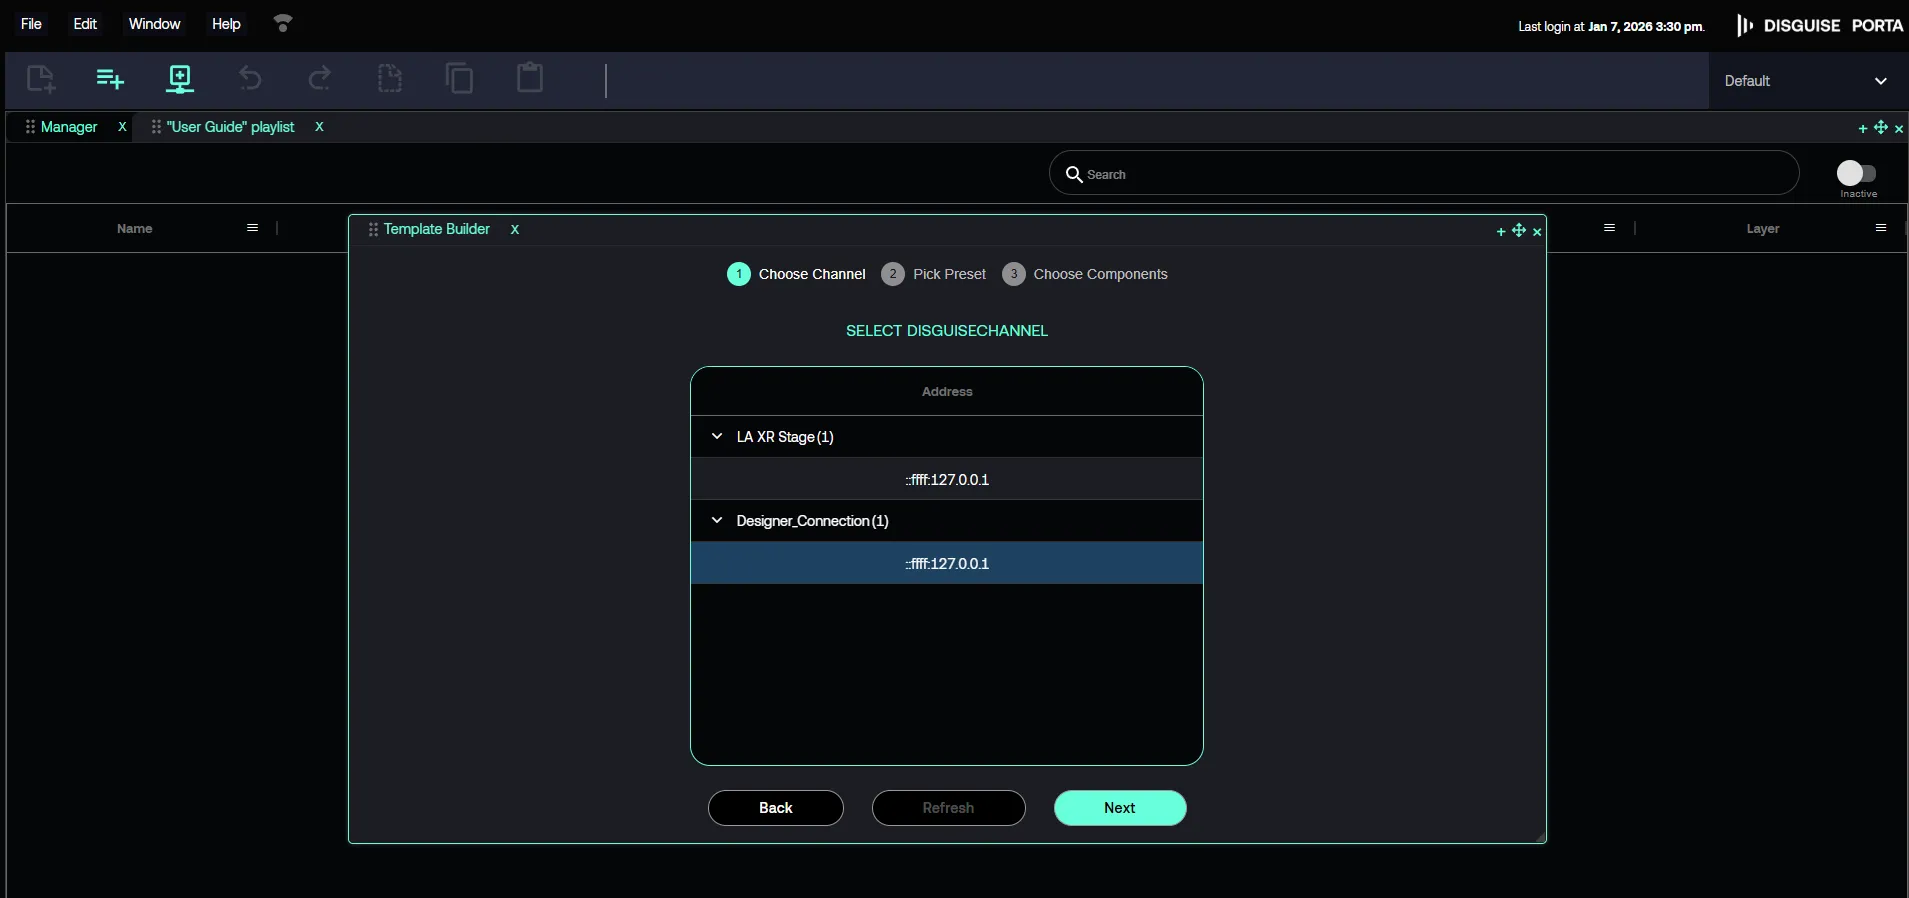
Step 2: Select the Channel
Section titled “Step 2: Select the Channel”- Find and select the established Channel.
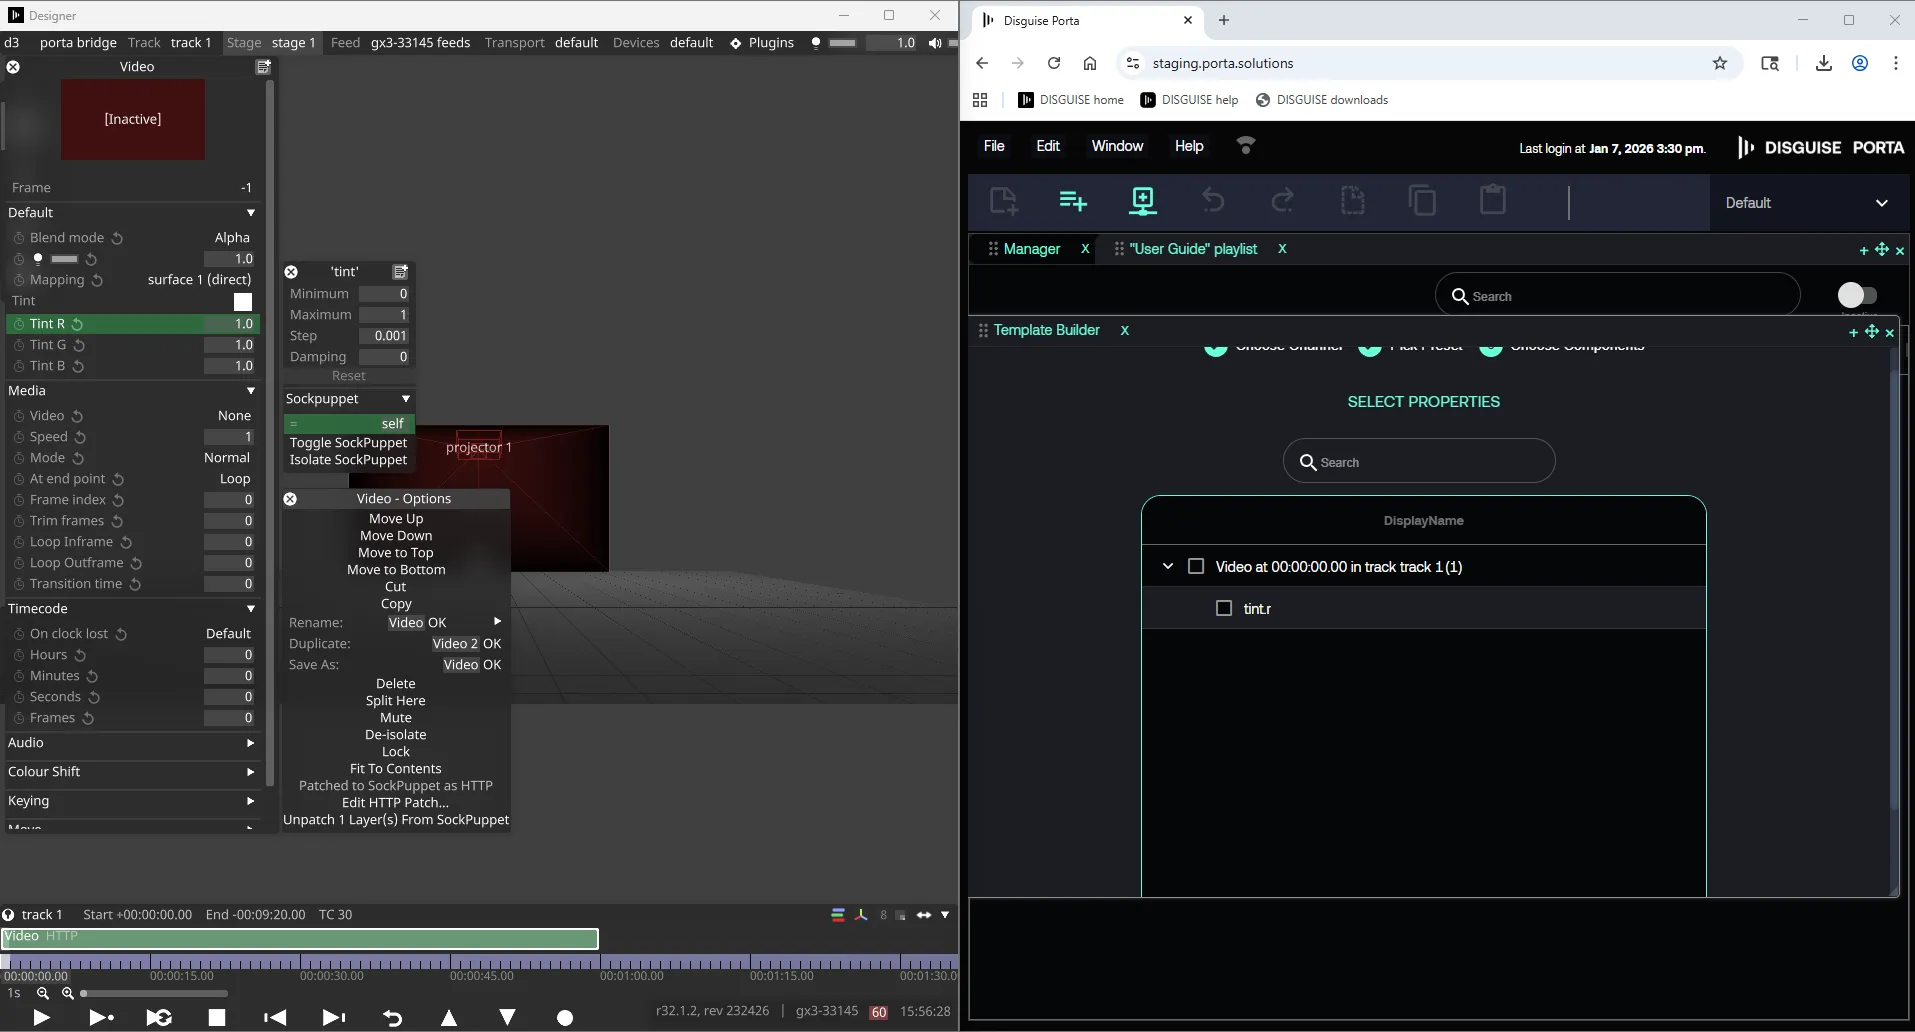
Step 3: Select an Exposed HTTP Sockpuppet Parameter
Section titled “Step 3: Select an Exposed HTTP Sockpuppet Parameter”- Find the parameter exposed in Designer. How to expose parameter via HTTP Sockpuppet
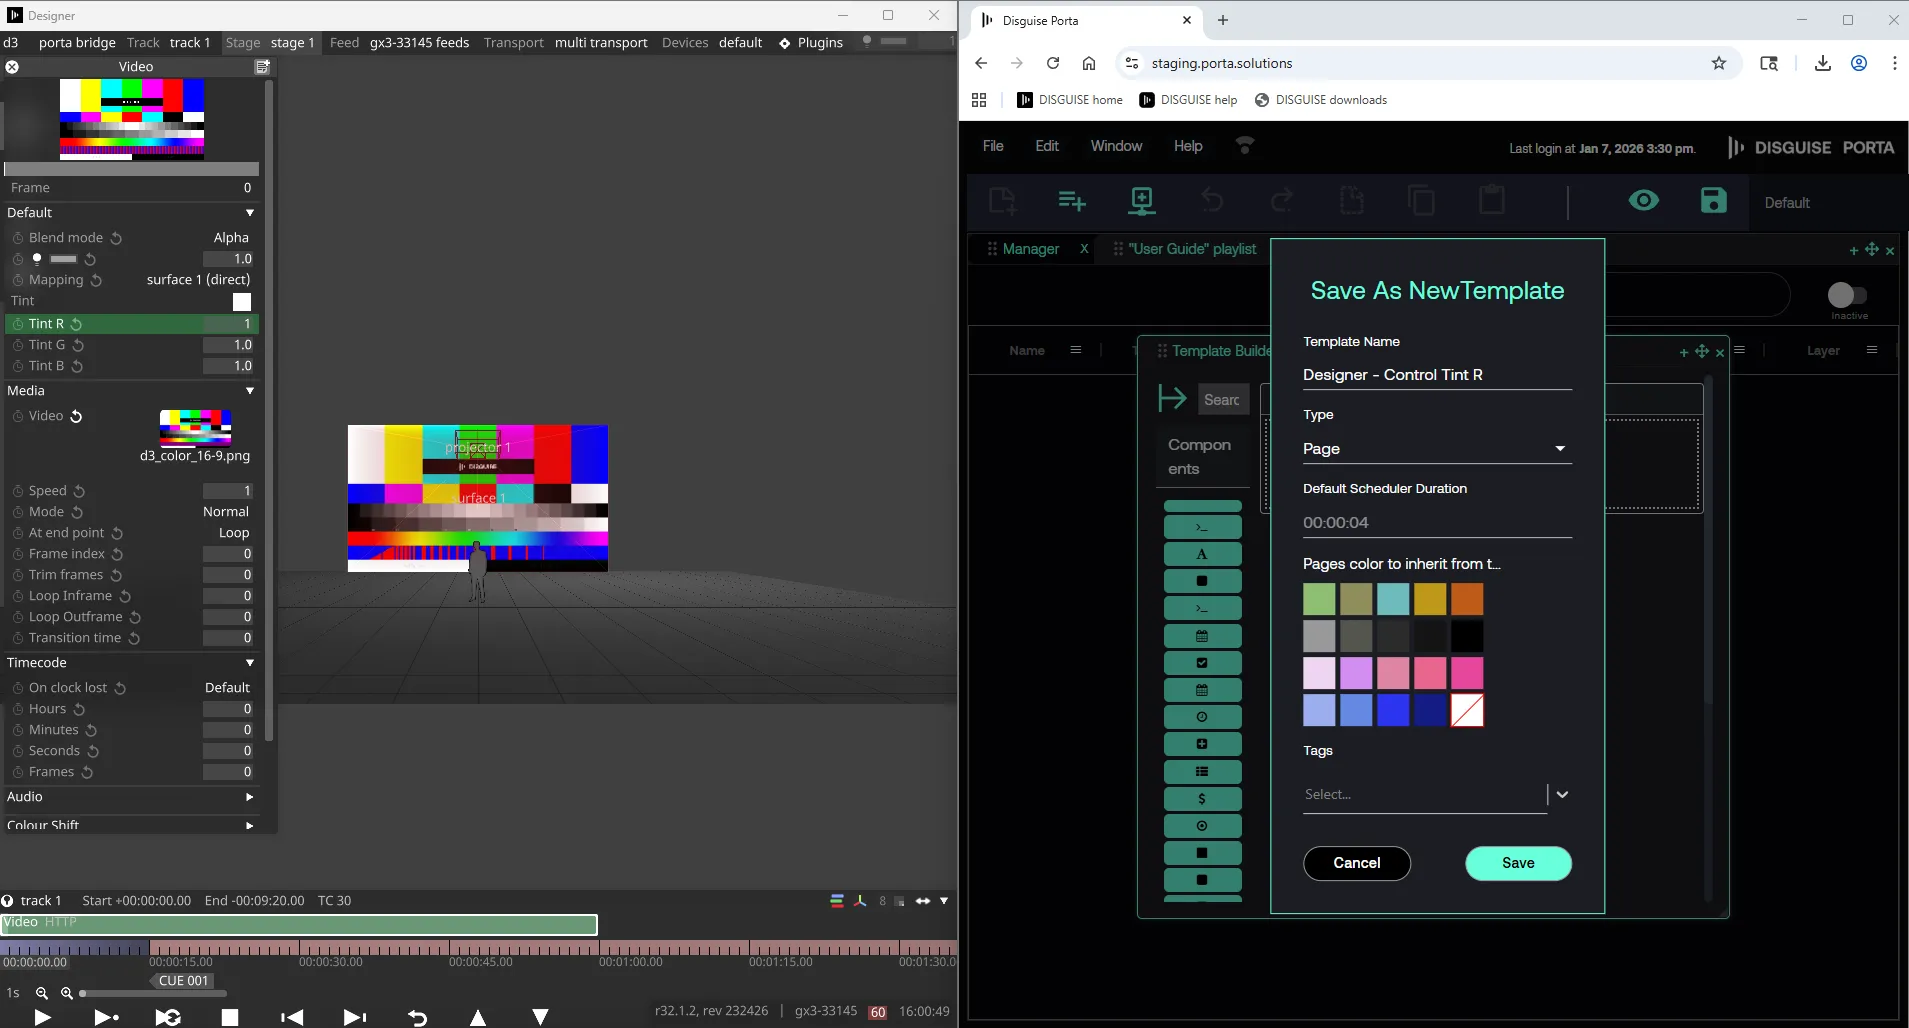
Step 4: Save the Template
Section titled “Step 4: Save the Template”Find the parameter exposed in Designer, and save the template.
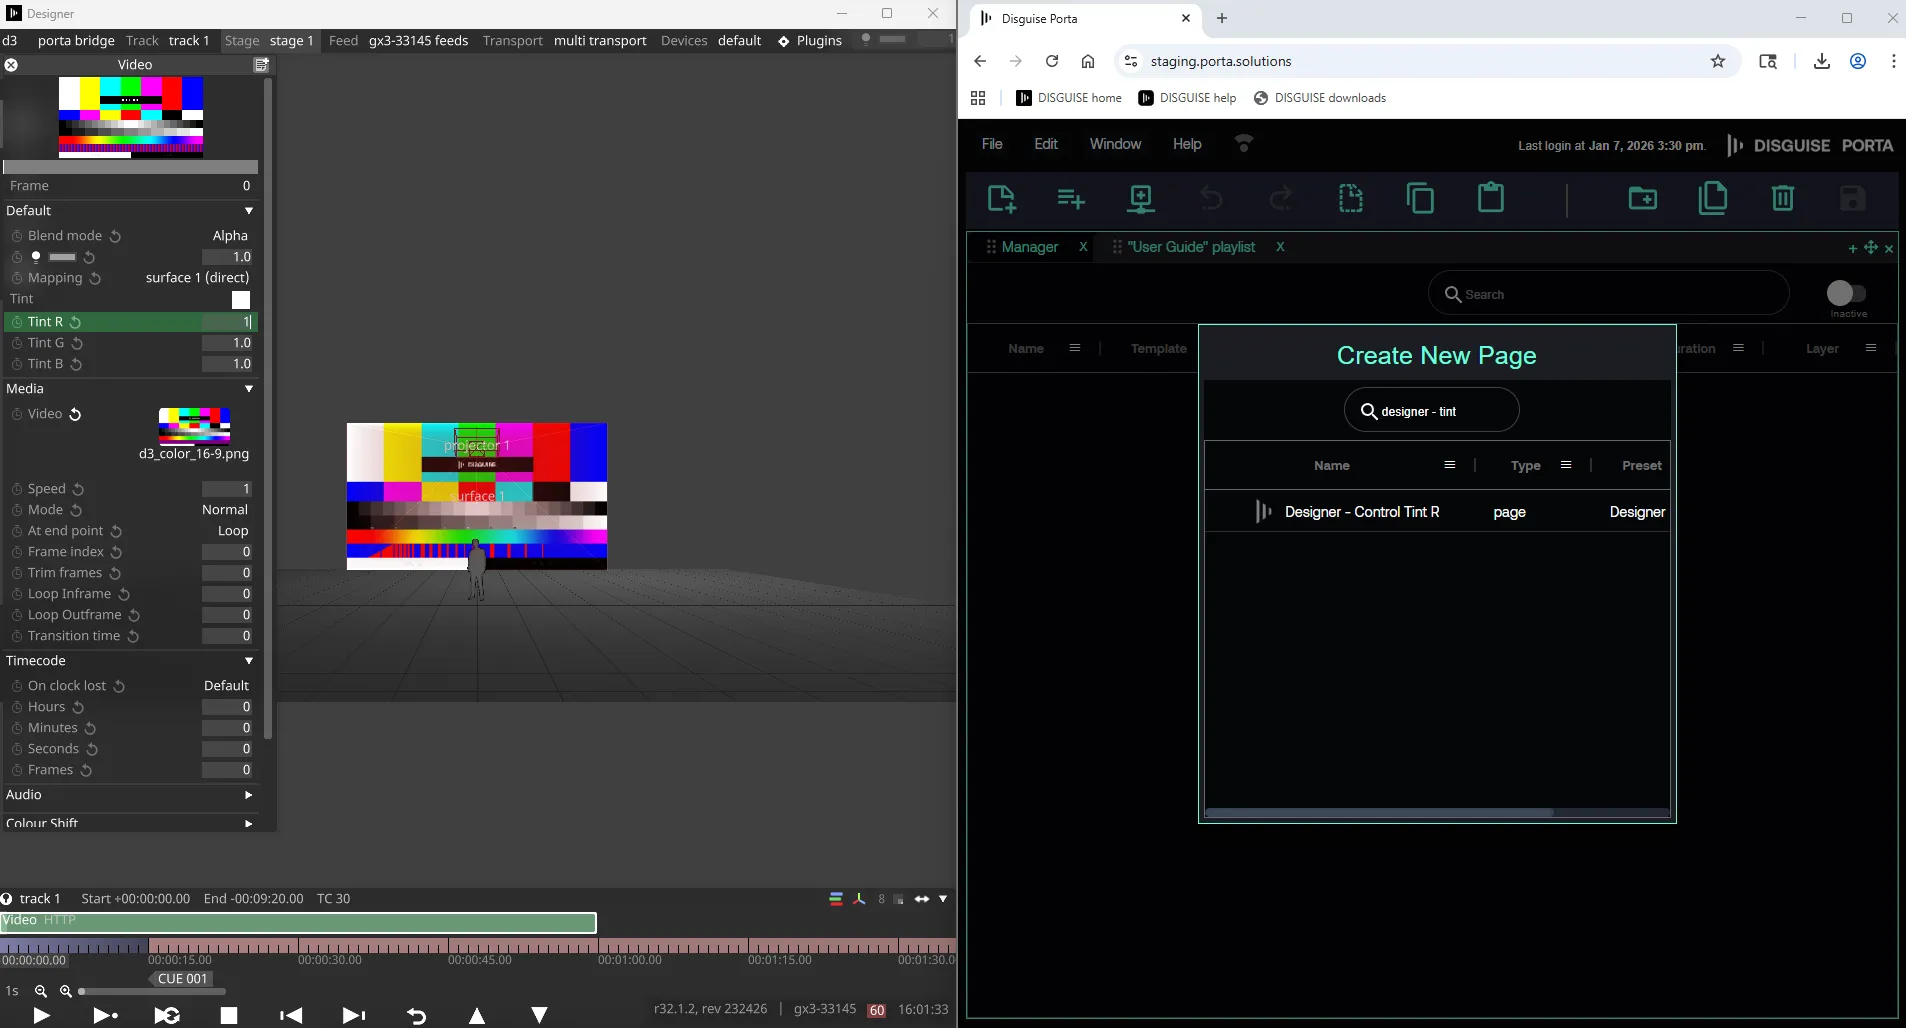
Step 5: Create a Page for Programming
Section titled “Step 5: Create a Page for Programming”- Create a new page for specific programming.
- Add multiple pages to a Playlist.
- Pages can also be grouped.
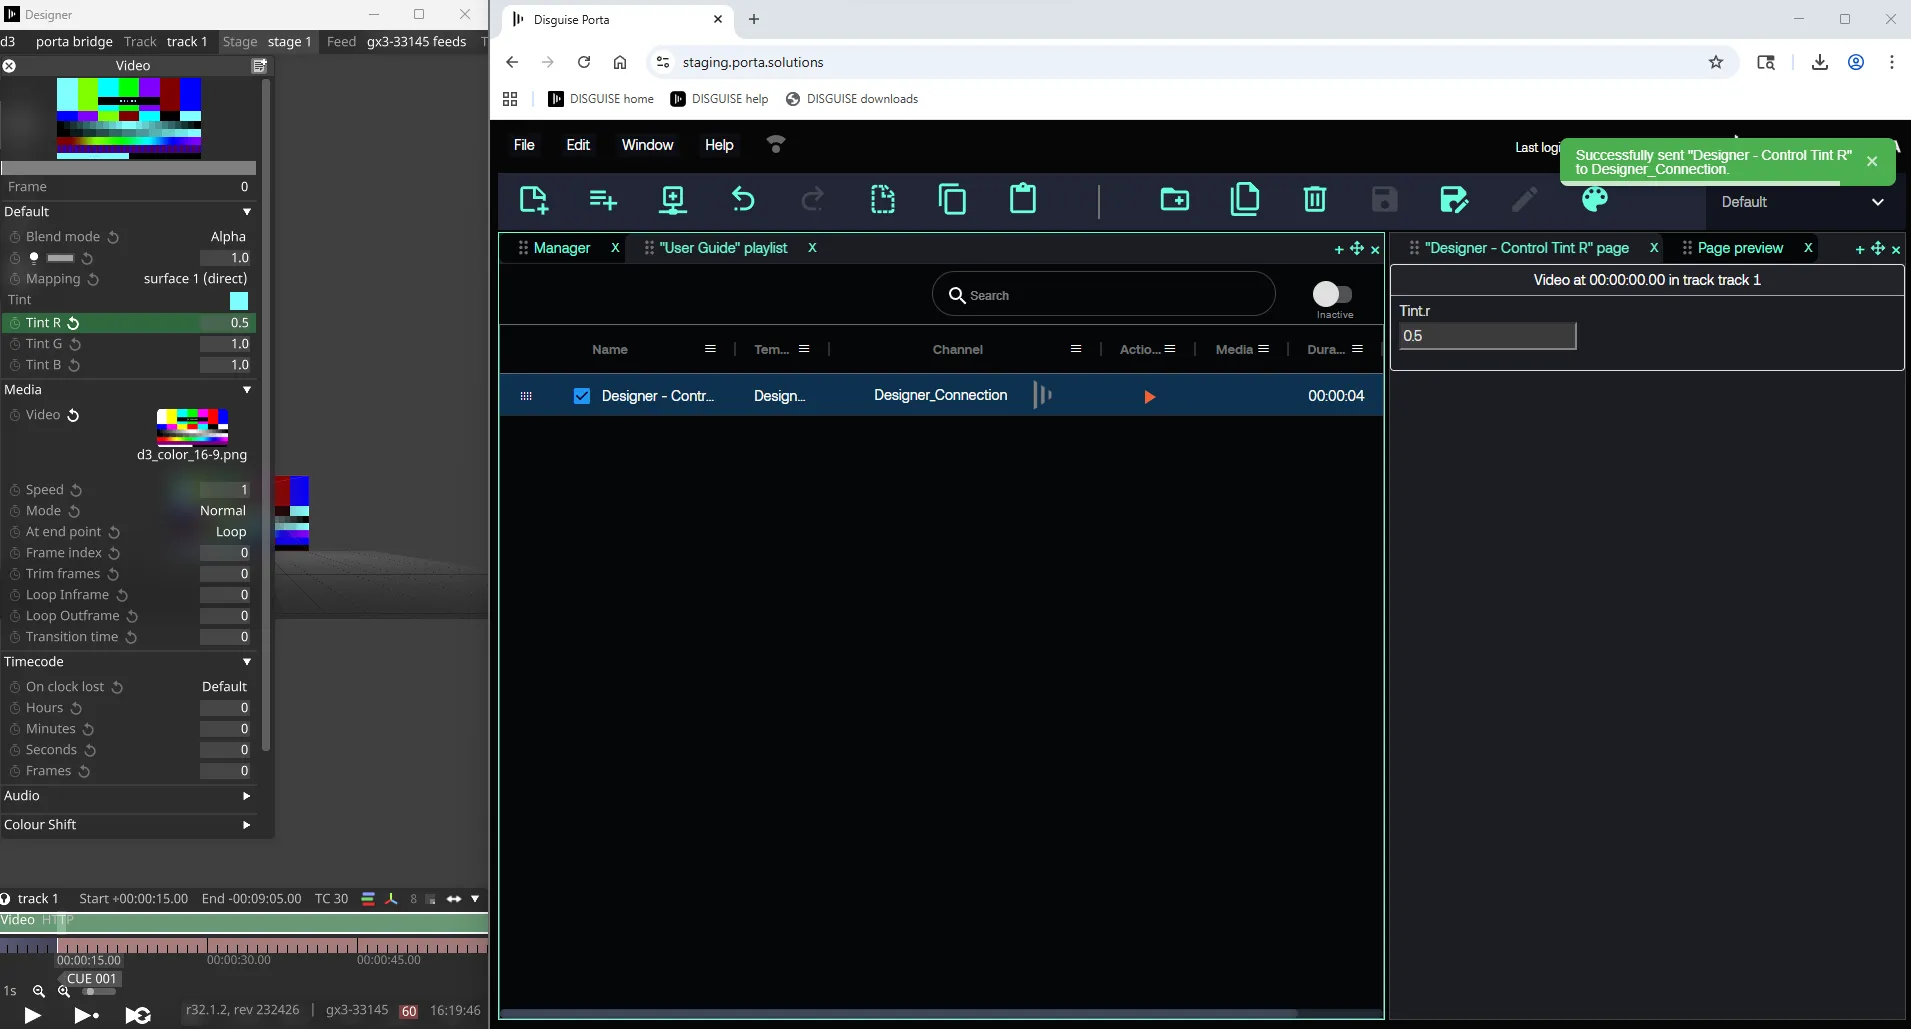
Step 6: Trigger the Parameter in Designer
Section titled “Step 6: Trigger the Parameter in Designer”Now cue will trigger the desired change in Designer.