Layers
Layers are a lightweight way to organise the objects in a Mapping Matter scene. Every scene starts with a single Base layer; you can add more layers, assign objects to them, and toggle whole groups of objects on and off at once. Layer membership also drives selective publishing: a snapshot can include only the layers you tick.
The Layers panel
Section titled “The Layers panel”Open the Layers panel from the Layers button in the bottom Panels strip. The panel lists every layer in the scene in order, with these per-row controls:
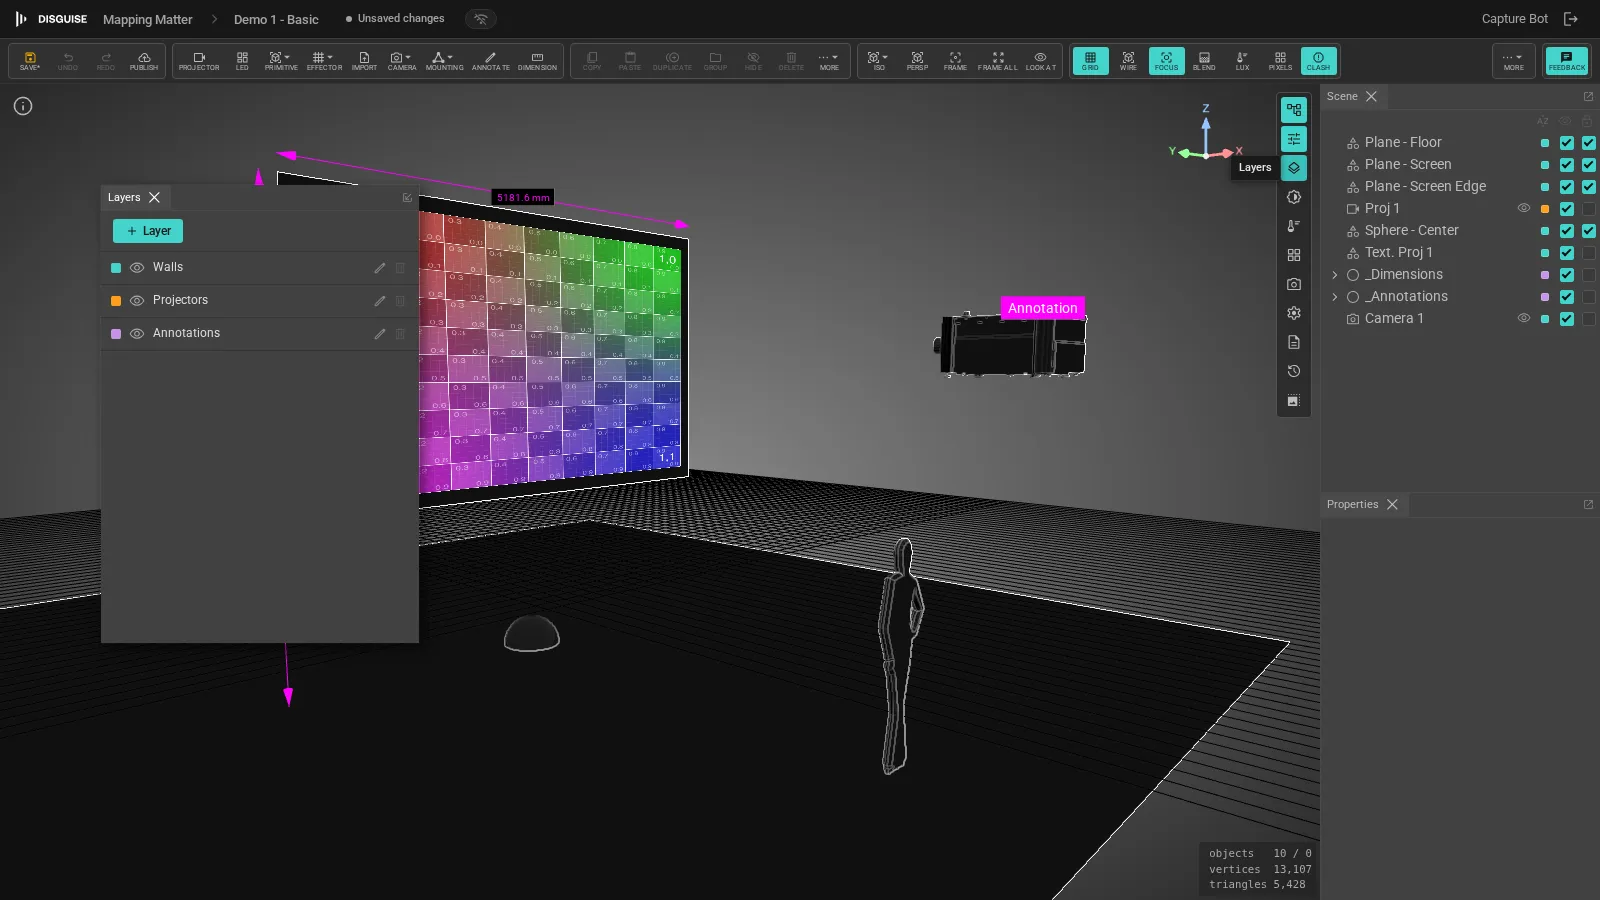
- A small colour swatch for the layer.
- A visibility toggle (eye icon) that shows or hides every object on the layer.
- The layer name.
- A Rename icon to change the name.
- A Delete icon to remove the layer. The Base layer cannot be deleted; deleting any other layer moves the objects assigned to it back to Base.
To add a layer, click the + Layer button at the top of the panel and enter a name.
Layer changes are saved with the scene and broadcast to collaborators in real time, the same way that any other scene edit is.
Assigning objects to layers
Section titled “Assigning objects to layers”Objects are assigned to layers from the Scene panel, not from the per-object Properties panel. Each row in the Scene panel shows a small layer chip; click the chip to open a layer popover and pick a layer:
- If the row is part of the current selection, the chosen layer is applied to every selected object.
- Otherwise, the chosen layer is applied to just that one row.
Objects without an explicit layer belong to the Base layer by default. When you delete a layer, its members fall back to Base automatically.
Visibility
Section titled “Visibility”Toggling a layer’s eye icon hides or shows every object on that layer in the viewport. Per-object visibility (the eye toggle on individual rows in the Scene panel) is preserved across layer toggles: an object you hid manually stays hidden when the layer is shown again, and an object that the layer hid is restored when the layer comes back.
Locking is a per-object action, set from the lock toggle on each row in the Scene panel; there is no bulk lock toggle on the Layers panel itself. Locking blocks the gizmo and prevents the object from being edited or reparented; collaborators see the same lock state.
Layers in snapshots
Section titled “Layers in snapshots”When you publish a snapshot from Publish & Share, the Publish tab includes a Layers to include list. Tick the layers whose objects should appear in the published snapshot; by default, the currently-visible layers are pre-ticked.
This is how you produce a snapshot that highlights one part of a rig (for example, just the projector layer for a lighting brief), without rearranging or hiding objects in the working scene.
See Publish & share for the rest of the publish flow.
See also
Section titled “See also”- Getting Started: overview of the editor and the Scene panel.
- Snapshots and Revisions: how snapshots fit alongside the revision history.
- Publish and Share: the full publish flow, including the Layers to include picker.