RenderStream - Omniverse RTX Renderer Integration
RenderStream RTX enables real-time rendering of USD scenes in NVIDIA Omniverse, streamed to Disguise media servers via the RenderStream protocol.
NVIDIA Omniverse RTX™ Renderer is a scalable photo-real renderer offering physically accurate rendering with real-time performance. It offers high-quality ray-tracing capabilities for film, TV, commercials, and live visuals applications.
Scenes can be built in NVIDIA’s Omniverse Composer and Kit App for use within Designer and streamed via LED.
This guide covers installation, scene setup, exposed parameters, and integration with Designer.
Demo video
Section titled “Demo video”
Watch online: https://www.youtube.com/watch?v=A_dgIYRIiSE
Requirements
Section titled “Requirements”Hardware
Section titled “Hardware”| Component | Minimum | Recommended |
|---|---|---|
| GPU | NVIDIA RTX series | RTX 4000+ series |
| VRAM | 8 GB | 16+ GB |
| RAM | 32 GB | 64 GB |
Software
Section titled “Software”| Software | Version |
|---|---|
| Windows | 10/11 (64-bit) |
| NVIDIA Driver | 537.70 or newer |
| Disguise Designer | With RenderStream support (system requirements) |
For Disguise hardware, see product compatibility and hardware OS images.
Download the installer
Section titled “Download the installer”To request the download, please contact the Product team at product-team@disguise.one.
Project setup
Section titled “Project setup”1. Install the RenderStream-RTX plugin
Section titled “1. Install the RenderStream-RTX plugin”Extract the RenderStream-RTX.zip package into a folder under the RenderStream Projects folder on the Disguise server:
RenderStream Projects\└── RenderStream-RTX\ ├── open_usd.exe ├── edit_usd.exe ├── rs_open_usd.json ├── kit\ ├── apps\ ├── exts\ └── scripts\Once extracted, open_usd will appear as an available asset in Designer.
2. Configure the file association
Section titled “2. Configure the file association”Set edit_usd.exe as the default application for .usd, .usda, and .usdc files. This allows you to double-click any USD file to open it in the editor for scene setup.
Supported USD formats
Section titled “Supported USD formats”| Extension | Description |
|---|---|
.usd | Binary or ASCII USD |
.usda | ASCII USD (human-readable) |
.usdc | Binary USD (crate format) |
.usdz | Zipped USD archive |
3. Launch the scene
Section titled “3. Launch the scene”Launch edit_usd.exe.
4. Set up the scene for RenderStream
Section titled “4. Set up the scene for RenderStream”Arrange the scene content in the USD.
5. Arranging the camera
Section titled “5. Arranging the camera”The plugin uses a camera at /World/RS_Cam as the streaming viewpoint. If your scene already contains a prim at that exact path (a camera named RS_Cam under /World), the plugin adopts its saved transform as the starting view. If no such prim exists, the plugin creates one at the scene origin, which may not frame your content.
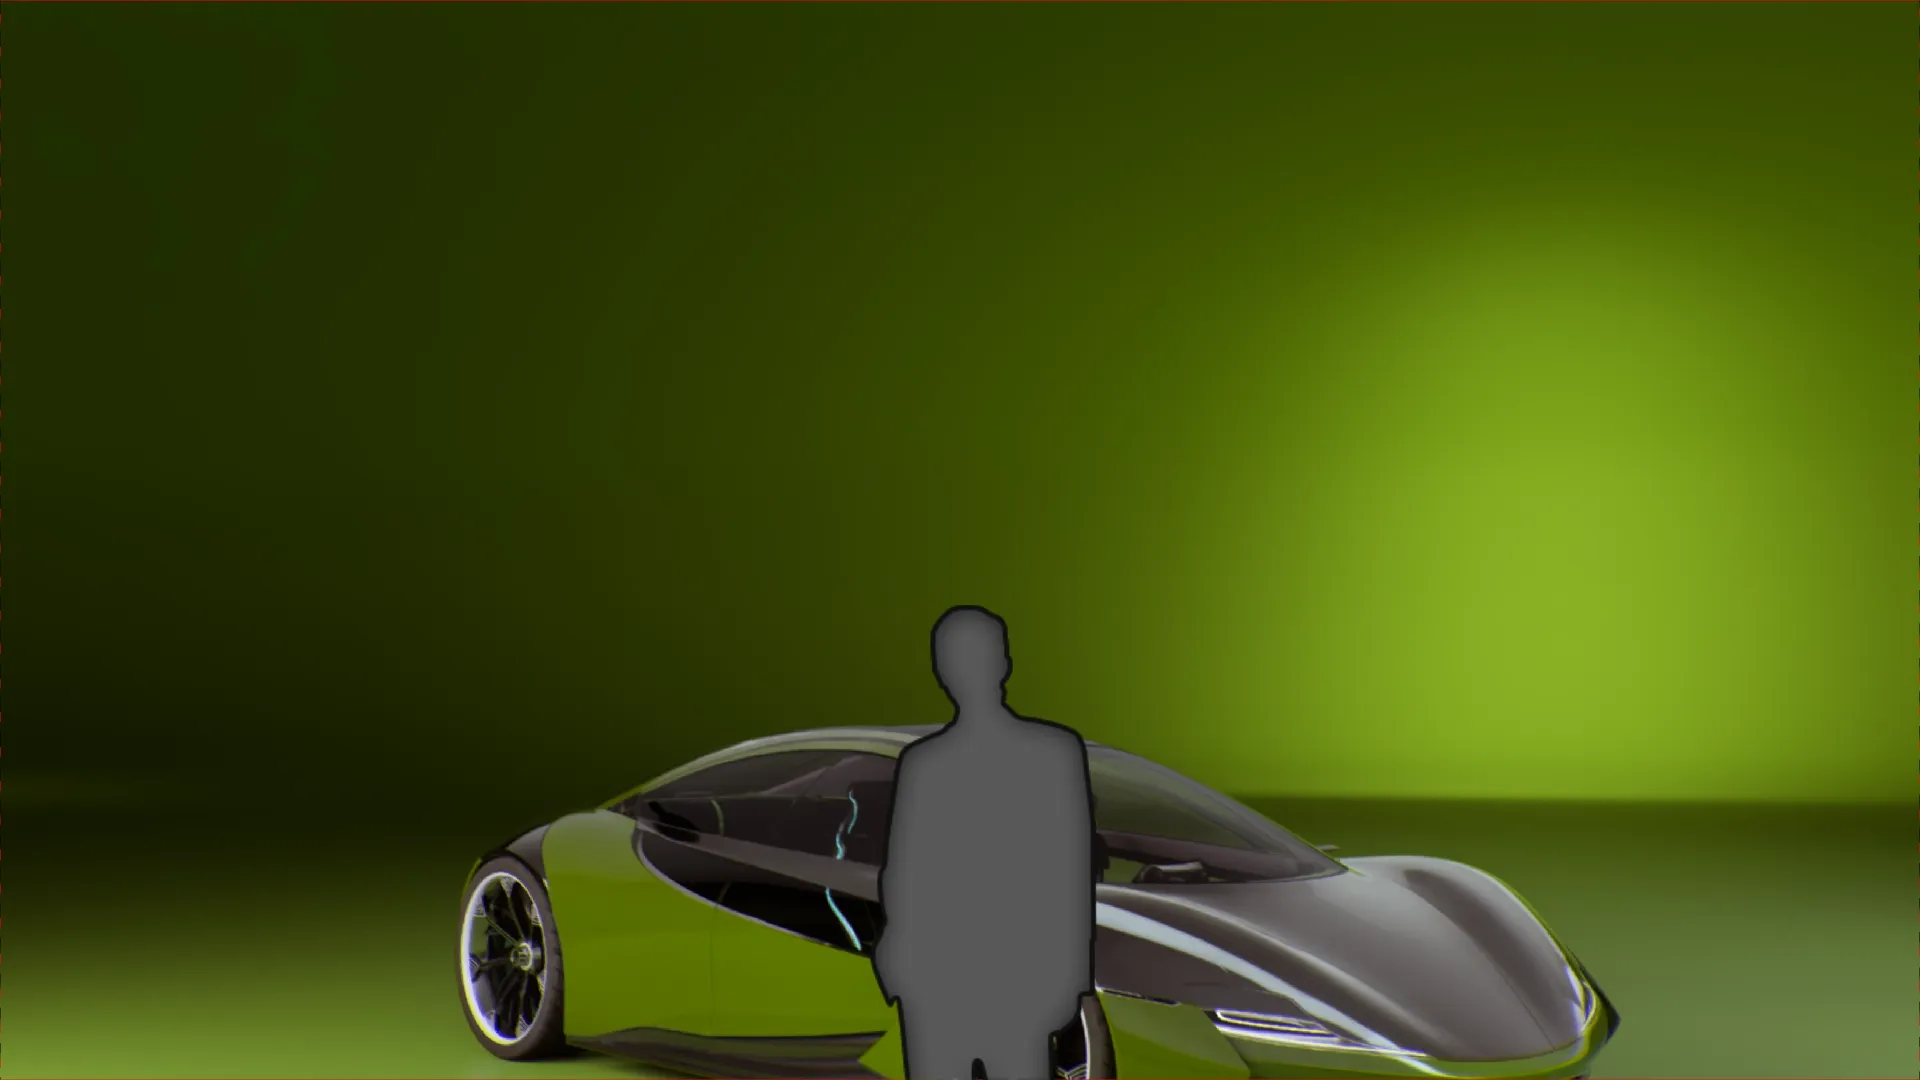
To control the default framing, in edit_usd.exe position the viewport to frame your scene’s content, then use Create from View to add a new camera. The new camera is created with a default name, so rename it to RS_Cam in the Property panel — this places it at /World/RS_Cam where the plugin expects to find it. Save the scene.
Camera tracking data from Designer (position, rotation, focal length, focus distance, aperture) is applied each frame relative to this saved USD transform.
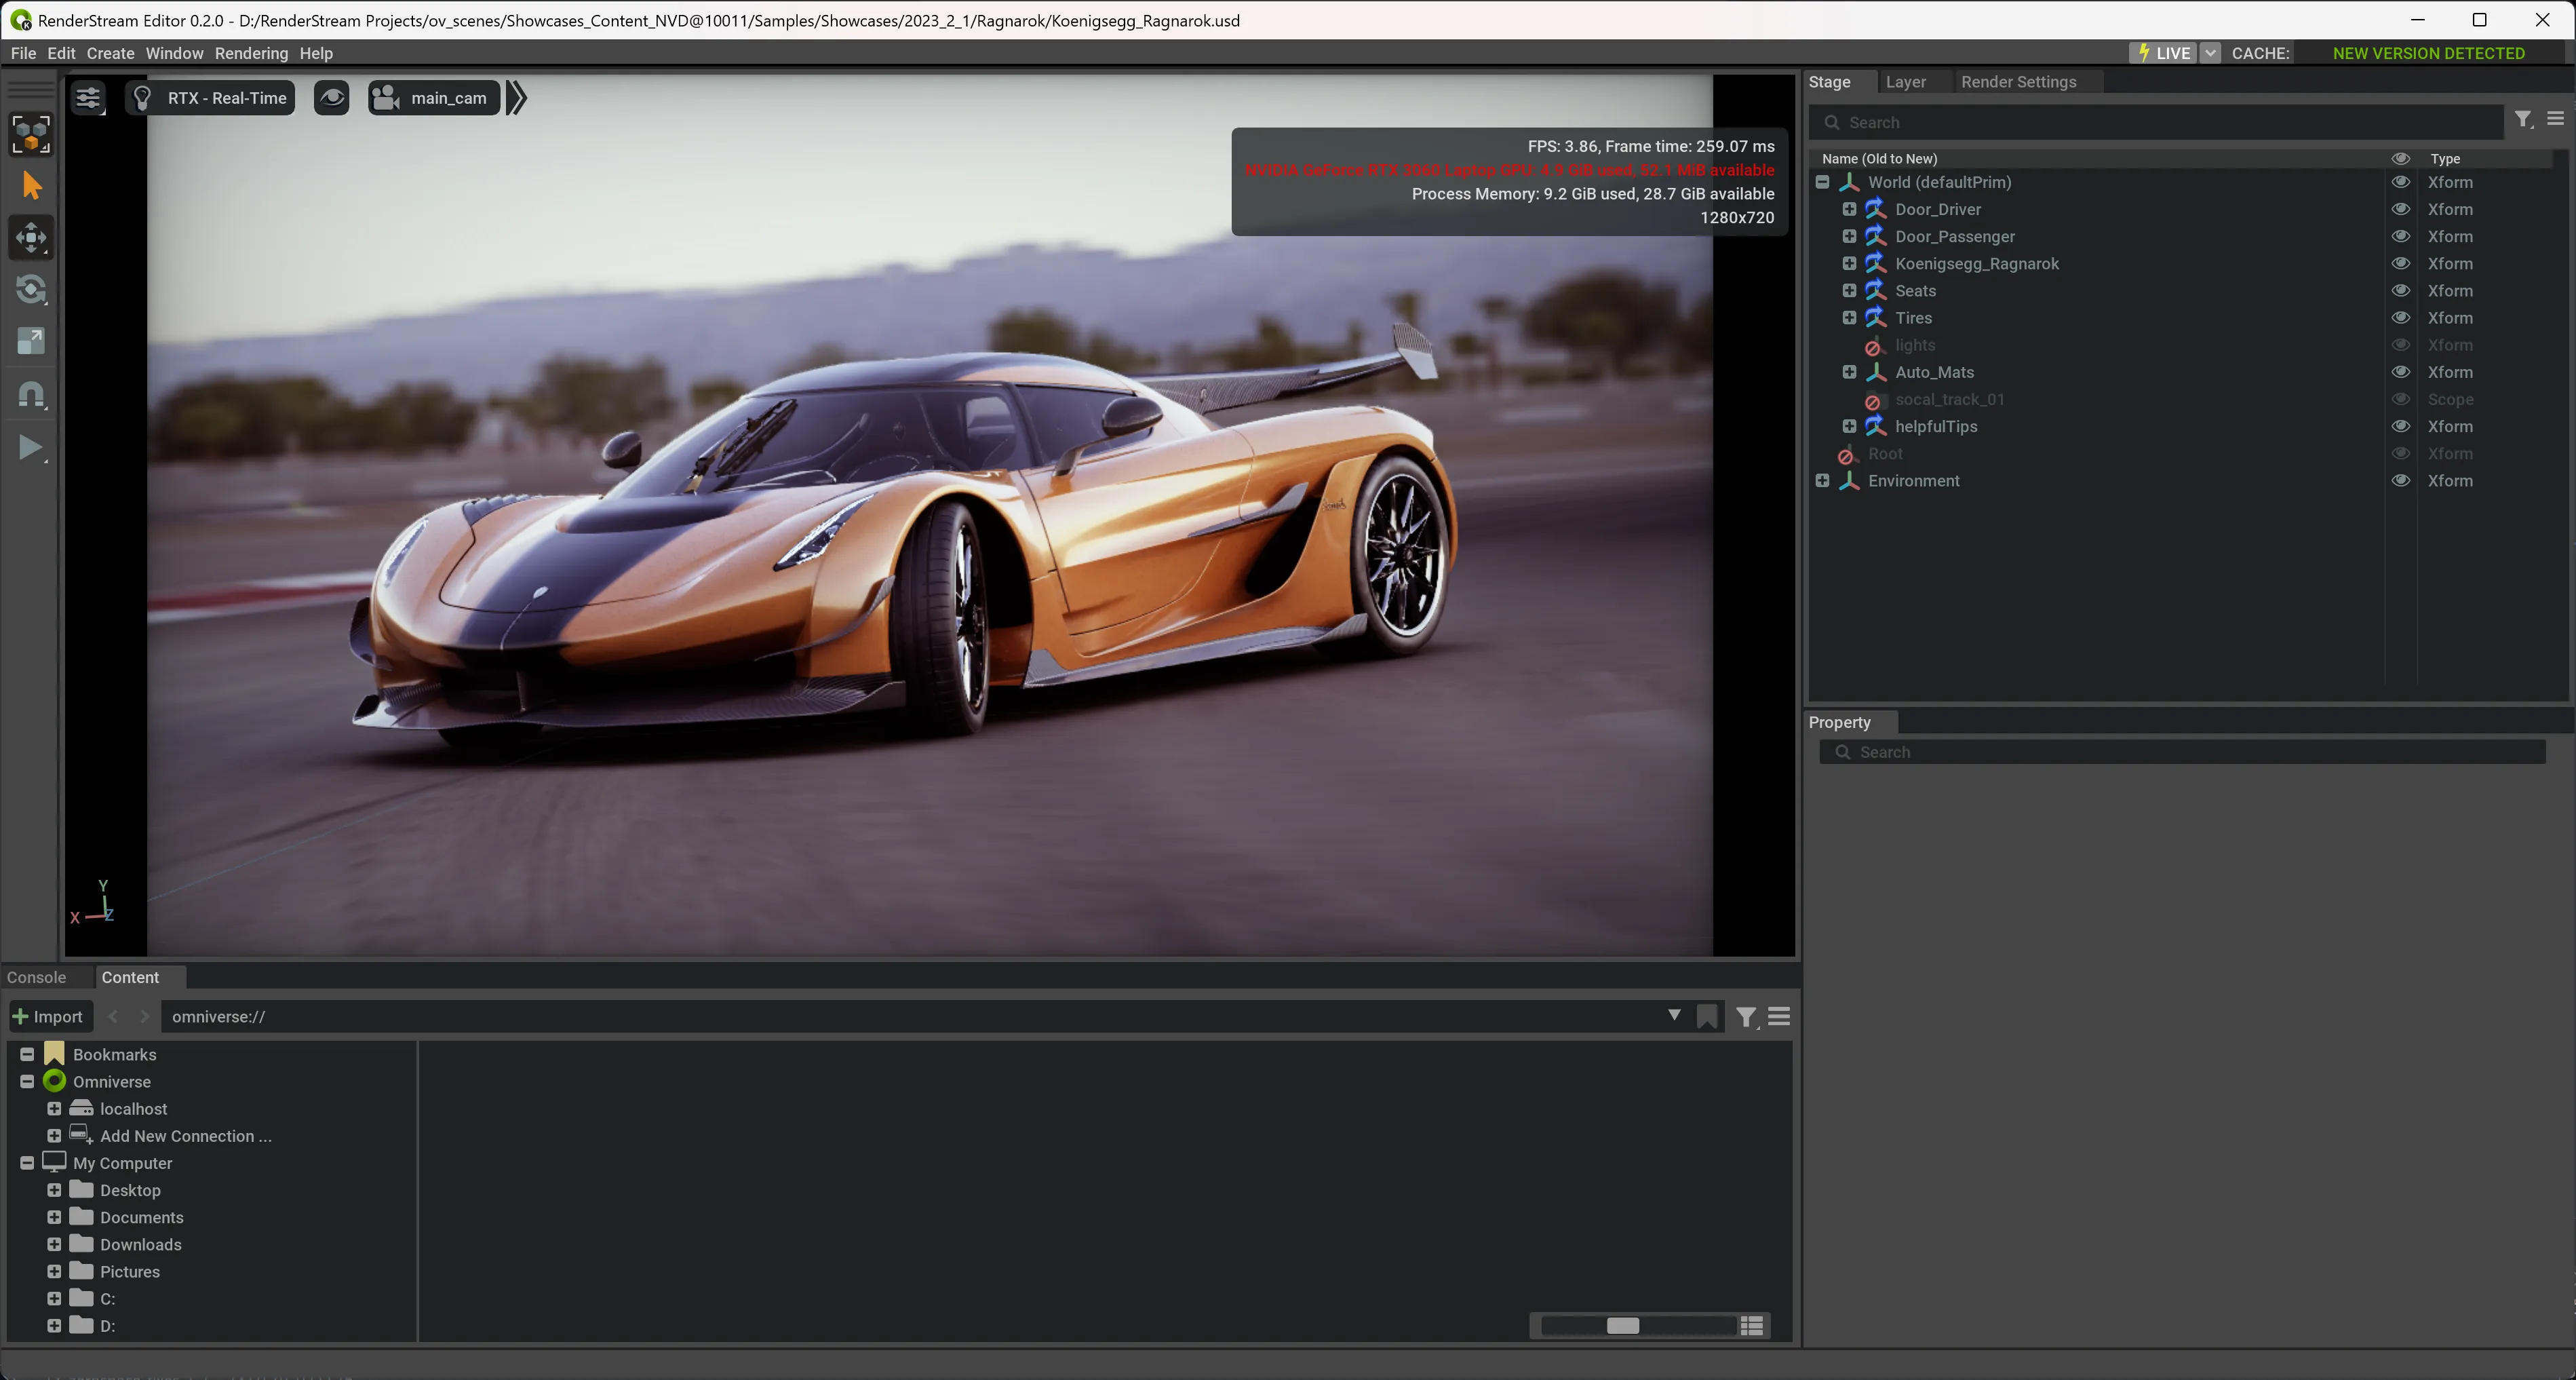
edit_usd.exe after creating an RS_Cam camera positioned to frame the car.
6. Expose any controllable parameters
Section titled “6. Expose any controllable parameters”In the Kit editor (edit_usd.exe)
Section titled “In the Kit editor (edit_usd.exe)”- Open your scene with
edit_usd.exe. - Select a prim in the Stage panel (e.g. a mesh, light, or xform).
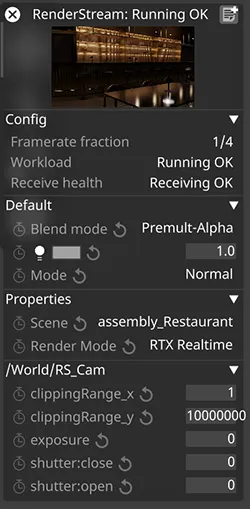
- In the Property panel, expand the RenderStream Exposed Parameters section.
- Check the box next to any attribute you want to control from Designer.
- Save the scene.

Checked attributes appear as controllable values in Designer’s RenderStream Layer properties once the scene is running.
7. Register the scene
Section titled “7. Register the scene”Saving a scene in edit_usd.exe adds it to rs_open_usd.json, the registry Designer reads to populate its Scene dropdown.
- Open a USD file with
edit_usd.exe. This launches the Omniverse editor UI for scene preview and setup. No RenderStream connection is required. - Save the scene. The scene is automatically registered in
rs_open_usd.jsonand will appear in Designer’s scene dropdown.
| Option | What it does | Best for |
|---|---|---|
| Save | Writes changes to the current file; references unchanged | Editing in place |
| Save As | Writes to a new path; references unchanged (may break if dependencies are relative) | Renaming or branching within the same folder |
| Save Flattened | Resolves all references into one self-contained USD; no external dependencies | Locked-down distribution; upstream files can no longer be edited live |
| Collect As | Copies the scene plus all referenced files into a new folder with rewritten relative paths | Production delivery — portable and still layered |
Note: Scene files can live anywhere on disk —
rs_open_usd.jsonrecords each scene’s absolute path. You can edit the registry directly to add or remove scenes; it lives next toopen_usd.exe.
Scene registry format
Section titled “Scene registry format”{ "majorVersion": 2, "minorVersion": 0, "engineName": "RenderStreamRtx", "engineVersion": "107.3.0", "pluginVersion": "0.2.0", "channels": ["RS_Cam"], "schema": [ { "name": "MyScene", "path": "C:\\Scenes\\my_scene.usd", "parameters": [] } ]}8. Designer project setup
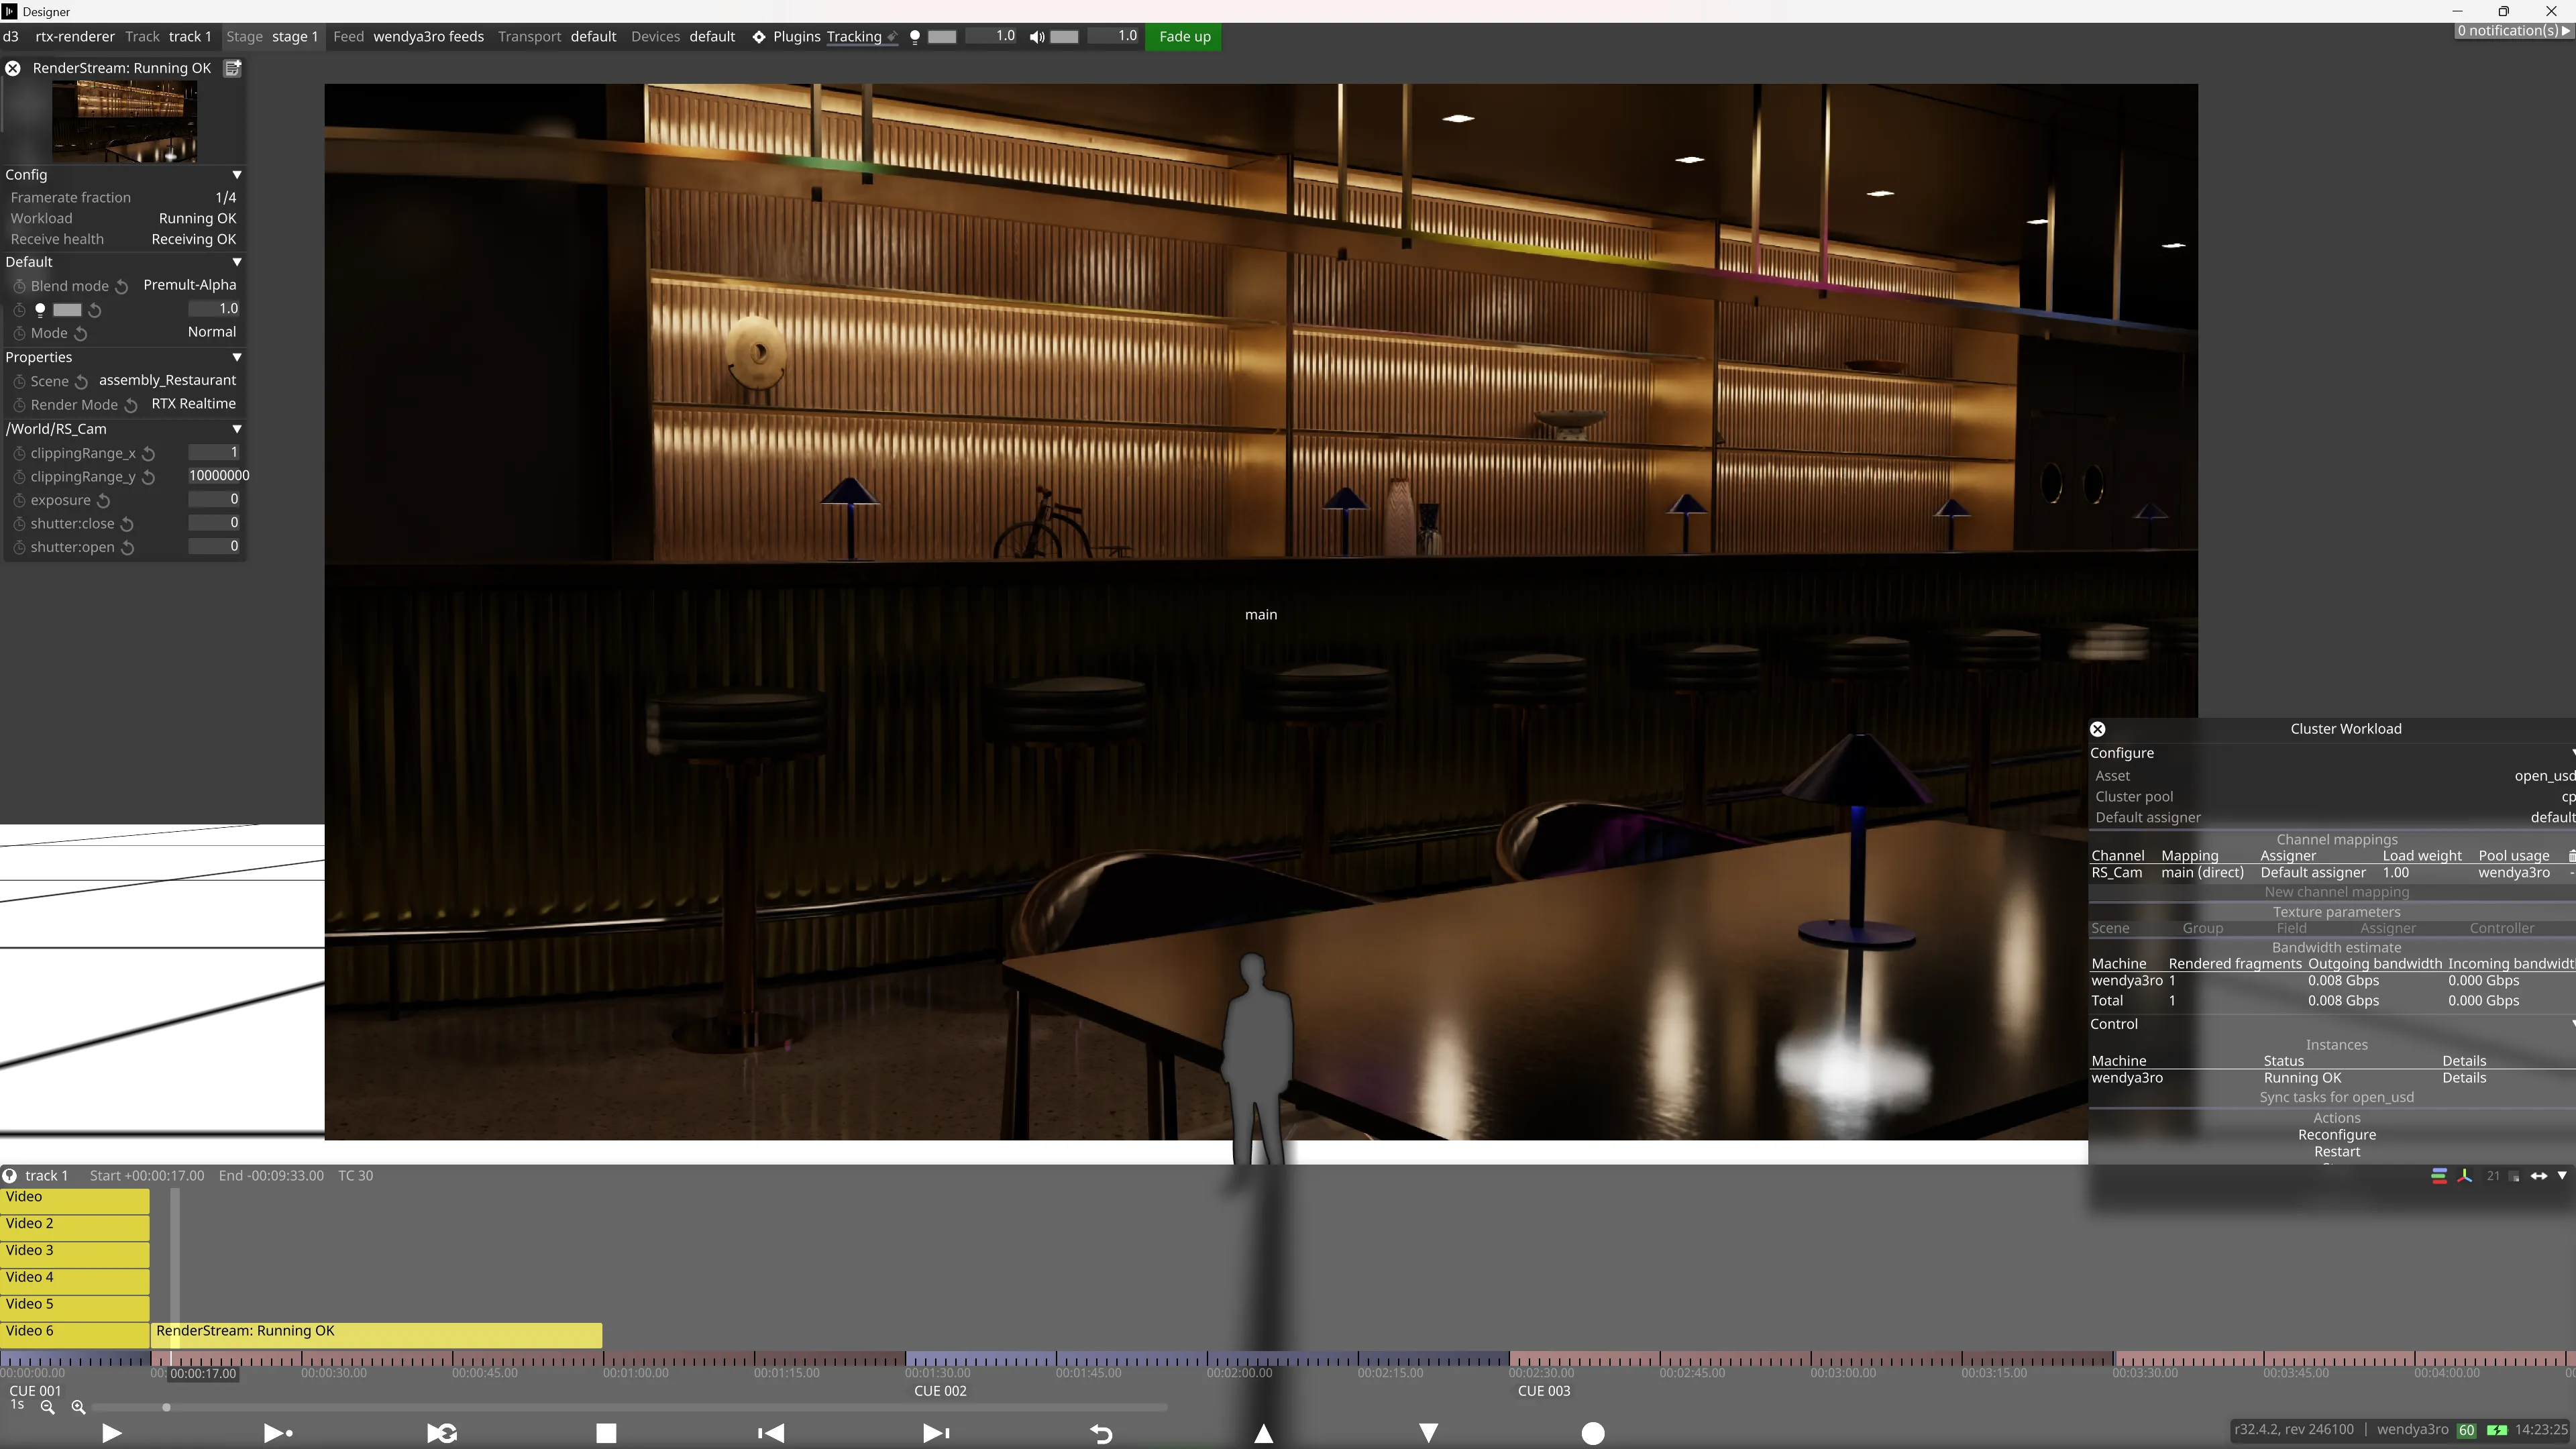
Section titled “8. Designer project setup”- Create a new RenderStream Layer in Designer.
- Select
open_usdas the asset. - Configure a mapping type. All mapping types are supported.
- Select a registered scene from the scene dropdown. Do not leave as
Default. - Adjust the exposed parameters as needed.
- Press Start to start the Workload.
To use the viewport preview mode, add --gui as a custom argument in the Engine Settings of the RenderStream Layer.
9. Select the Renderer mode
Section titled “9. Select the Renderer mode”A built-in RenderMode dropdown is automatically exposed to Designer with four selectable modes. RTX Realtime is recommended for interactive ICVFX use cases.
| Mode | Description |
|---|---|
| RTX Realtime (default) | Omniverse RTX Renderer’s RTX Real-Time 2.0 mode |
| RTX Path Tracing | Omniverse RTX Renderer’s RTX Interactive (Path Tracing) mode |
| RTX Iray | RTX Accurate (Iray) mode |
| Pixar Storm | Pixar Storm mode |
Launch modes
Section titled “Launch modes”RenderStream RTX supports three launch modes:
| Command | Mode | Description |
|---|---|---|
open_usd.exe scene.usd | Headless | Window hidden, for production use with Designer |
open_usd.exe scene.usd --gui | Viewport | Borderless fullscreen viewport for preview |
edit_usd.exe scene.usd | Editor | Full Omniverse UI for scene setup, no RenderStream |
With the setup complete, you can now verify your connection by testing against the sample scenes and asset packs below.
Assembly versions
Section titled “Assembly versions”Assembly versions in NVIDIA Omniverse organise complex 3D scenes by aggregating smaller, individual components (sub-assets) into a cohesive, structured USD (Universal Scene Description) stage.
For example, the Restaurant Pack has a variety of scenes and camera views. Each scene is also available as assembly versions which are smaller, with a single scene component only.

edit_usd.exe.
Omniverse Hub update notifications appear in green on the top right of the screen. By clicking on it, you can download the update.
Sample packs
Section titled “Sample packs”Sample assets can be downloaded from: https://docs.omniverse.nvidia.com/usd/latest/usd_content_samples/downloadable_packs.html


Changelog
Section titled “Changelog”Version 0.2.0
- Mesh mapping and Tiles as split strategy is supported
- Asset Discovery has been updated to only show entry files after scene registration
- Headless mode (default) and Viewport mode (
--gui) replaced the previous editing UI - Restructured render loop to partially resolve graphics stutter when moving camera
Version 0.1.12
• Resolved framerate fraction timeout issue
Version 0.1.1
• Kit app now gracefully exits when RenderStream sends quit signal
• Gizmos visibility preference now persists across sessions
Version 0.1
• First beta release of RenderStream-RTX