Projection Example - Light Casting
This technique uses virtual screens to place content freely in the stage, regardless of destination surfaces, projecting light effects onto scenery. Some productions use it as a creative tool for placing specific content at points of interest, for example a spotlight tracking to focus on a specific actor or stage object. Unlike in the Downstage Curtains technique, the virtual caster surface uses a transparent background and never makes use of Dynamic Blend.
Stage setup
Section titled “Stage setup”- Multiple projectors (proj1, proj2, …)
- Projection-mapped scenery (scenery)
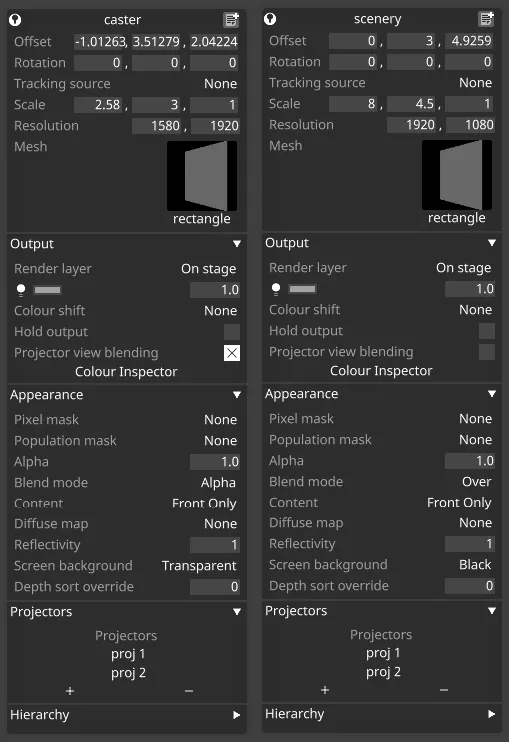
- Virtual light caster surface (caster) - a virtual screen positioned in 3D space, acting as a virtual gobo.
Stage direction
Section titled “Stage direction”- Scene setup: The scenery is projection mapped and visible at all times.
- Light effect: Virtual light from the caster illuminates portions of the physical stage, potentially including scenery.
- Light animation: Content in caster animates to create dynamic lighting effects.
The problem
Section titled “The problem”Traditional theatrical lighting requires physical fixtures and rigging. Sometimes, it is more practical to reuse the projectors as a flexible gobo, instead.
The solution
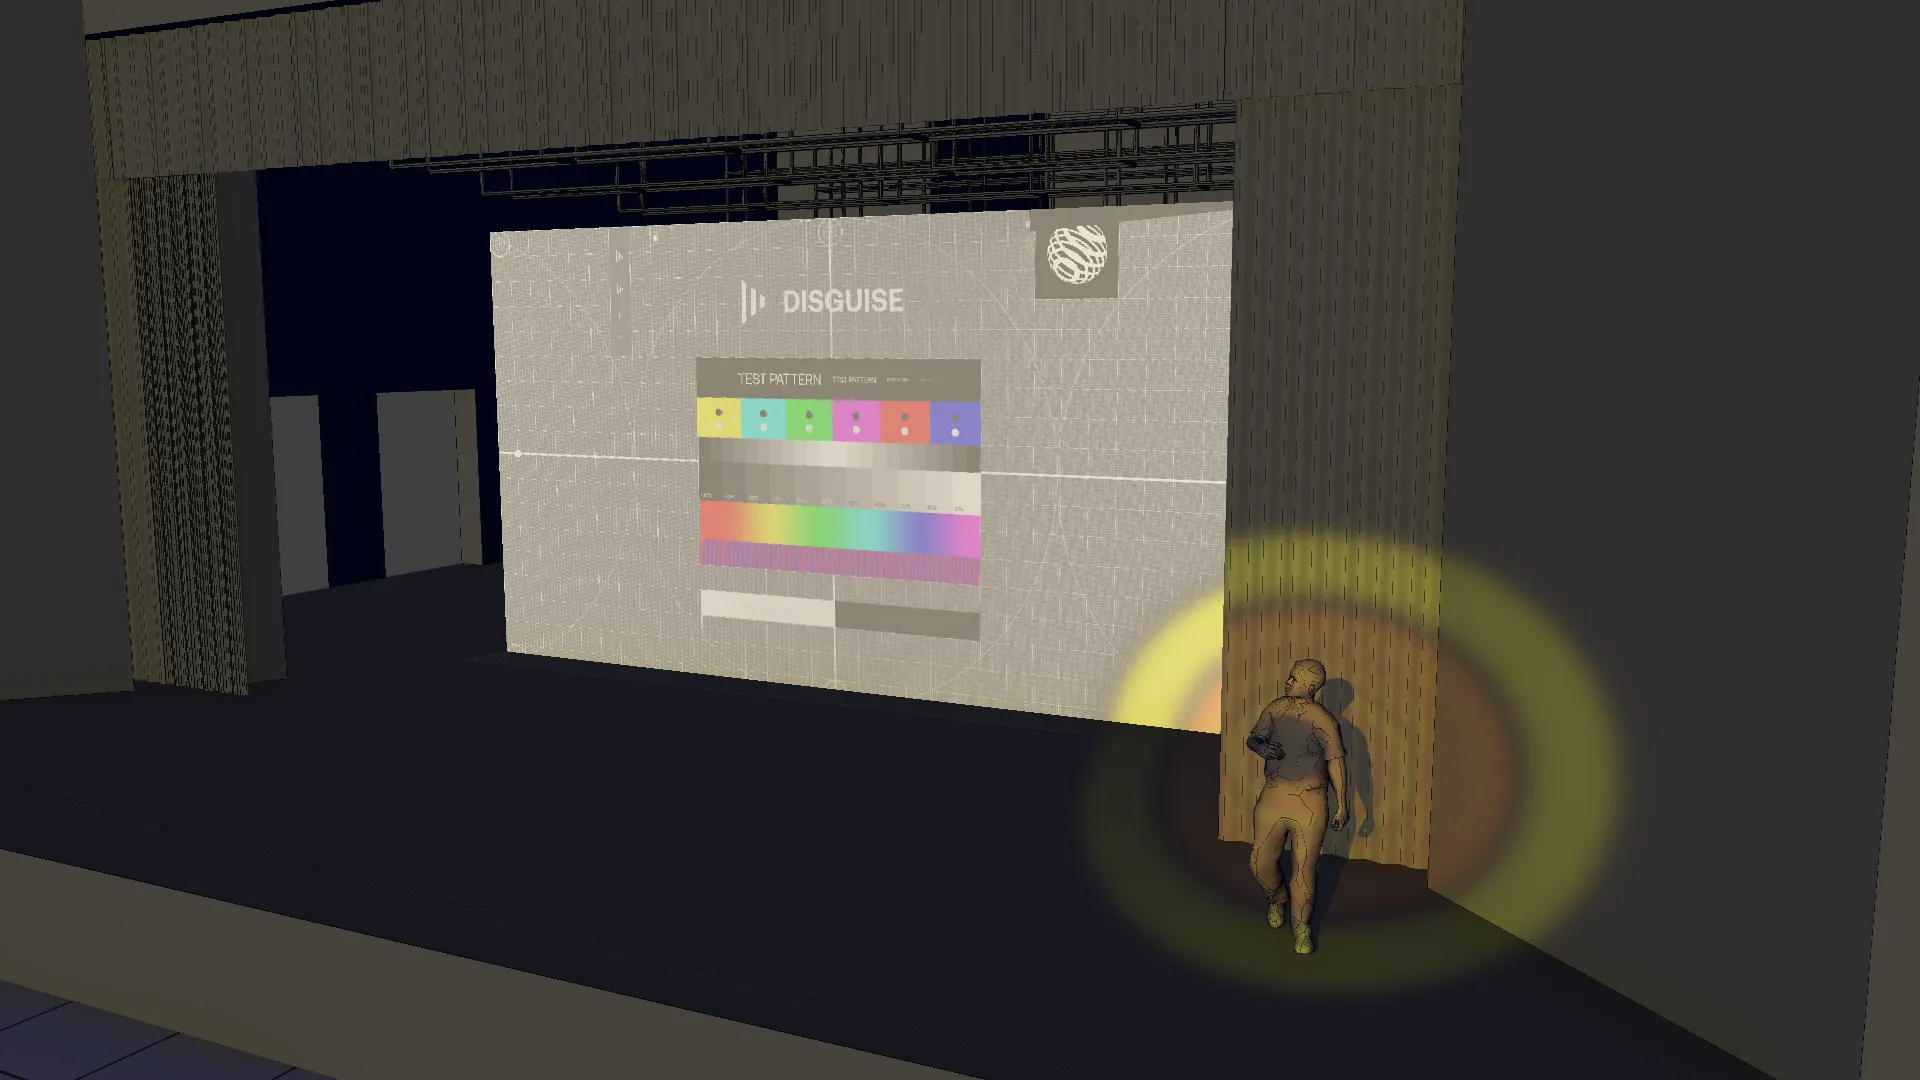
Section titled “The solution”Position a virtual screen with a transparent background in 3D space. We will call this the caster in this example. It places a lighting effect, cast from the projector positions, in the stage. The light is cast regardless of projection surfaces in Disguise, meaning it can target actors or create atmospheric effects. The transparent background ensures only opaque pixels affect the stage, creating natural blending. In the example below, we have mapped the spotlight-like effect to the caster.
Setting the visualiser to lux mode shows the intended effect, where the caster content is projected against the scenery, actor prop and the portion of the stage covered by the projector’s frustum:
Project setup
Section titled “Project setup”Stage setup
Section titled “Stage setup”- Include scenery and any other relevant stage objects (e.g. props) in all projectors’ surfaces.
- Caster can be in whichever projector’s surfaces lists make sense for the light casting choice.
- Enable Projector View Blending on the caster and ensure its background is set to Transparent.
- Enable Dynamic Blend on all projectors.
- Position the caster surface in 3D space at the desired location for the content we are casting.
- Calibrate projectors for good scenery alignment.
- Note: The caster is purely virtual and requires no physical surface correspondence on stage.
Caster content
Section titled “Caster content”- Create light patterns, gobos, or color washes.
- Use the alpha channel to define light shape and intensity.
- Fully transparent areas don’t affect scenery.
- Opaque or semi-transparent areas blend with scenery as light effects.
Scenery content
Section titled “Scenery content”- Program scenery content as normal. The caster light blends based on alpha values.
Animation and control
Section titled “Animation and control”- Animate caster content for dynamic lighting effects.
- Adjust caster alpha to control light intensity.
- Animate caster position/rotation for moving light effects.
- Use multiple casters for complex scenarios.