Windows Network Settings
General preparation
- Download and install the latest Disguise release version onto all machines in the network.
- Run the same Disguise installer on all machines.
- Do not run a checkpointed version of the Disguise project when you are working in a Director/Actor configuration. For information on checkpoints, including how to disable a checkpoint, please see the Running a project from a checkpoint sub-chapter.
- Ensure that the Disguise machines have no third-party programs installed which may cause a reduction in performance or other unwanted actions.
- Disable all popup windows and auto-update functions.
Set up IP addresses
To use Designerin a Director/Actor configuration, every Disguise machine needs to be set to a static IP address within the same network. When proving DMX input/output the DMX LAN port also needs to be set to a static IP address. To do this:
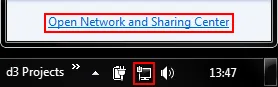
- Open the Windows Network and Sharing Center (Start menu > Control Panel > Network and Sharing Center 8). This window can also be opened by selecting the network icon in the task-bar (bottom right-hand corner of the screen) and selecting Open Network and Sharing Center.
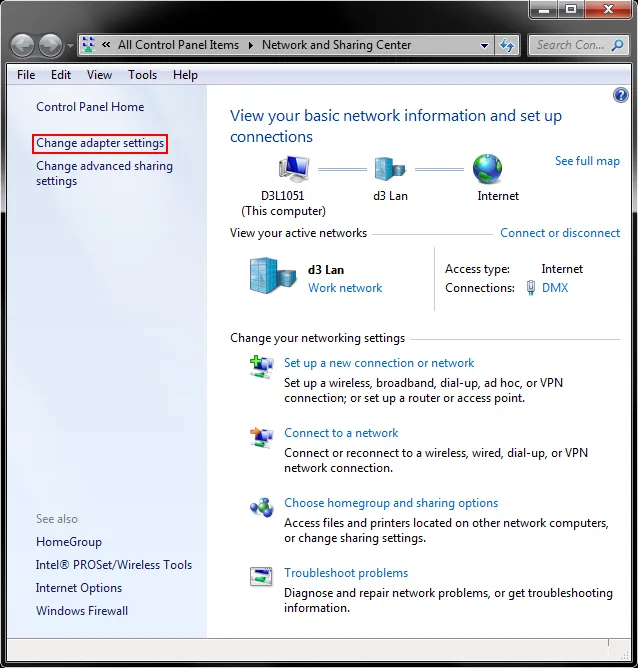
- Select Change Adapter Settings in the left hand panel.
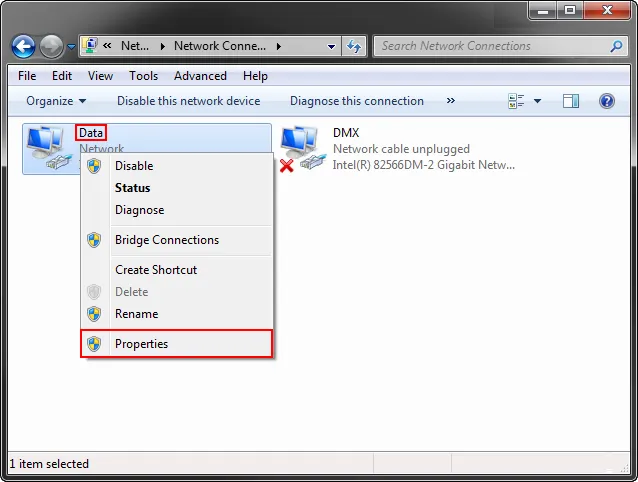
- Right-click the Data port and select properties.
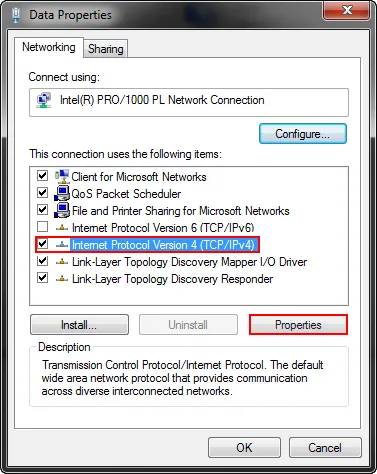
- Untick the TCP/IPv6. This disables IPv6.
- Select Internet Protocol Version 4 (TCP/IPv4) and select Properties.
- Select Use the following IP Address and use something appropriate, like 10.0.0.1 or 192.168.0.1, and set the Subnet Mask to
255.255.255.0. - Make sure to keep all Disguise machines on the same range, for example
10.0.0.xxxor192.168.0.xxx, where xxx is any number from 1-254. - Leave the DNS server fields blank.

Set up sharing
Set the same time, date and timezone to all machines in the network. To do this:
- Open the Date and Time window (Start menu > Control Panel > Date and Time).
- Select Change date and time to open the Date and Time Settings window, adjust the date and time accordingly and select OK. It may be useful to rename all computer names to what they represent in the Director/Actor network. For example, Actor 1 may be outputting to projectors 1 to 4 and should have a computer name Actor 1 . In addition, all computers should be set to the same Workgroup.
- To change a computer’s name and workgroup open the System Properties window (Start menu > Control Panel > System > Change settings)
 System Properties window is used to change the computers name and workgroup
In addition, the computer’s sharing settings should be configured. To do this:
- Open the Network and Sharing center (Start menu > Control Panel > Network and Sharing Center ).
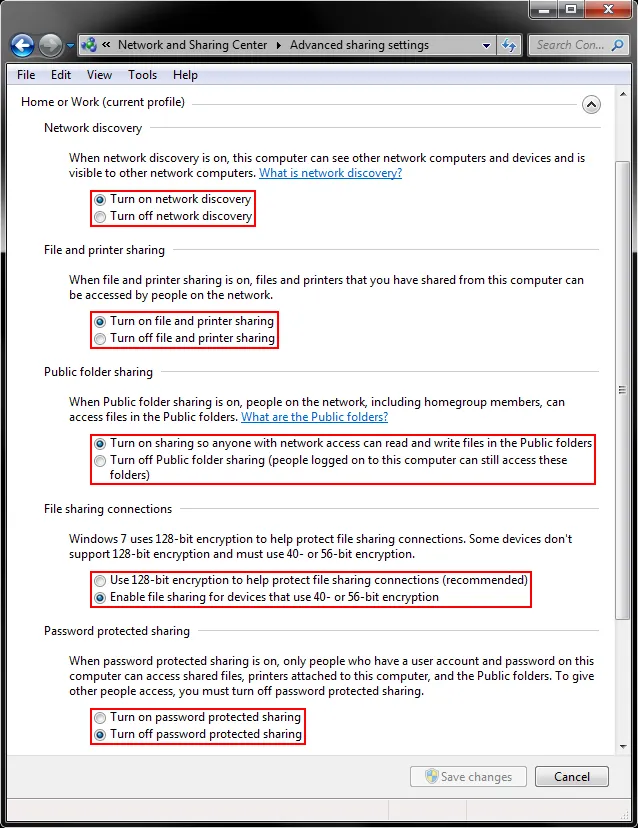
- Select Change Advanced Sharing Settings.
- Change the settings to those shown below and select Save changes.
Share folders
It is very important that the specific Disguise Project folder is shared with the other computers on the network. To do this:
- Open the File Sharing window by right-clicking the specific Project folder and selecting Properties > Sharing > Advanced Sharing. For information on where the specific Project folder is located please see the sub-chapter Projects location.
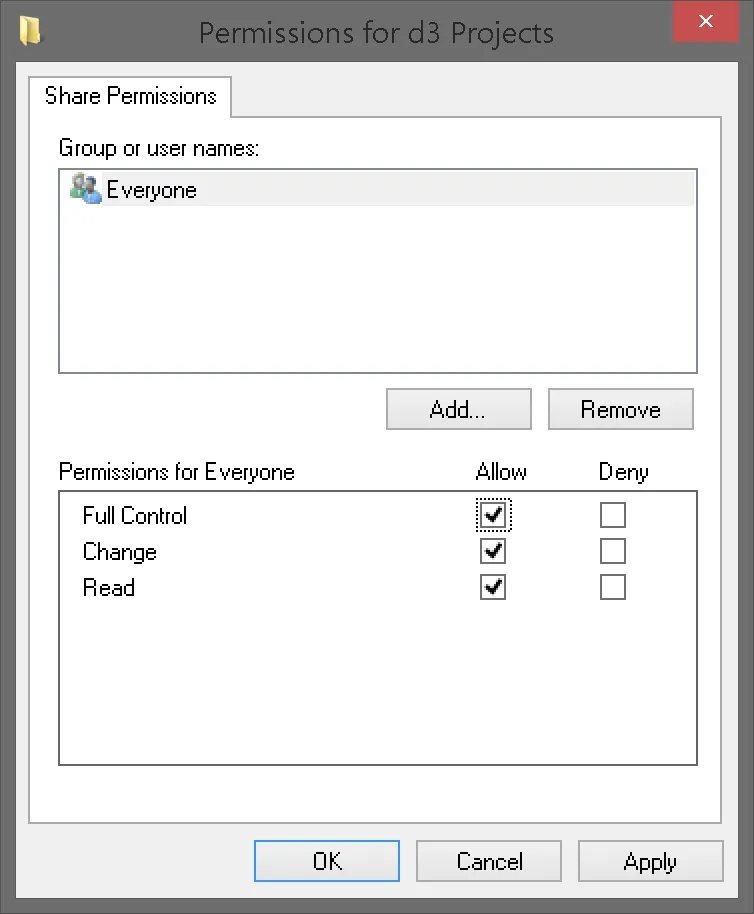
- Set the Permission Level of the users d3 , Everyone and Guest to Read/Write.
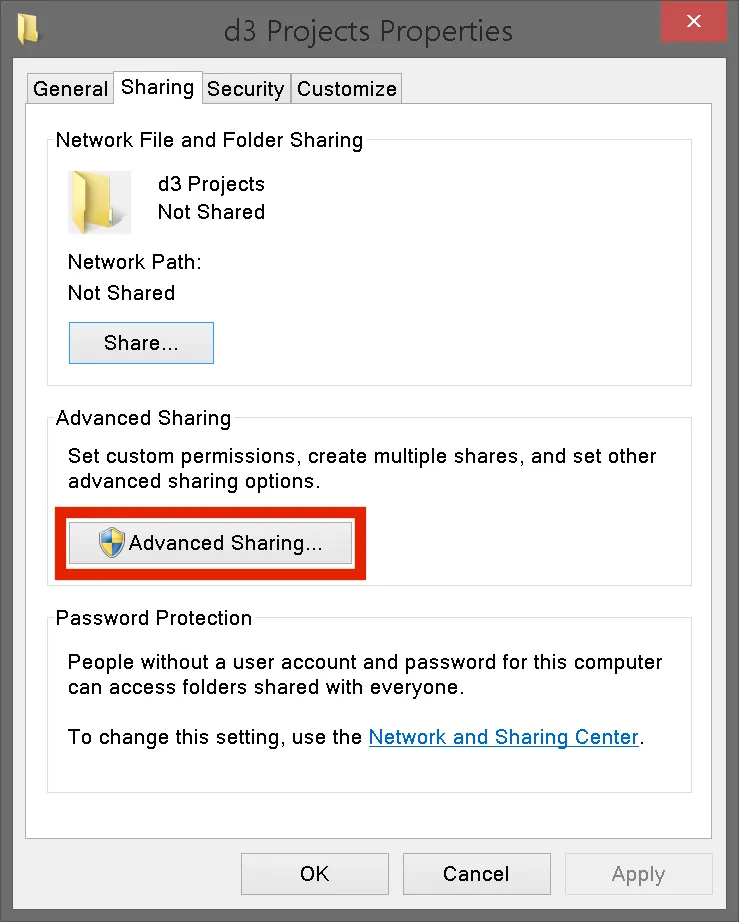
- Right-click the d3 Projects folder and select properties from the context menu.
- Click Advanced Sharing… under the sharing tab.
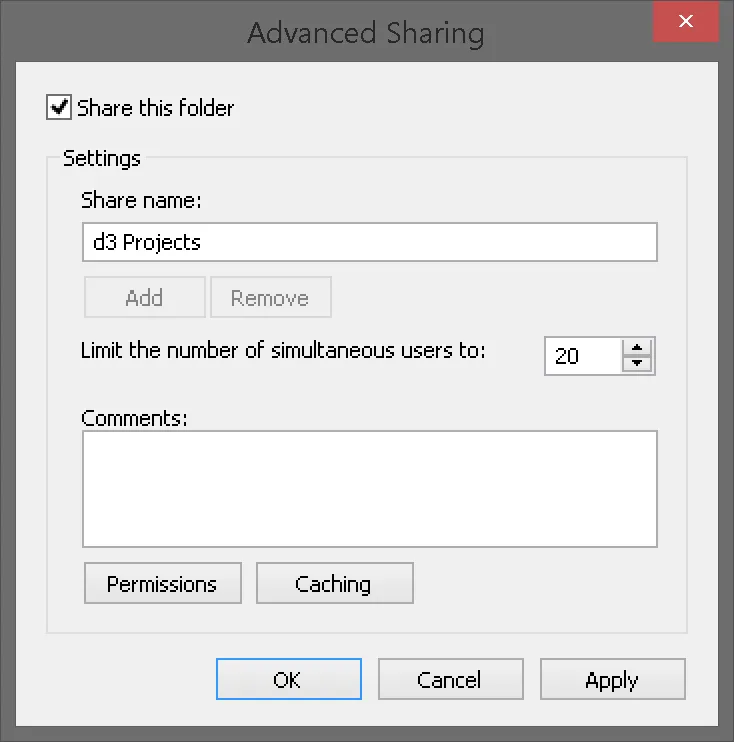
- Tick the Share this folder box and set an appropriate share name.
- Ensure sharing permissions are set to Read/Write for the users which have access. Please add a dedicated user if you want more granular control.
Network settings
Please ensure that the HomeGroup of the computers is set to the same network. This will make it easier when using a Director/Actor configuration, as it will enable files to be shared between the computers on the network.
To change the HomeGroup:
- Open the Network and Sharing center (Start menu > Control Panel > Network and Sharing Center).
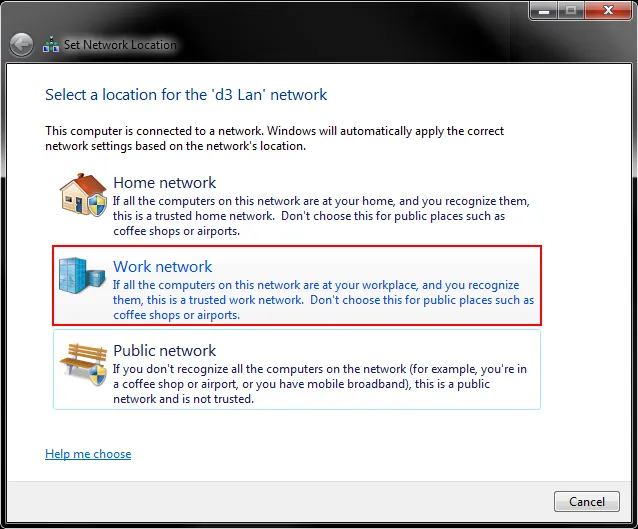
- Select HomeGroup (bottom left corner of screen) > What is a network location? > Work network.
- Ensure that the computers are set to the same network.
Verify connections
The Windows Command Prompt can be used to check the connections of the machines. To check the connections:
- Open the Windows Command Prompt by selecting the Start menu (bottom left corner of screen), typing cmd into the text field, and selecting cmd.exe.
- Use one of the Disguise machines, preferably the Director machine, to verify that all of the machines are responding by typing in a prompt according to the format:
ping[space]IPAddress- For example,
ping 10.0.0.65
- Hit Enter.
- If the machines are responding correctly, the line Reply from ‘IP address: bytes=32 etc will appear. If there is an error, it will prompt Request timed out.
- On the Director machine type Ping followed by its IP address and hit Enter, if the machines are responding the reply line as shown in this example will appear.
- To check the current machines IP address type ipconfig/all and hit Enter.
Create shortcuts
- Use the Director machine to access the specific Project folder for all of the Actor and understudy machines. For information on where the specific Project folder is located please see the sub-chapter Projects location.
- Create a shortcut of the specific Project folder onto the Director machines desktop, clearly labelled with the project name and machine function. An example of a short-cut name would be MyProject on Actor 11 and MyProject on Understudy.
- Repeat the process for all of the Actor machines in the network, i.e. create a shortcut to the Director machines specific Project folder onto the desktop of every Actor machine. A quick way to access the machines in the local network is by selecting the Windows Start menu and typing in the machines IP address into the text field and hitting Enter.
- On the machines desktop, remove all of the icons that are not needed. Ideally, the only icons showing will be the machine name at the top left and the Windows bin (which cannot be removed). You may also want to create a custom background to the Directors desktop to highlight all of the shortcut folders.
- Set the desktop background of all of the Actor to black, showing no Disguise logo at least during show-time.