Update System - 2x4
Internal Restore
Section titled “Internal Restore”Internal restore is the process of re-imaging the system to the last Rediguise version.
This procedure will only work with OS version 10 and later.
To identify which OS image your system currently runs, please go to d3Manager > Help and select About Manager.
Internal Restore Process
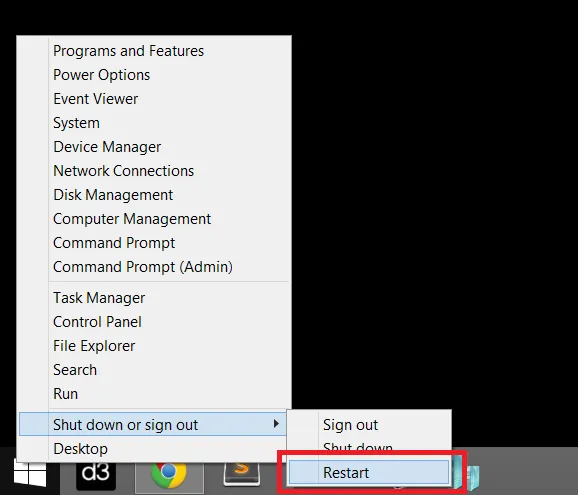
Section titled “Internal Restore Process”- Hold down shift whilst restarting the system.
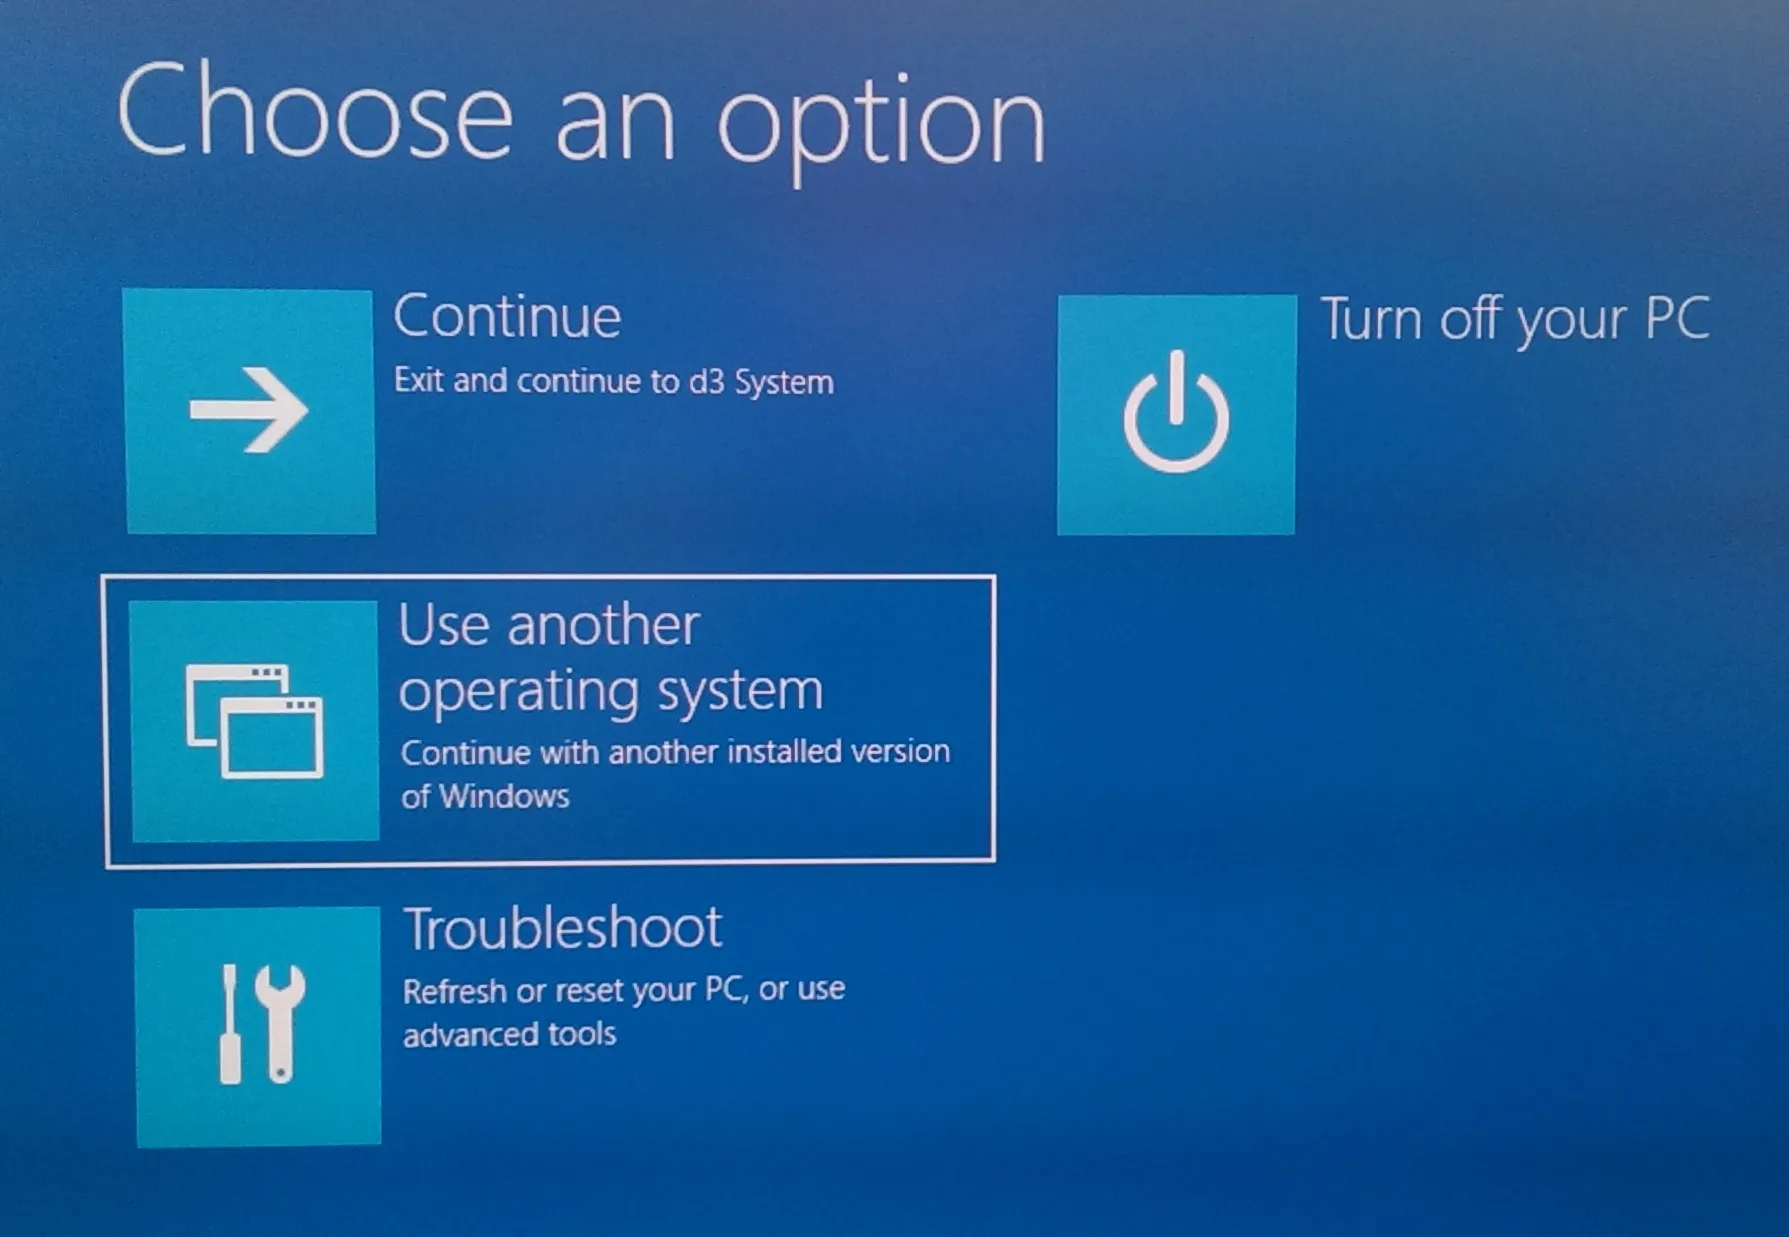
- Select Use another operating system
- Select Reset OS.
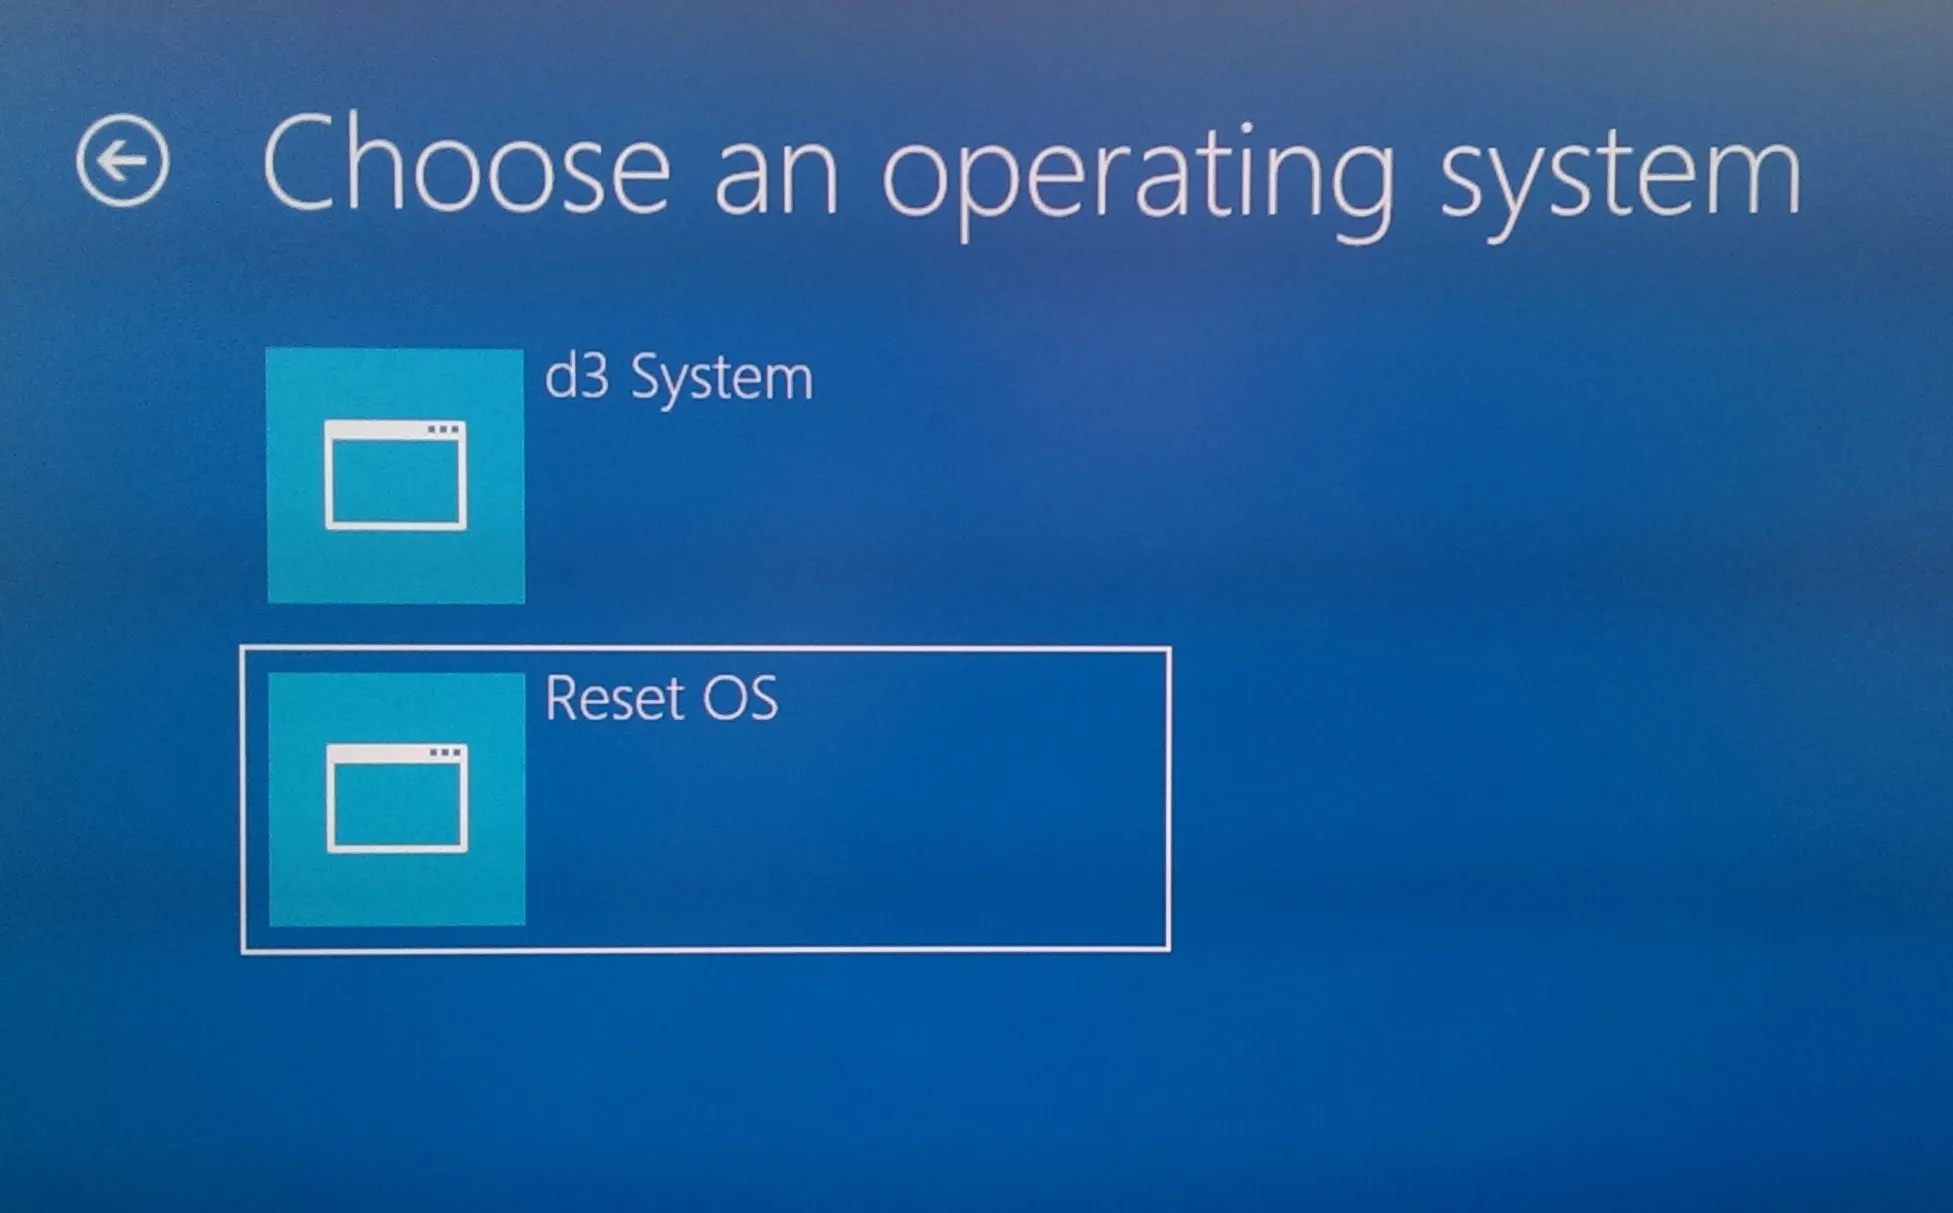
- The system will reboot into the internal re-imaging system which will reinstall the Operating System and revert to factory settings.
USB Redisguise
Section titled “USB Redisguise”Redisguise is the process of updating and restoring on the system using a bootable USB drive.
To identify which OS image your system currently runs, please go to d3Manager > Help and select About Manager.
USB Redisguise Process
Section titled “USB Redisguise Process”You will need
Section titled “You will need”- A 16GB USB memory stick
- A version of Rufus to turn it into a bootable disk. Ensure the volume name of the USB is: REDISGUISE
- An internet connection to the machine you are re-imaging
- An OS image from the Hardware OS Imaging.[1]
- 7-Zip archive tool/file manager.
Create a Bootable USB
Section titled “Create a Bootable USB”- Download the ISO from the Hardware OS Imaging.
- To create a Bootable USB stick open Rufus, click Select and browse to the downloaded ISO. Then click Start.[2]
The Partition scheme, Target system, and File System fields should appear automatically.[2]
- 7-Zip archive tool/file manager.
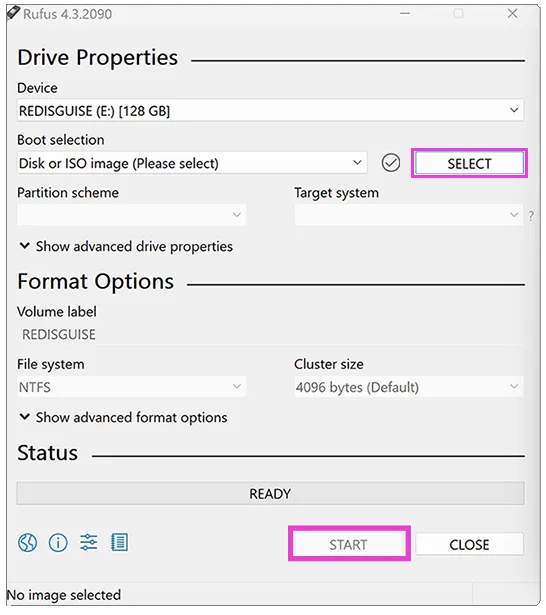
The settings should be [3]:
Partition scheme - MBRTarget system - BIOS (or UEFI-CSM)Volume label - automatically pulled from ISO fileFile system - NTFSAdvanced Drive Properties[4]Add fixes for old BIOSes (extra partition, align, etc)Use Rufus MBR with BIOS ID | 0x80(Default)
Advanced Format OptionsQuick formatCreate extended label and icon files.
Booting into the USB
Section titled “Booting into the USB”- Plug the USB Drive into your Disguise server and switch it on.
- To enter the BIOS, wait for the Disguise logo to appear and then continue pressing the Delete key until the BIOS screen appears. You can navigate the BIOS using the arrow keys.
- Navigate to the Boot tab.
- Select Hard Drive BBS Priorities.
- Change Boot Option #1 to your USB thumb drive (the name will look different depending on the manufacturer of the drive).
- Press ESC to return to the main section.
- Navigate to the Save & Exit tab (Do not Save & Exit the BIOS itself).
- In the Boot Override section, select the USB that matches the name of your USB manufacturer. DO NOT select the one that starts with UEFI.
The Redisguise process will run automatically until the re-imaging has completed [5]. The system will reboot and run scripts on start-up. Please ensure you allow these to finish before beginning any other processes.
A log file will be automatically generated and stored on the USB memory stick. If you experience any problems during updating or restoring the system, or any of these instructions are unclear, please contact Disguise support team along with the log that is stored on the USB.