AnimateCameraPreset
The AnimateCameraPreset layer lets you create a camera fly through using a number of configurations which can be dropped onto the timeline. Designer will then animate the camera between the configurations.
Creating a camera position animation
- Left-click position. This will open the position keyframe editor and a window where you can create a new camera position.
- Left-click new cameraposition to highlight the text field.
- Type in the name of your new camera, for example east.
- Hit Enter. This will create the new camera position, add it to the position key-frame editor at the position of the currently selected Track bar, and open the Camera Position editor. The camera position key-frames can also be click-dragged from the Camerapositions manager to a specified point on the Position key-frame editor.
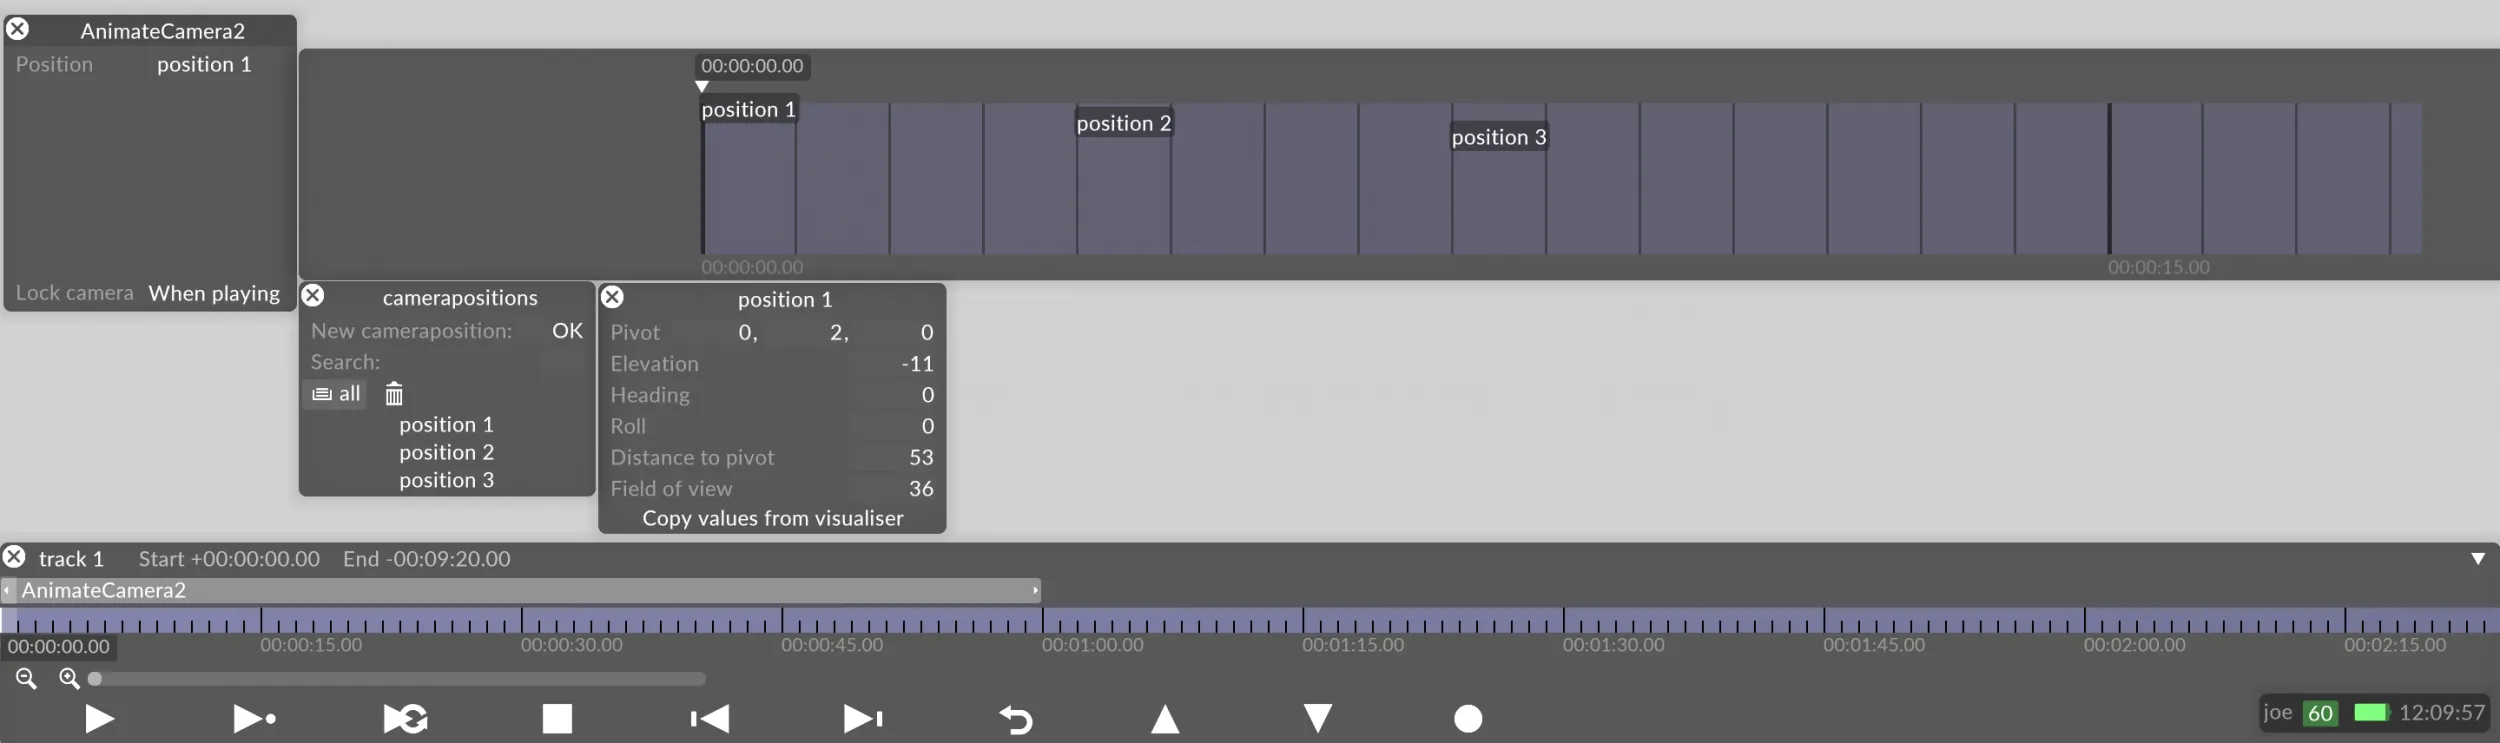 Process used to create a camera position, in this example position 1, and place it on the Position key-frame editor
 - Edit the values within the Camera Position editor (properties explained below).
- Repeat the steps listed above to create as many new camera positions as required.
- Hit Shift and < to jump to the first second of the track.
- Hit Enter to trigger normal play mode and watch the camera animation.
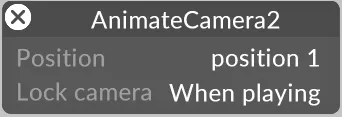
Position
This property lets you create a new configuration of cameras you want to animate. Please see the section below Creating a camera position animation for step-by-step instructions on how to do this.
Camera locked
This manipulates how the layer controls the camera.
- Left-click camera locked to open the camera locked keyframe editor.
- Left-click always to open the option properties.
- Left-click when playing to set the layer so that it only controls the camera when the keyframe editor is playing, allowing you to move freely when the keyframe editor stops.
- Left-click always to set the layer so that it always control the camera.
As demonstrated above, you need to use the Camera Position editor as part of the process to animate a camera position.
Camera Position Properties
To open the Camera Position editor
Right-click a camera position in the Camerapositions manager.
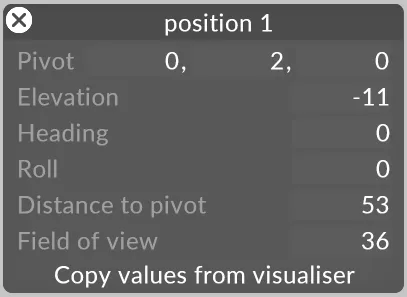
Pivot
This controls the position of the pivot the point where the camera is looking at. This is a 3 dimensional position, i.e. it has components x, y and z; all are stage space coordinates, expressed in meters.
Elevation
This rotates the camera up and down and is expressed in degrees. Note that the Elevation value is based around the cameras pivot point.
Heading
This rotates the camera left and right, in degrees. Note that the Heading value is based around the cameras pivot point.
Roll
This rotates the camera around its own z-axis, in degrees.
Distance to pivot
This moves the camera closer to or further away from its pivot point, in meters.
View angle
A higher view angle will show more of the stage from a given point of view. View angle is measured in degrees.