AnimateObjectPreset Layer
The AnimateObjectPreset layer allows you to simulate moving objects such as screens within the Stage Visualiser by placing key-frames onto the key-frame editor. Designer will then animate the object(s) between the configuration key-frame positions.
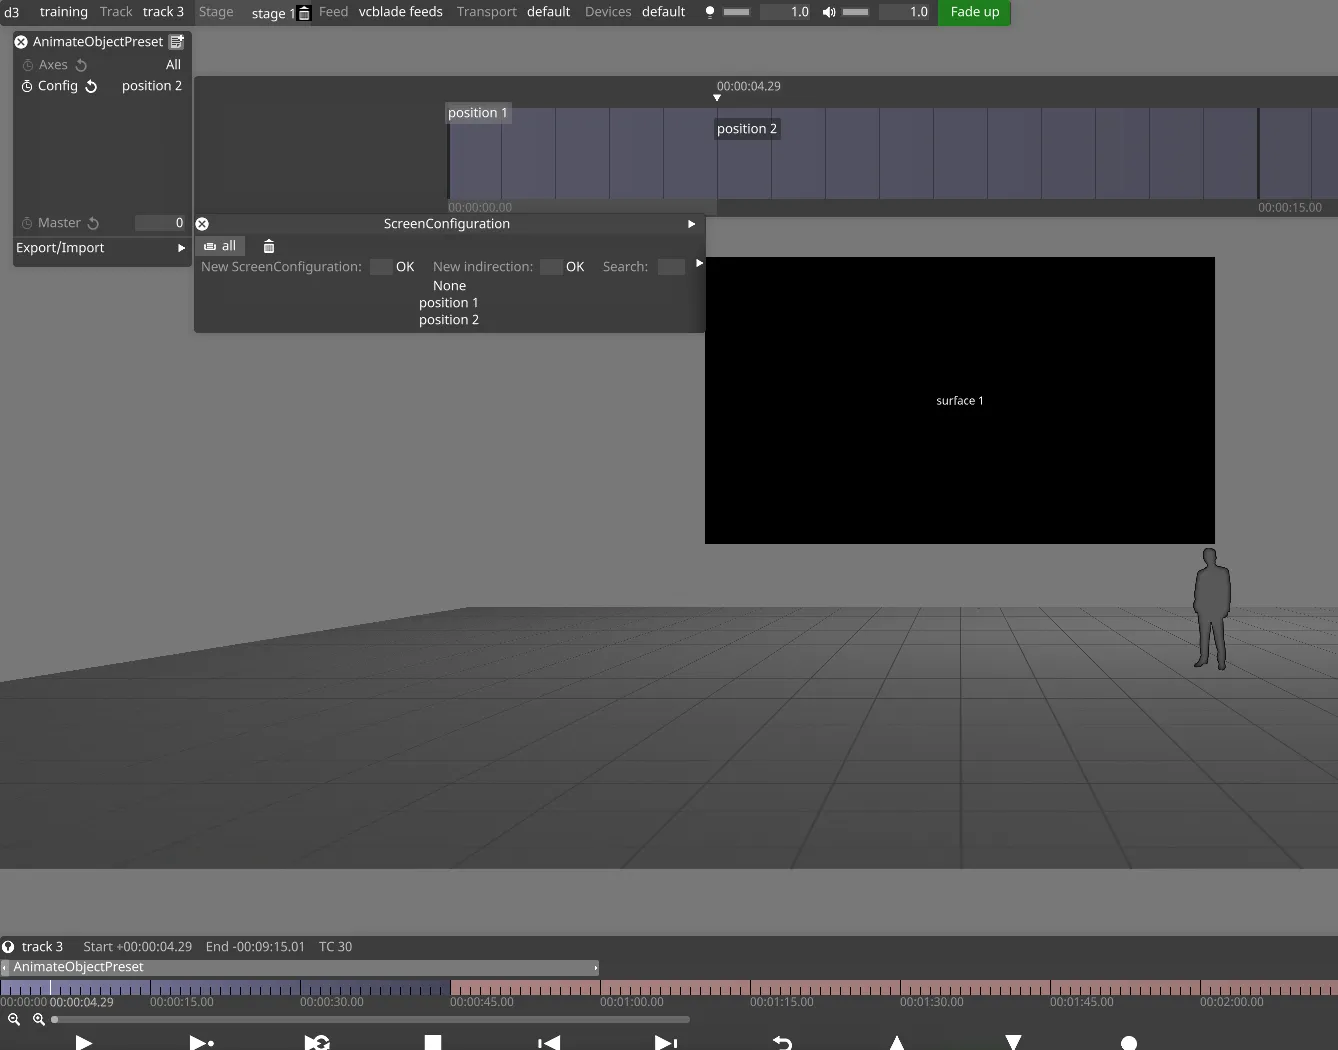
Workflow
- Create an AnimateObjectPrese layer.
- Create Position configurations.
- Add screens or objects to the configurations.
- Configure the properties of the configurations.
- Playback the configuration keyframes on the keyframe editor timeline to animate objects around the stage.
Creating a animation
- Create an AnimateObjectPrese layer and assign a mapping type that contains all of the screen or objects that you want to control. For information on mapping types please see the chapter Content Mapping.
- Open the Config key-frame editor by left-clicking the keyframe editor icon next to Config, then create and place a Configuration keyframe. The process used to create/sequence Configuration keyframes is the same as any other layer type that uses keyframe editors, for example the AnimateCameraPreset.
- Use the Configuration editor to edit the position of the screen or object.
- Create as many Configuration key-frames as required and place these on the Config keyframe editor. Once all keyframes have been placed on the keyframe timeline, press the Play button and will animate the screen or objects between the Configuration keyframe positions.
Axes
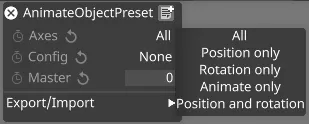
There are five options to choose from:
All: this affects the properties position, rotation and animate.
Position only: this affects only the position property.
Rotation only: this affects only the rotation property.
Animate only: this affects only the animation property of the screen type Moving mesh which is currently not in an official release.
Position and rotation: this affects only the position and rotation properties.
Config
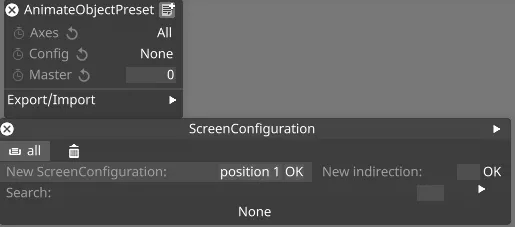
This property lets you create a new configuration of screens or object that you want to animate.
Master

The Master property allows you to exert fine control of the movement speed between configuration positions. By default, Designer generates a linear animation between configuration points. However, if there are any keyframes on the master timeline between the configuration endpoints, Designer will use the master curve to animate between the endpoints.
Export/Import
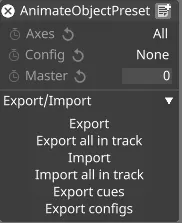
There are six options to choose from:
Export: makes a list of time based positions of screens when they change. This list is saved as a .txt file called screenpos_yourlayername.
Export all in track: Export all points from the track.
Import: Imports all previously exported points.
Import all in track: Imports all points for a specific track.
Export cues: makes a time list of when specific configuration names are key-framed. This list is saved as a .txt file called screencues_yourlayername.
Export configs: makes a list of configurations. This list is saved as a .txt file called screenconfigs_yourlayername.
The .txt files are saved in a new folder called table inside the specific Project folder. For more information on where the specific Project folder is located please see the sub-chapter Projects location. You can open the .txt file with Microsoft Excel or Office.
You need to use the Configuration editor as part of the process to animate a screen or object.
To open the Configuration editor
- Right-click a configuration from the Configurations manager
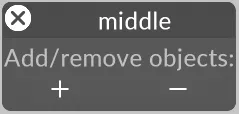
Add / Remove Screens or objects
- To add a screen to the Configuration editor left-click the + button. This will open the Objects list manager.
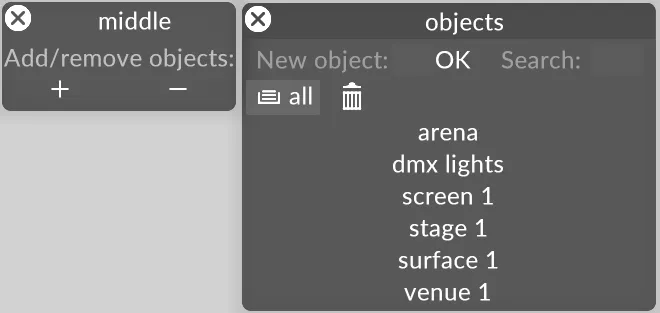
- Left-click the object you want to add, in this example Surface 1. This will add Surface 1 to the Configuration editor.
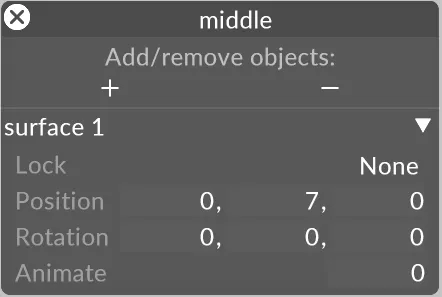
- Edit the Configuration editors position or rotation properties.
- To remove a screen from the Configuration editor left-click the button and select the corresponding screen from the Objects manager.
Position
This controls the object’s position in the 3D space. There are three numbers laid out horizontally: respectively the x (left/right), y (up/down) and z (into/out of the screen) coordinates.
Rotation
This controls the rotation of the object, in degrees. The x component controls the rotation around the x axis; the y component around the y axis; and the z component around the z axis.
Animate
This property is used to control the animation of a 3D object such as an Alembic File.