Porta On Prem VM の Windows 共有フォルダ
Setting up a Shared Folder between Porta VM and Windows
Section titled “Setting up a Shared Folder between Porta VM and Windows”Windows と Porta VM の間でファイルを簡単に転送できるよう、VM と Windows 間のマウントポイントを設定します。
-
SSH を使用して VM に接続します(以下のコマンドを自分の値に置き換えてください)。
portavmは接続に使用するユーザー名ですVM-IPはネットワーク上の VM の IPv4 アドレスです
Terminal window ssh portavm@<VM-IP># Example: ssh portavm@192.168.50.9 -
VM で次を実行します。
Terminal window ~/scripts/setup_shared_folders.sh -
プロンプトが表示されたら Porta VM の
sudoパスワードを入力します。 -
スクリプトが完了したら、Windows の VirtualBox アプリケーションに戻り、Windows 共有フォルダを設定します。
- VM を右クリックして
Settings → Shared Foldersに移動します。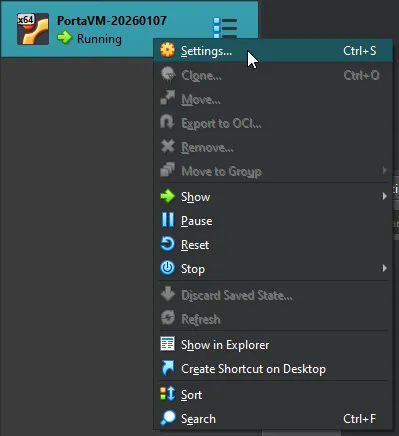

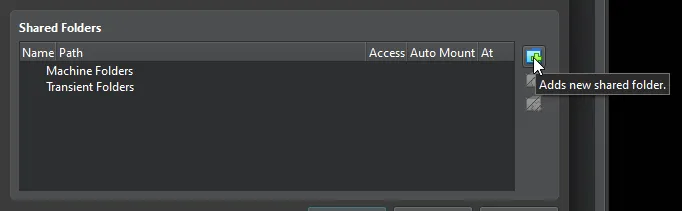
- 「Add new shared folder」アイコンをクリックします。
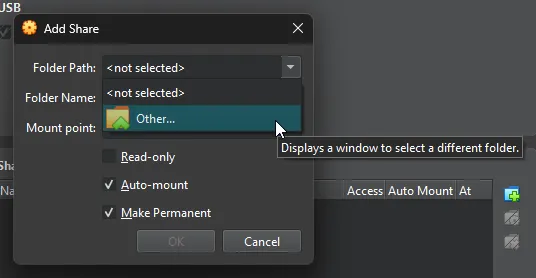
- 表示されるポップアップで、以下の詳細を入力します。
- Folder Path: ドロップダウンの「Other」オプションを使用して、VM ファイルをエクスポートできるフォルダを選択または作成します。
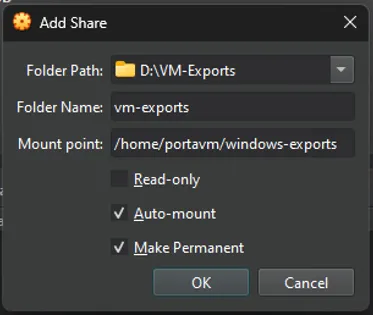
- Folder Name:
vm-exportsと入力します。- この名前は大文字小文字が区別されるため、ここに表示されているとおりに入力する必要があります。
- Mount point:
/home/portavm/windows-exportsと入力します。- この名前は大文字小文字が区別されるため、ここに表示されているとおりに入力する必要があります。
- 「Auto-mount」 と 「Make Permanent」 をチェックして OK をクリックします。
- Folder Path: ドロップダウンの「Other」オプションを使用して、VM ファイルをエクスポートできるフォルダを選択または作成します。
- OK をクリックして設定ウィンドウを閉じます。
- VM を右クリックして
-
これで、共有フォルダを使用して Porta VM から Windows にファイルをエクスポートできます。
Exporting from Porta VM to Windows
Section titled “Exporting from Porta VM to Windows”Porta VM から Windows にファイルをエクスポートするには、まず共有フォルダを設定していることを確認してから、次を行います。
-
SSH を使用して VM に接続します(以下のコマンドを自分の値に置き換えてください)。
portavmは接続に使用するユーザー名ですVM-IPはネットワーク上の VM の IPv4 アドレスです
Terminal window ssh portavm@<VM-IP># Example: ssh portavm@192.168.50.9 /path/to/file/to/exportをエクスポートしたい Porta VM ファイルのパスに置き換えて、次のコマンドを実行します。Terminal window ~/scripts/export_to_windows.sh /path/to/file/to/export- ファイルは、セットアップ中に指定した Windows の Folder Path に表示されます。