RenderStream - Omniverse RTX Renderer 統合
RenderStream RTX を使うと、NVIDIA Omniverse で USD シーンをリアルタイムにレンダリングし、RenderStream プロトコルを介して Disguise メディアサーバーにストリーミングできます。
NVIDIA Omniverse RTX™ Renderer は、リアルタイムパフォーマンスで物理的に正確なレンダリングを提供する、スケーラブルなフォトリアルレンダラーです。映画、テレビ、コマーシャル、ライブビジュアルの用途向けに、高品質なレイトレーシング機能を提供します。
シーンは NVIDIA の Omniverse Composer と Kit App で構築して Designer 内で使用し、LED 経由でストリーミングできます。
このガイドでは、インストール、シーンのセットアップ、公開パラメーター、Designer との統合を扱います。

Watch online: https://www.youtube.com/watch?v=A_dgIYRIiSE
ハードウェア
Section titled “ハードウェア”| コンポーネント | 最小 | 推奨 |
|---|---|---|
| GPU | NVIDIA RTX シリーズ | RTX 4000+ シリーズ |
| VRAM | 8 GB | 16+ GB |
| RAM | 32 GB | 64 GB |
ソフトウェア
Section titled “ソフトウェア”| ソフトウェア | バージョン |
|---|---|
| Windows | 10/11(64 ビット) |
| NVIDIA Driver | 537.70 以降 |
| Disguise Designer | RenderStream サポート付き(システム要件) |
Disguise ハードウェアについては、製品互換性 と ハードウェア OS イメージ を参照してください。
インストーラーのダウンロード
Section titled “インストーラーのダウンロード”ダウンロードをリクエストするには、Product チーム(product-team@disguise.one)にお問い合わせください。
プロジェクトのセットアップ
Section titled “プロジェクトのセットアップ”1. RenderStream-RTX プラグインをインストールする
Section titled “1. RenderStream-RTX プラグインをインストールする”RenderStream-RTX.zip パッケージを、Disguise サーバーの RenderStream Projects フォルダー内のフォルダーに展開します:
RenderStream Projects\└── RenderStream-RTX\ ├── open_usd.exe ├── edit_usd.exe ├── rs_open_usd.json ├── kit\ ├── apps\ ├── exts\ └── scripts\展開すると、open_usd が Designer で利用可能なアセットとして表示されます。
2. ファイルの関連付けを構成する
Section titled “2. ファイルの関連付けを構成する”edit_usd.exe を .usd、.usda、.usdc ファイルのデフォルトアプリケーションに設定します。これにより、任意の USD ファイルをダブルクリックして、シーンセットアップ用のエディターで開けます。
サポートされている USD 形式
Section titled “サポートされている USD 形式”| 拡張子 | 説明 |
|---|---|
.usd | バイナリまたは ASCII の USD |
.usda | ASCII USD(人間が読める形式) |
.usdc | バイナリ USD(crate 形式) |
.usdz | 圧縮 USD アーカイブ |
3. シーンを起動する
Section titled “3. シーンを起動する”edit_usd.exe を起動します。
4. RenderStream 用にシーンをセットアップする
Section titled “4. RenderStream 用にシーンをセットアップする”USD 内でシーンコンテンツを配置します。
5. カメラの配置
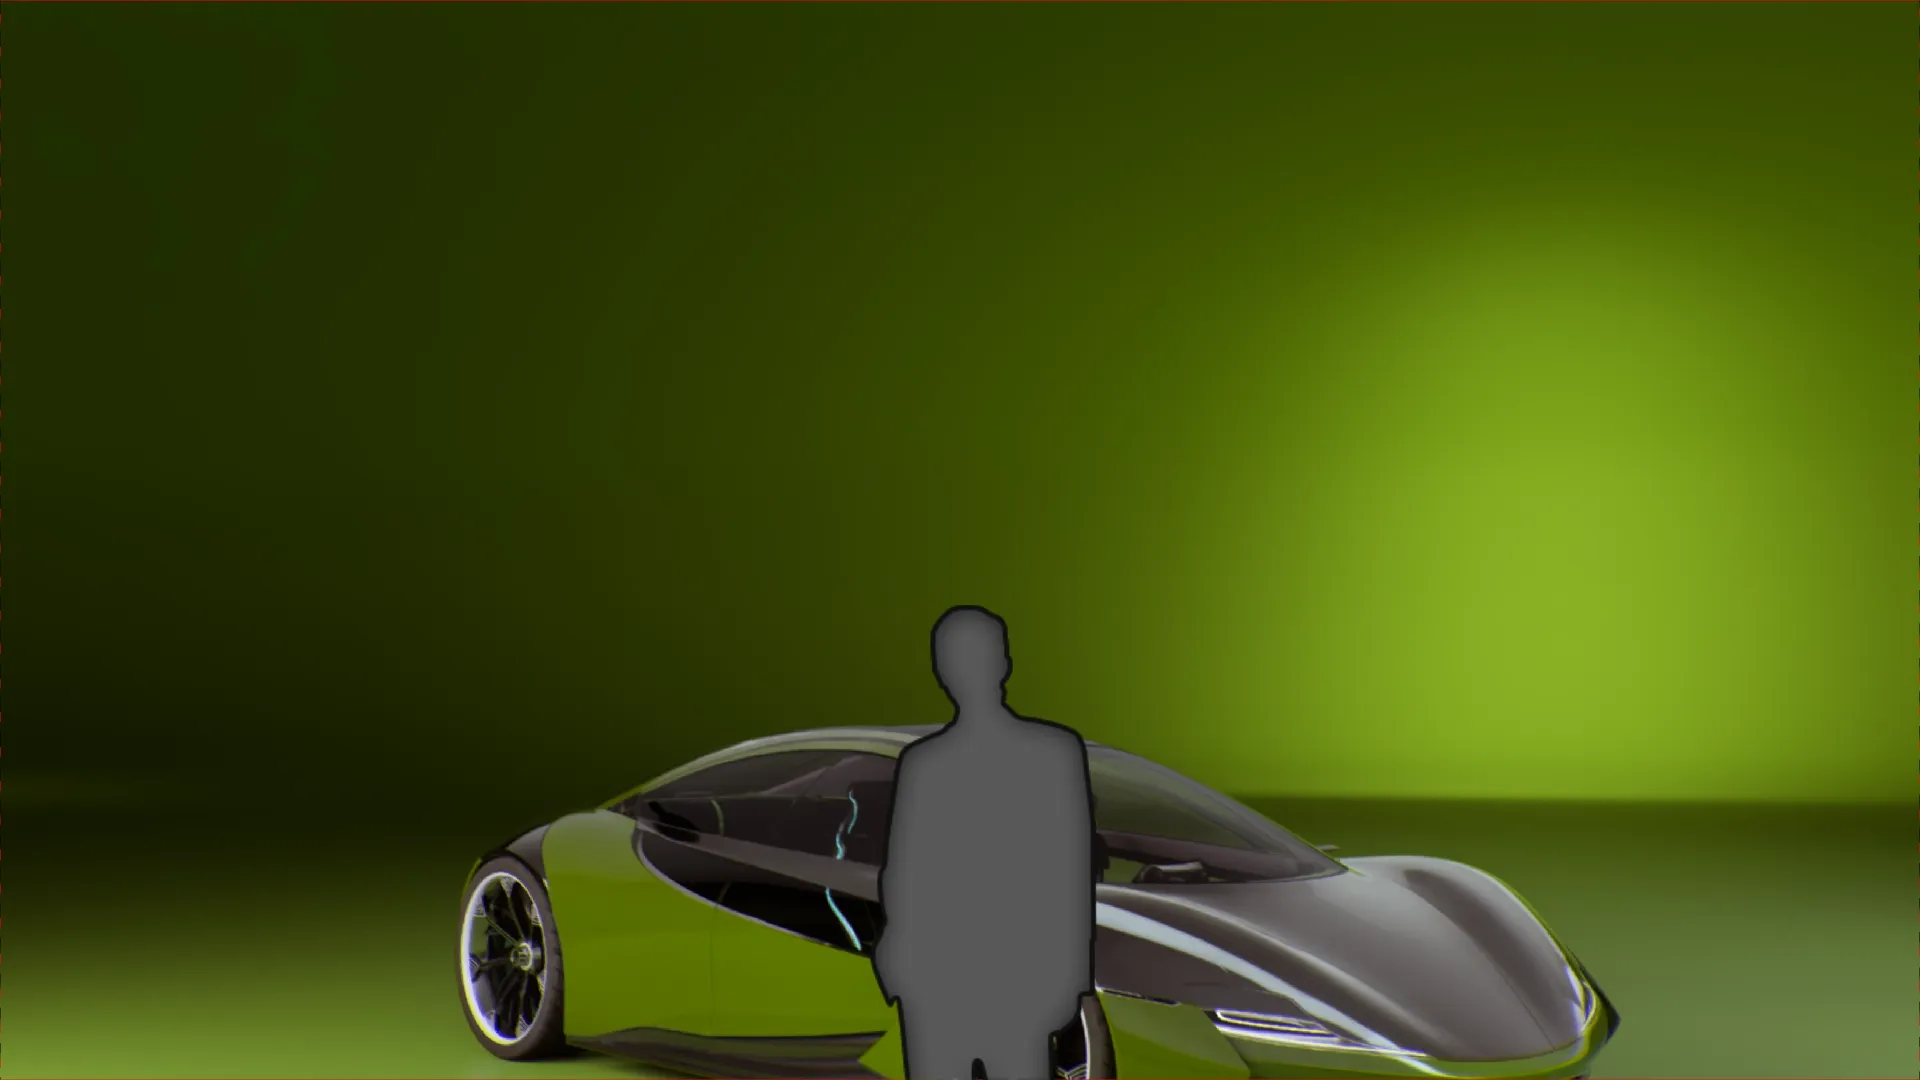
Section titled “5. カメラの配置”プラグインは、/World/RS_Cam にあるカメラをストリーミングの視点として使用します。シーンにすでにそのパス(/World の下にある RS_Cam という名前のカメラ)に prim が存在する場合、プラグインはその保存されたトランスフォームを開始ビューとして採用します。該当する prim が存在しない場合、プラグインはシーン原点に 1 つ作成しますが、その場合コンテンツが適切にフレーミングされないことがあります。
デフォルトのフレーミングを制御するには、edit_usd.exe でビューポートをシーンのコンテンツがフレーミングされる位置に配置し、Create from View(ビューから作成) を使って新しいカメラを追加します。新しいカメラはデフォルト名で作成されるため、Property(プロパティ) パネルで RS_Cam に名前を変更してください。これにより、プラグインが想定する /World/RS_Cam にカメラが配置されます。その後、シーンを保存します。
Designer からのカメラトラッキングデータ(位置、回転、焦点距離、フォーカス距離、絞り)は、この保存された USD トランスフォームを基準として毎フレーム適用されます。
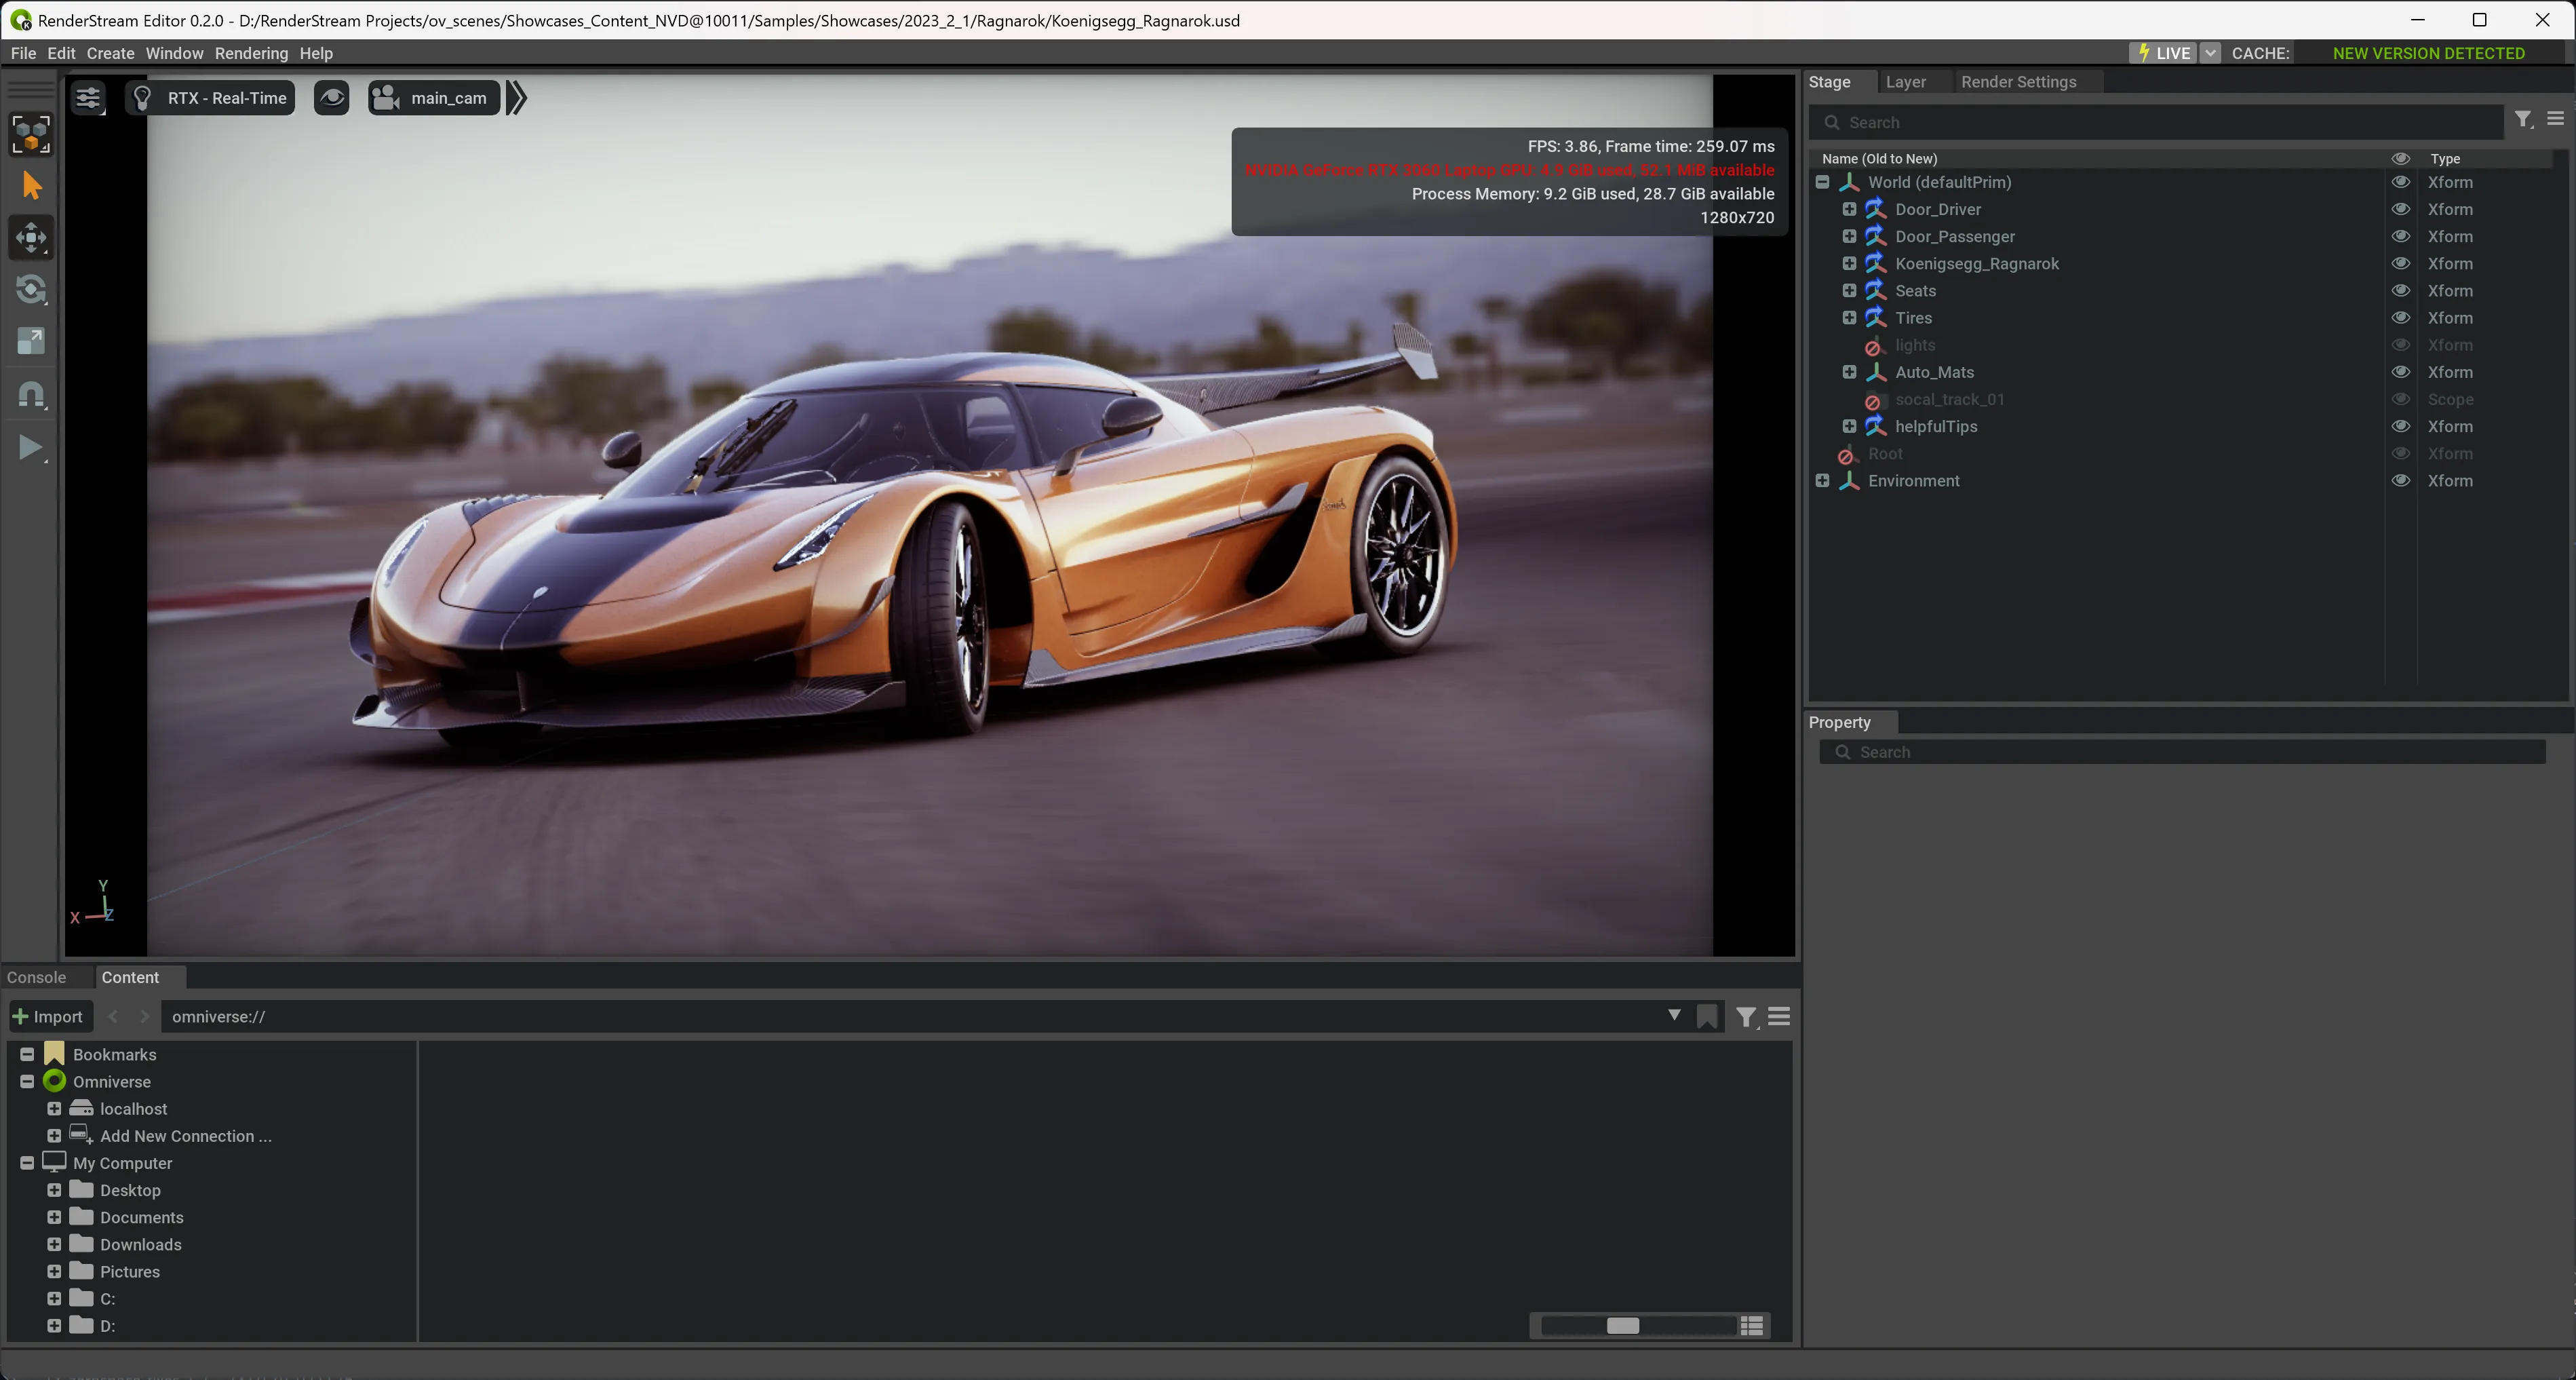
RS_Cam カメラを作成して車をフレーミングした後の、edit_usd.exe 内の Koenigsegg Ragnarok シーン。
6. 制御可能なパラメーターを公開する
Section titled “6. 制御可能なパラメーターを公開する”Kit エディター(edit_usd.exe)で
Section titled “Kit エディター(edit_usd.exe)で”edit_usd.exeでシーンを開きます。- Stage(ステージ)パネルで prim(メッシュ、ライト、xform など)を選択します。
- Property(プロパティ)パネルで RenderStream Exposed Parameters(RenderStream 公開パラメーター) セクションを展開します。
- Designer から制御したい属性の横のボックスにチェックを入れます。
- シーンを保存します。

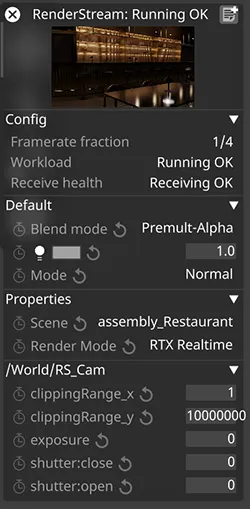
チェックした属性は、シーンの実行時に Designer の RenderStream Layer(RenderStream レイヤー)プロパティで制御可能な値として表示されます。
7. シーンを登録する
Section titled “7. シーンを登録する”edit_usd.exe でシーンを保存すると、Designer が Scene(シーン) ドロップダウンを設定するために読み取るレジストリである rs_open_usd.json に、そのシーンが追加されます。
edit_usd.exeで USD ファイルを開きます。これにより、シーンプレビューとセットアップ用の Omniverse エディター UI が起動します。RenderStream 接続は不要です。- シーンを保存します。シーンは
rs_open_usd.jsonに自動的に登録され、Designer のシーンドロップダウンに表示されます。
| オプション | 動作 | 最適な用途 |
|---|---|---|
| Save(保存) | 現在のファイルに変更を書き込みます。参照は変更されません | その場での編集 |
| Save As(名前を付けて保存) | 新しいパスに書き込みます。参照は変更されません(依存関係が相対パスの場合は壊れることがあります) | 同じフォルダー内での名前変更や分岐 |
| Save Flattened(フラット化して保存) | すべての参照を 1 つの自己完結型 USD に解決します。外部依存関係はありません | ロックダウンした配布。上流ファイルはライブ編集できなくなります |
| Collect As(収集して保存) | シーンと参照されるすべてのファイルを、相対パスを書き換えて新しいフォルダーにコピーします | 本番納品 — ポータブルでレイヤー構造も維持 |
注意: シーンファイルはディスク上のどこにでも配置できます。
rs_open_usd.jsonが各シーンの絶対パスを記録します。レジストリを直接編集してシーンを追加・削除することもできます。このファイルはopen_usd.exeの隣にあります。
シーンレジストリ形式
Section titled “シーンレジストリ形式”{ "majorVersion": 2, "minorVersion": 0, "engineName": "RenderStreamRtx", "engineVersion": "107.3.0", "pluginVersion": "0.2.0", "channels": ["RS_Cam"], "schema": [ { "name": "MyScene", "path": "C:\\Scenes\\my_scene.usd", "parameters": [] } ]}8. Designer プロジェクトのセットアップ
Section titled “8. Designer プロジェクトのセットアップ”- Designer で新しい RenderStream Layer(RenderStream レイヤー)を作成します。
- アセットとして
open_usdを選択します。 - マッピングタイプを構成します。すべてのマッピングタイプがサポートされています。
- シーンドロップダウンから登録済みのシーンを選択します。
Defaultのままにしないでください。 - 必要に応じて公開パラメーターを調整します。
- Start(開始) を押してワークロードを開始します。
ビューポートプレビューモードを使用するには、RenderStream Layer の Engine Settings(エンジン設定) にカスタム引数として --gui を追加します。
9. Renderer モードを選択する
Section titled “9. Renderer モードを選択する”組み込みの RenderMode(レンダーモード)ドロップダウンが、4 つの選択可能なモードとともに自動的に Designer に公開されます。インタラクティブな ICVFX のユースケースには RTX Realtime を推奨します。
| モード | 説明 |
|---|---|
| RTX Realtime(デフォルト) | Omniverse RTX Renderer の RTX Real-Time 2.0 モード |
| RTX Path Tracing | Omniverse RTX Renderer の RTX Interactive(Path Tracing)モード |
| RTX Iray | RTX Accurate(Iray)モード |
| Pixar Storm | Pixar Storm モード |
RenderStream RTX は 3 つの起動モードをサポートします:
| コマンド | モード | 説明 |
|---|---|---|
open_usd.exe scene.usd | Headless | ウィンドウ非表示、Designer での本番使用向け |
open_usd.exe scene.usd --gui | Viewport | プレビュー用のボーダレスフルスクリーンビューポート |
edit_usd.exe scene.usd | Editor | シーンセットアップ用の完全な Omniverse UI、RenderStream なし |
セットアップが完了したら、以下のサンプルシーンとアセットパックに対してテストして、接続を確認できます。
Assembly バージョン
Section titled “Assembly バージョン”NVIDIA Omniverse の Assembly バージョンは、より小さな個別のコンポーネント(サブアセット)を、まとまりのある構造化された USD(Universal Scene Description)ステージに集約することで、複雑な 3D シーンを整理します。
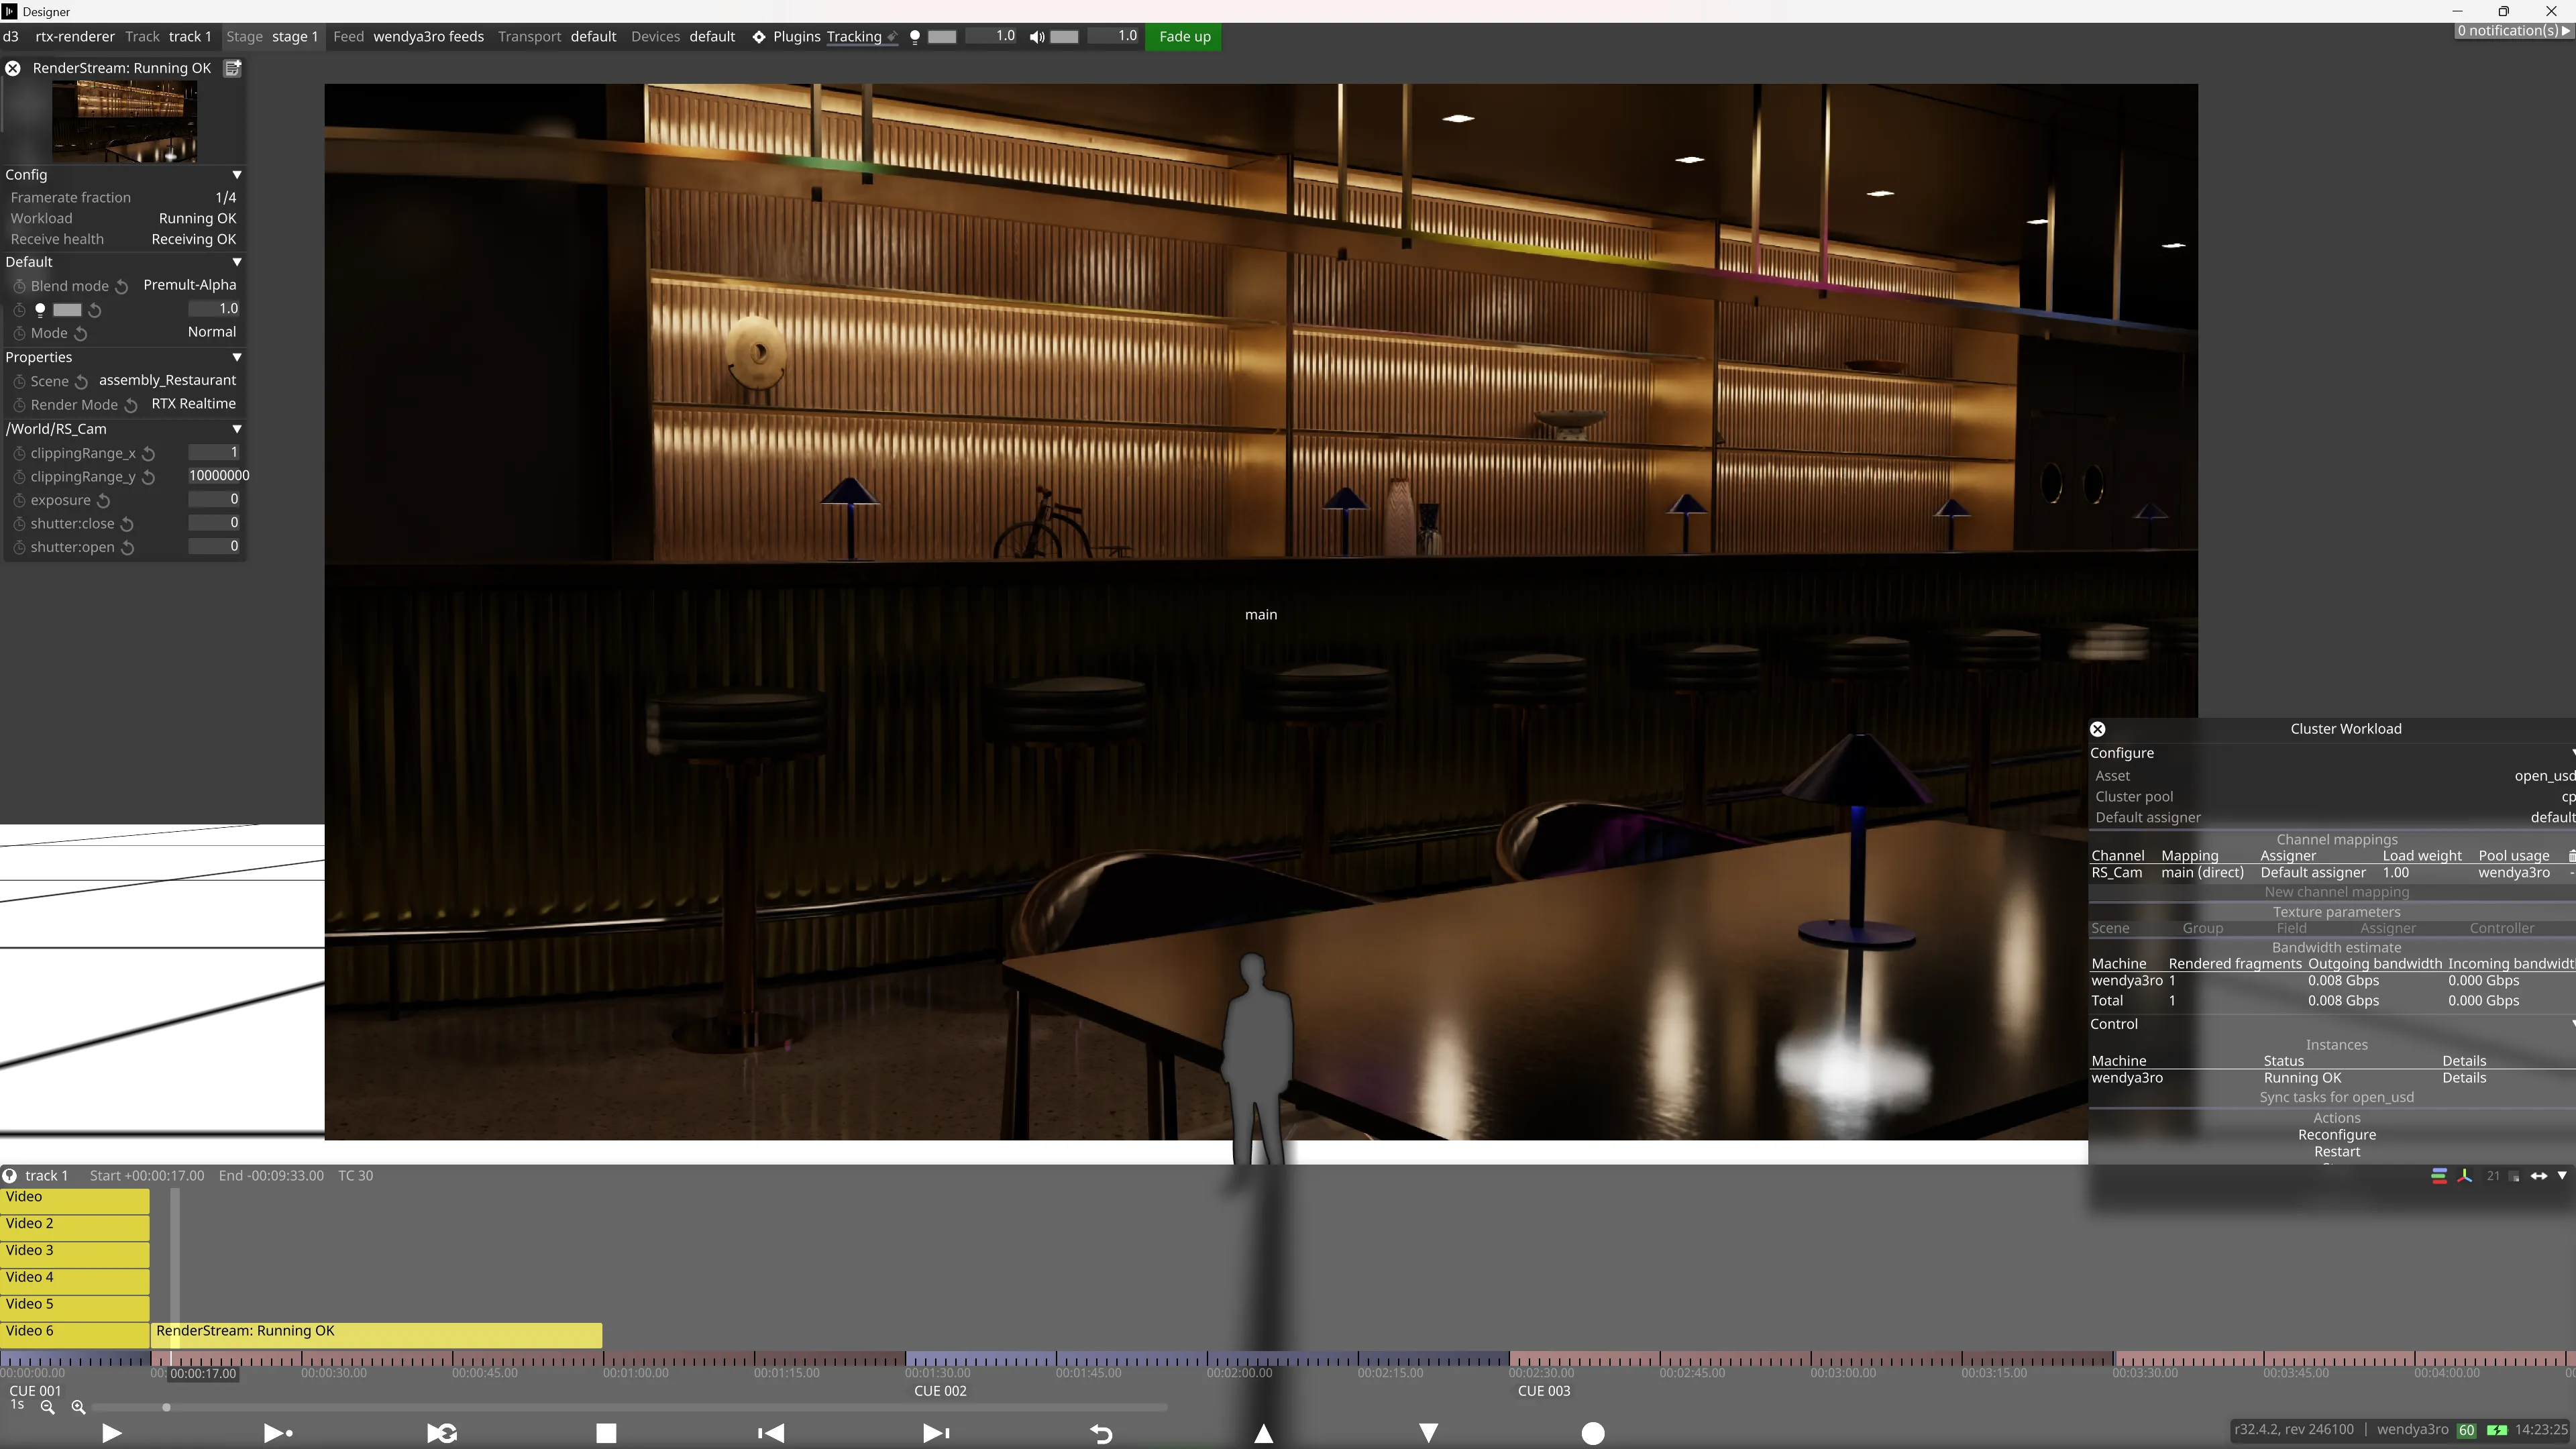
たとえば、Restaurant Pack にはさまざまなシーンとカメラビューがあります。各シーンは、単一のシーンコンポーネントのみを含む、より小さな Assembly バージョンとしても提供されます。

edit_usd.exe 内の assembly_Restaurant.usd シーン。
Omniverse Hub の更新通知は画面右上に緑色で表示されます。これをクリックすると更新をダウンロードできます。
サンプルパック
Section titled “サンプルパック”サンプルアセットは次の URL からダウンロードできます: https://docs.omniverse.nvidia.com/usd/latest/usd_content_samples/downloadable_packs.html


Version 0.2.0
- Mesh マッピングと、分割ストラテジーとしての Tiles をサポート
- アセット検出が、シーン登録後にエントリーファイルのみを表示するように更新
- Headless モード(デフォルト)と Viewport モード(
--gui)が、従来の編集 UI に置き換わりました - カメラ移動時のグラフィックのカクつきを部分的に解消するため、レンダーループを再構築
Version 0.1.12
• フレームレートフラクションのタイムアウト問題を解決
Version 0.1.1
• Kit app が RenderStream の終了シグナルを受信したときに正常に終了するようになりました
• Gizmo の表示設定がセッション間で保持されるようになりました
Version 0.1
• RenderStream-RTX の最初のベータリリース