フィード設定の適用
フィード設定の適用(Apply Feed Settings)では、解像度やタイミングモードなど、マシンの保留中の出力変更を物理出力に反映して有効にします。Designer はこれらのハードウェアレベルの変更を、適用するまで保持します。適用すると出力が一時的に中断されるため、変更ごとに出力を乱すのではなく、ヘッドを完全に設定してから一度にまとめて反映できます。
フィード設定の適用は、出力構成の最後のステップです。まず Head Configuration(ヘッド構成)ページでヘッドの解像度・タイミング・フィードプロパティを編集し、その後フィード設定を適用して変更をハードウェアに反映します。
フィード設定を適用する必要がある場合
Section titled “フィード設定を適用する必要がある場合”ほとんどのフィードの変更はライブで反映され、操作は不要です。これには、Feed Rectangle の再配置、背景色、ライブドット、ヘッドの命名など、フィードシーンに関するプロパティが含まれます。
ただし、物理出力を再構成する変更は、有効にする前に手動で適用する必要があります:
- Resolution(解像度)
- Timing mode / refresh rate(タイミングモード / リフレッシュレート)
- Bit depth(ビット深度): 再起動も必要です(下記の再起動が必要な変更を参照)
この種の未適用の変更があるヘッドは、Feed view でオレンジ色で表示されます。ヘッドの色のステータスシステム全体については、Head Configuration ページの Output Head Colour(出力ヘッドの色)で説明しています。
フィード設定の適用
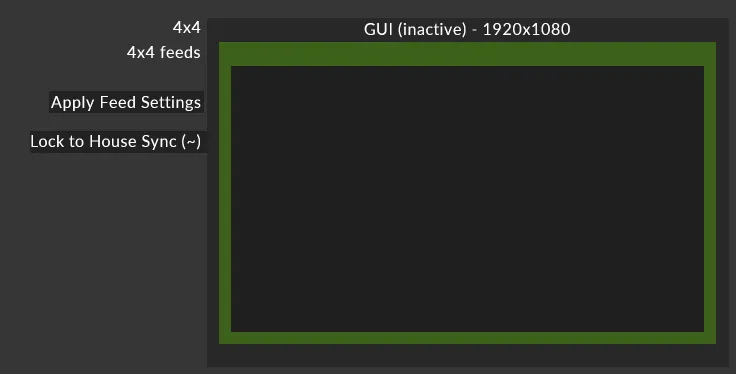
Section titled “フィード設定の適用”単一のフィードの設定を適用するには、そのフィードの左端にある Apply Feed Settings(フィード設定の適用)ボタンを左クリックします。
現在のフィードシーン内のすべてのマシンの設定を一度に適用するには、フィードツールバーにあるグローバルな Apply Feed Settings ボタンを使用します。設定を適用する前に確認を求められます。
設定の適用中、ヘッドには Applying Feed Settings…(フィード設定を適用中…)というステータスが表示され、Feed view で青とグレーに点滅します。
別のマシンへのフィード設定の適用
Section titled “別のマシンへのフィード設定の適用”別のマシンにフィード設定を適用する場合(Director から Actor にフィード設定を適用する場合など)、相手マシンの出力ヘッドは、処理中、ローカルマシンの Feed view で青とグレーに点滅します。
再起動が必要な変更
Section titled “再起動が必要な変更”フィード設定の適用によってマシンの出力 bit depth(ビット深度)が変更される場合、Designer はその変更に再起動が必要であると警告します。新しいビット深度を有効にするには、マシンを手動で再起動する必要があります。